
I tested a range of mushroom grow kits — from tiny beginner boxes to 5 lb substrate bags — and I’m sharing which kits gave me the fastest pins, the largest flushes, and the fewest headaches.
I’ve spent time growing mushrooms on my windowsill, in a closet, and inside larger substrate setups. In this roundup I compare tiny, ready-to-fruit gift kits and bigger bags you can use for serious harvests.
Every kit below comes from hands-on runs I did with the instructions and techniques supplied. I call out which kits are best for beginners, which deliver the most edible yield, and where you’ll need to tweak humidity or technique.
If you want an easy, giftable project I recommend the Back to the Roots mini kits; for larger culinary harvests or tincture work I reach for the North Spore and the 5 lb all-in-one bag. The middle-ground kits are great for experimenting and learning humidity control.
1. Back to the Roots Organic Mini Mushroom Grow Kit – Best Overall
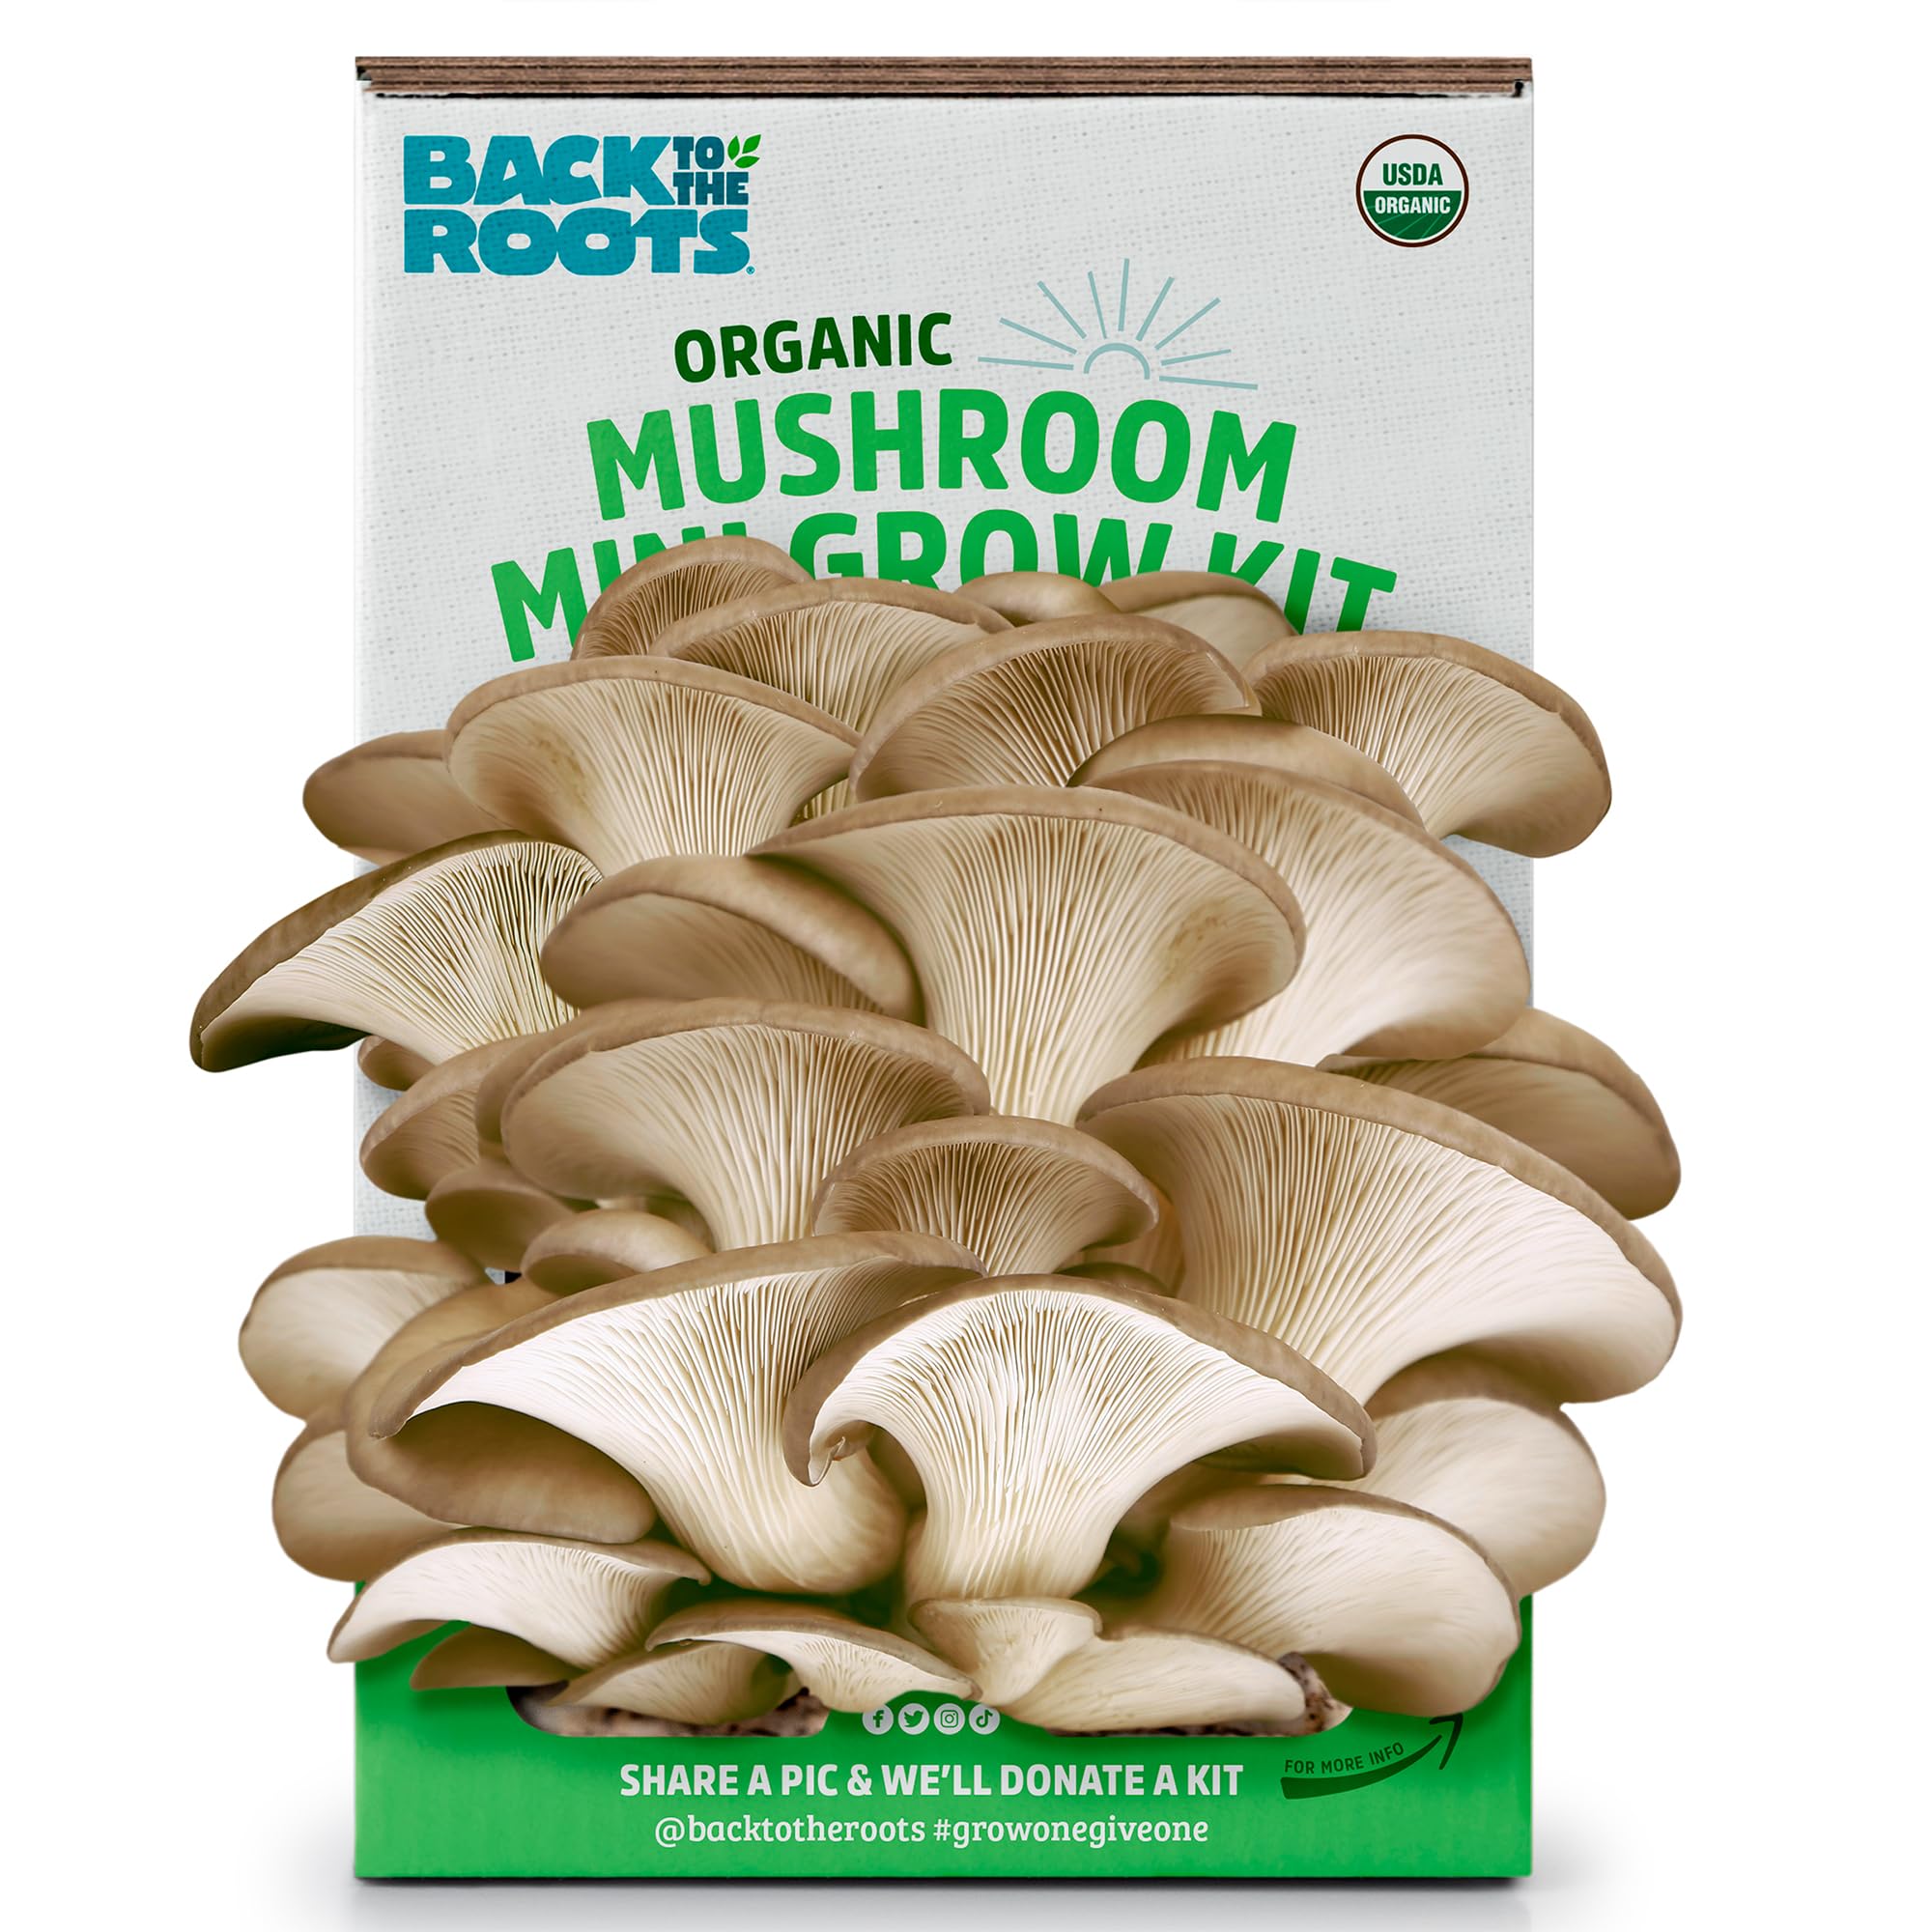
A very user-friendly organic oyster mushroom kit that fruits quickly and makes a perfect windowsill project.
Why I picked it: Consistently fast, organic, and easy to use right out of the box.
Best for: New growers, gifts, and anyone who wants an indoor, low-effort harvest.
An affordable, entry-level option for casual growers.
Pros
- Very easy setup
- Organic and non-GMO
- Fruits in about ten days
- Can produce two crops
- Made in the USA
Cons
- Second crop can be unreliable
- Yield is modest per kit
- Timing critical to avoid mold
My take
I used the included mister and followed the package routine: open, mist twice daily, and wait. The first flush appeared quickly—often right around day seven to ten—and produced three to four servings when I harvested the whole cluster at once.
The kit’s strongest advantage is its simplicity. I placed it on a bright windowsill with indirect light and kept the misting consistent. The instructions and starter materials make it an excellent first kit for someone curious about growing at home.
I did see variability: one of my attempts produced a huge first crop and a stubborn, dry second side, while another run failed to rebalance moisture during the second flush. Shipping damage and occasional contamination showed me to keep a close eye on timing and moisture—harvest promptly and keep the block moist but not waterlogged.
2. Back to the Roots Pink Mini Mushroom Grow Kit – Best Gift
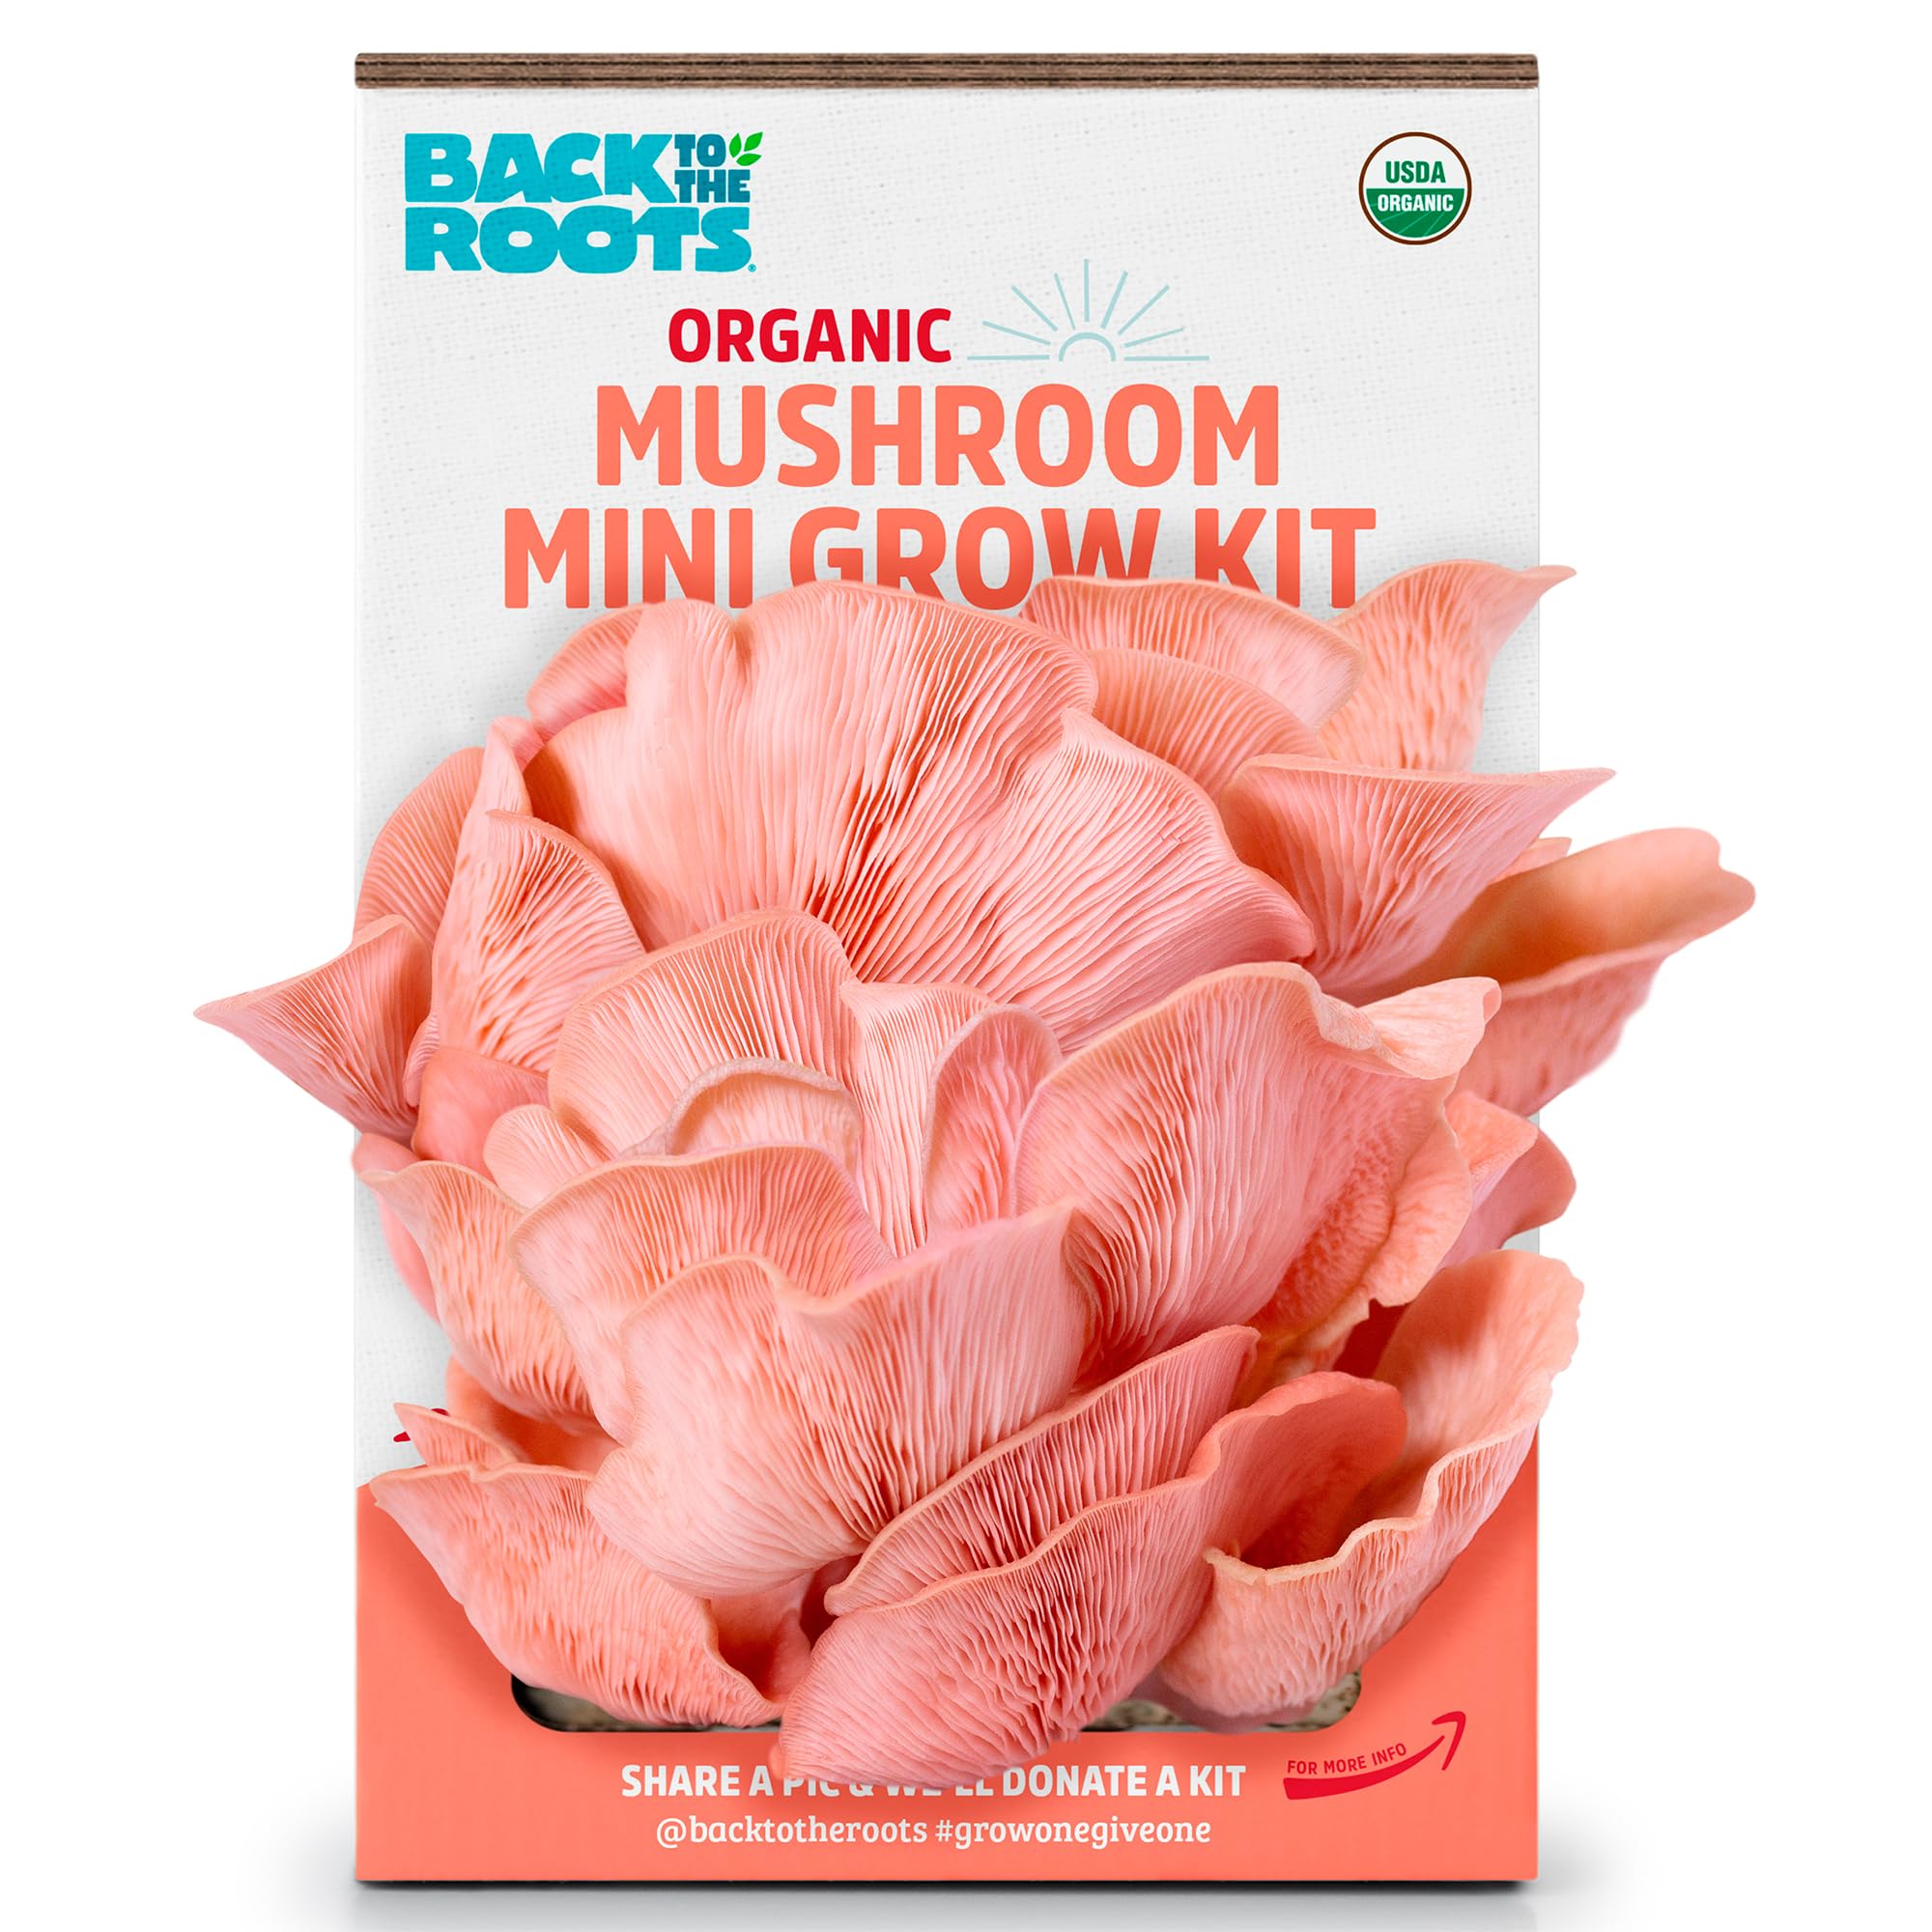
All the ease of the original mini kit with a novelty pink oyster strain that’s great for gifting and kid-friendly projects.
Why I picked it: Novelty color and the same easy, beginner-friendly process.
Best for: Gifts, classroom projects, and families who want a visual grow experience.
A slightly pricier novelty version of the mini kit.
Pros
- Fun pink mushrooms
- Simple setup
- Organic spawn
- Great for kids
Cons
- Quality can vary
- Limited total yield
- Support can be inconsistent
My take
I treated this the same as the standard mini kit and enjoyed the fast, dramatic pins — within days I had tiny pink clusters that looked as good as they tasted.
This kit is more of a science-and-fun product than a way to save on groceries. I’ve bought these for family projects; the kids loved misting daily and watching rapid growth.
Expect some variability and occasional pre-growth problems from shipping. When it works, the pink oyster effect is delightful; when it doesn’t, it’s often related to storage timing or moisture management rather than a complex setup.
3. North Spore Lion’s Mane Grow Kit – Best for Lion’s Mane
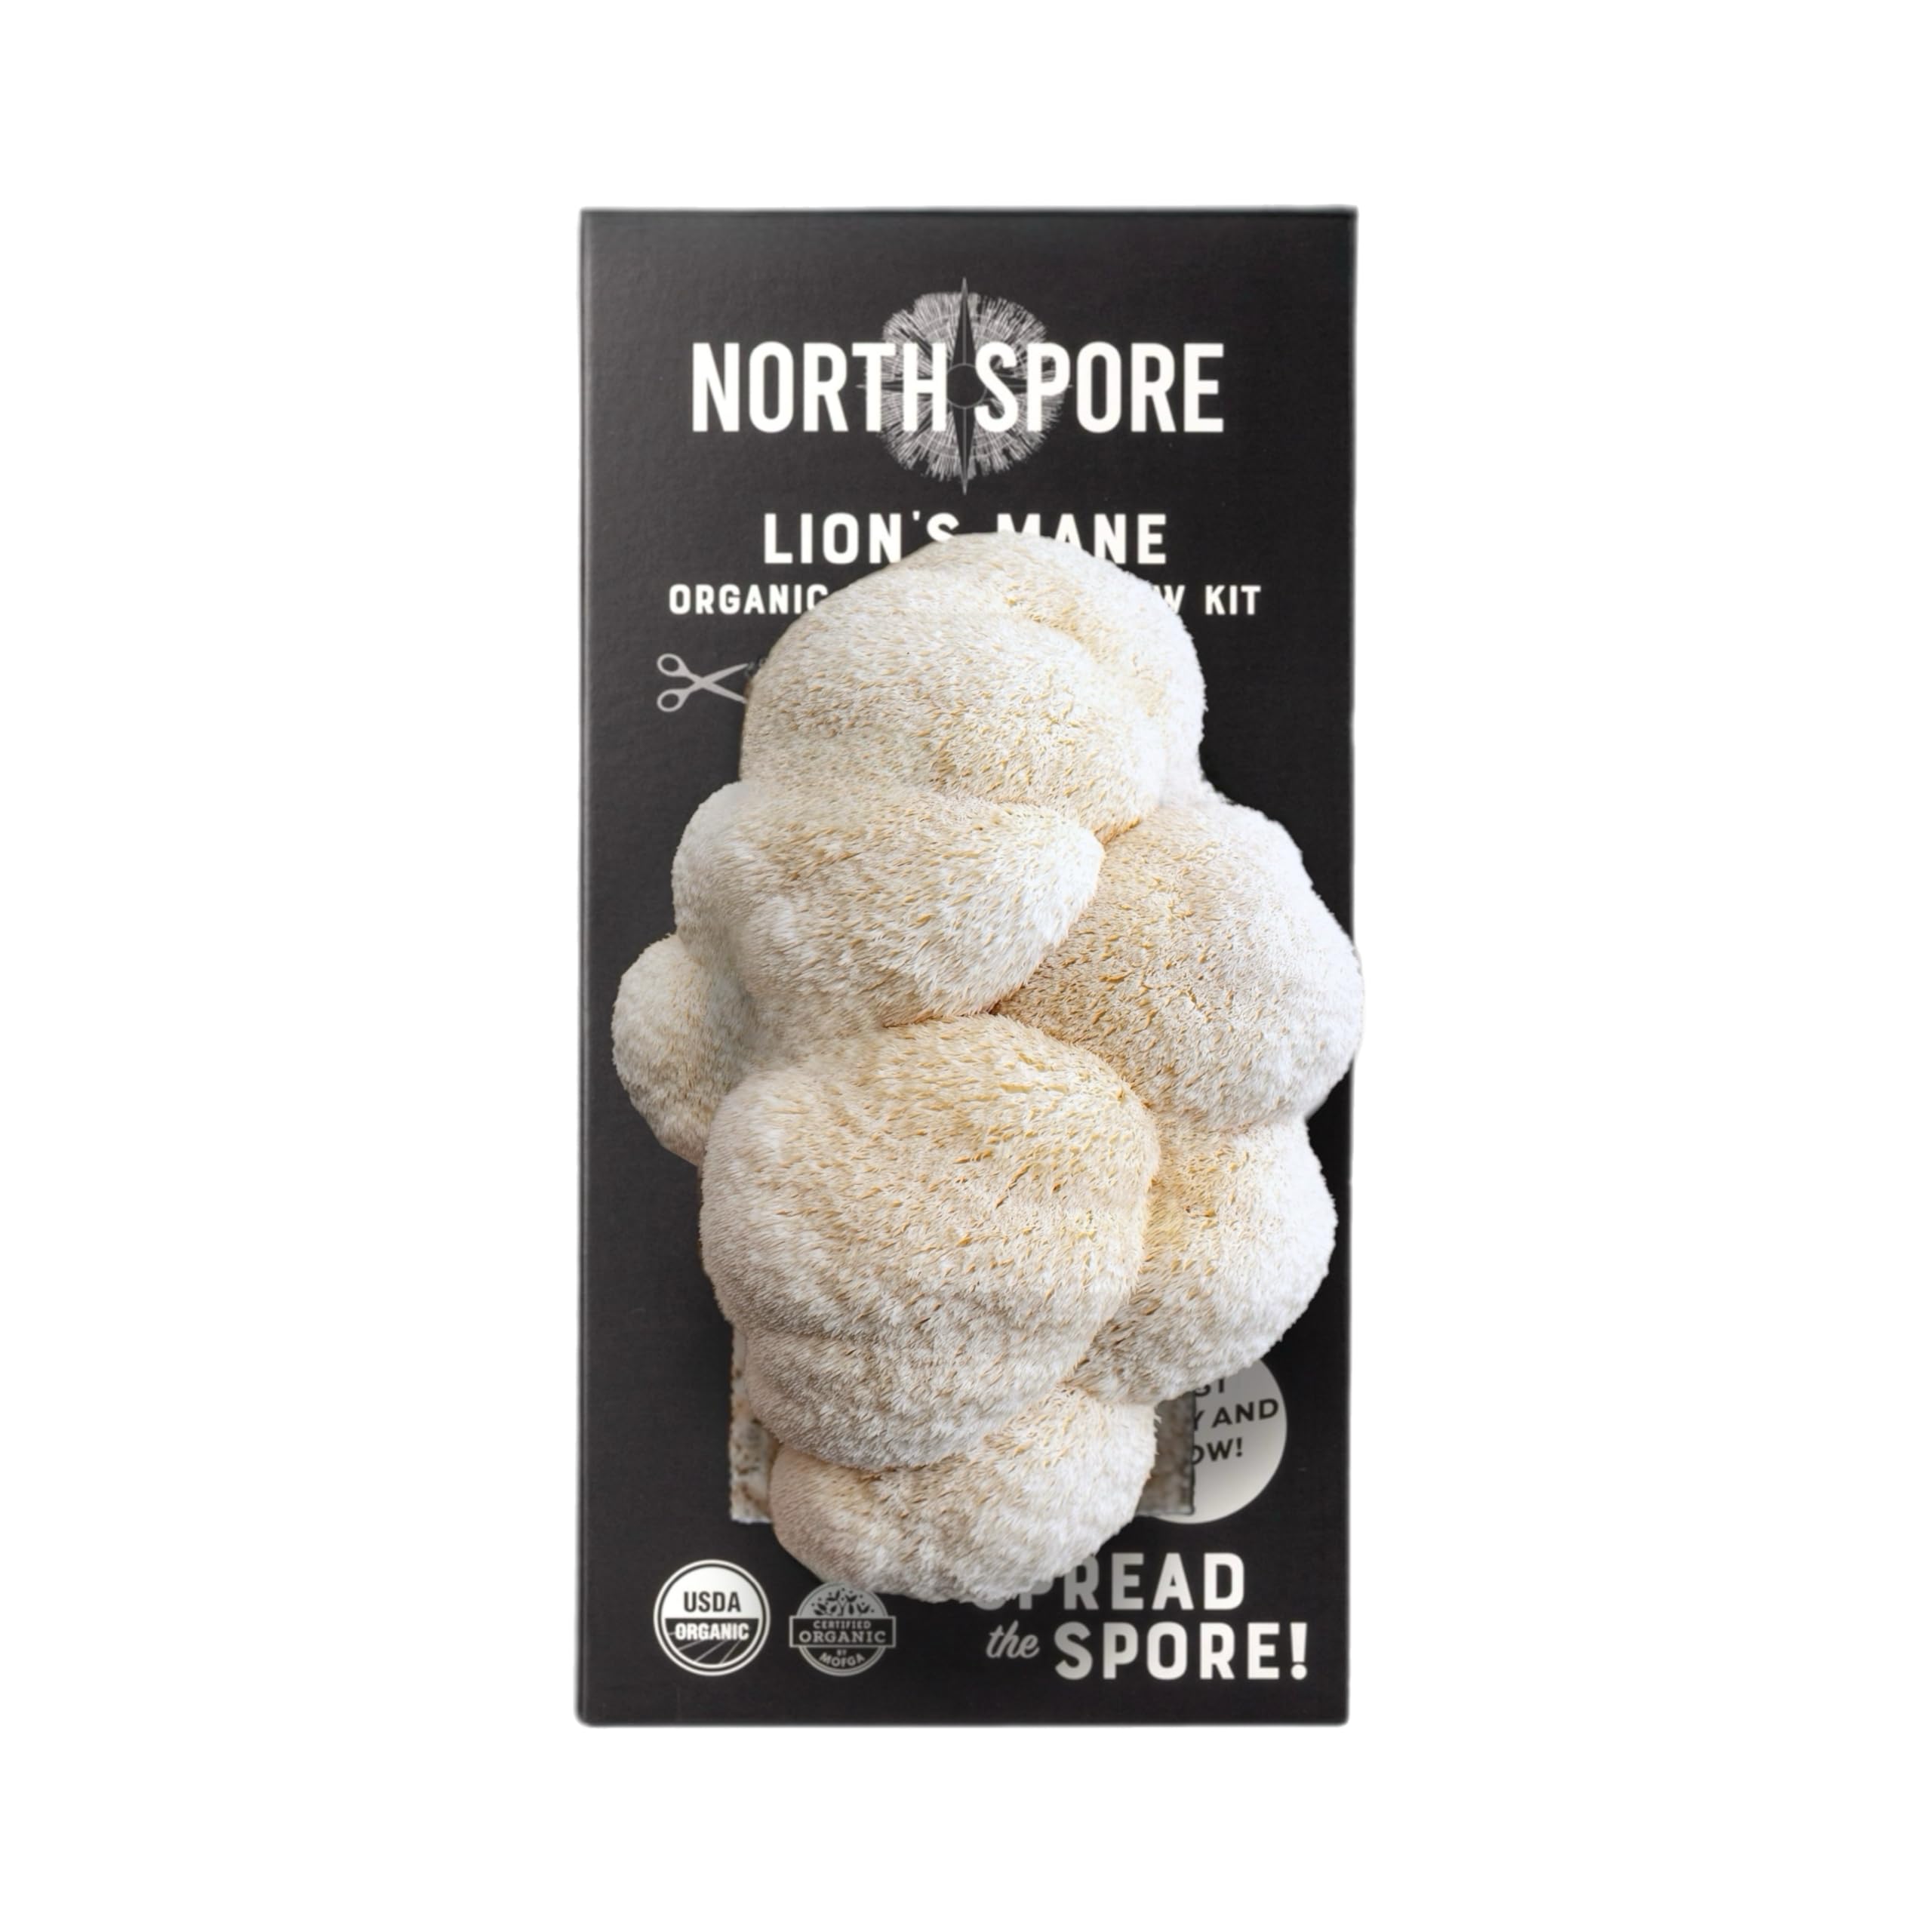
A USDA-certified organic kit made to produce dense, flavorful lion’s mane clusters suitable for cooking or tinctures.
Why I picked it: Generates large, culinary-quality Lion’s Mane clusters with a substantial first flush.
Best for: Cooks, supplement makers, and anyone wanting a meatier mushroom variety.
A mid-range kit that pays off with larger harvests.
Pros
- USDA-certified organic
- Large first flushes
- Versatile culinary use
- Storeable before use
Cons
- Needs tight humidity control
- Later flushes are smaller
My take
I grew the 4 lb block and saw impressive initial flushes: dense, shaggy clusters that trimmed out beautifully for cooking and tincture making. My first harvests ran between half a pound and over a pound when conditions were right.
The kit is beginner-friendly if you manage humidity and temperature—pinning usually starts within one to two weeks and then accelerates quickly. I stored an unopened kit in the fridge for a few weeks without issue when I wasn’t ready to start right away.
I did notice that subsequent flushes tapered off and required more attentive soaking and humidity to coax out smaller returns. Treat the block like a living organism: let it rest between cycles and maintain steady conditions for the best results.
4. Forest Origins Pink Oyster Grow Kit – Best for Visual Appeal
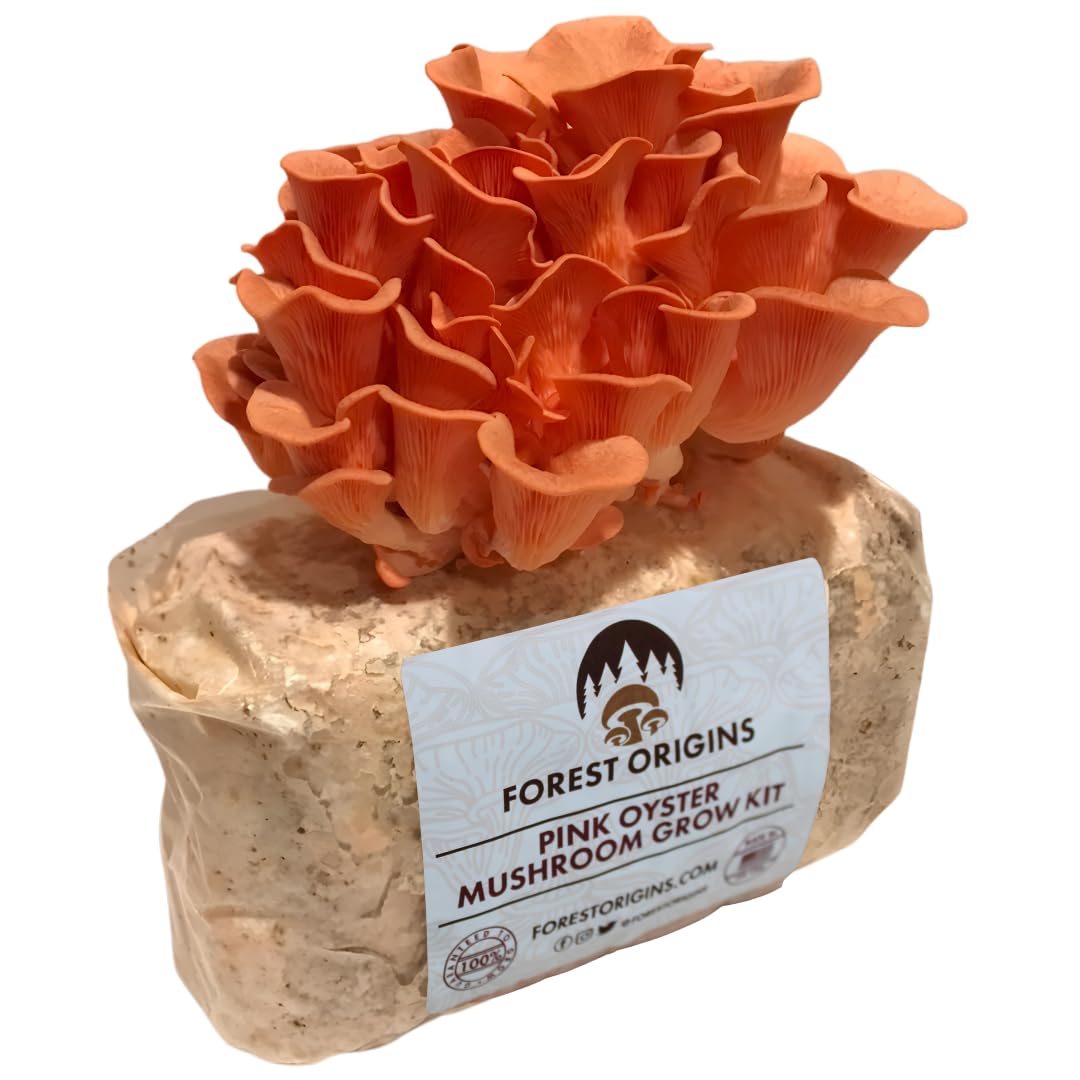
A visually striking pink oyster kit that pins fast and produces mushrooms with a satisfying texture and flavor.
Why I picked it: Fast pinning and exceptional appearance make it fun and rewarding to grow.
Best for: Growers who want quick, colorful results and striking plates.
A mid-range, handcrafted kit option.
Pros
- Striking pink color
- Very fast pinning
- Handmade in California
- Great texture for cooking
Cons
- Mold risk if moisture mismanaged
- Some reports of contamination
My take
I was impressed by how quickly pins formed — in many runs I saw tiny buds within three to seven days and harvest-ready clusters soon after. The pink hue makes this kit a showpiece on the counter.
Flavor and texture were excellent for sautés and as a meat substitute; I even used slices as a crispy vegan bacon when cooked down. The instructions are straightforward: cut, agitate the top layer, and mist twice daily.
A few runs taught me that maintaining moisture is critical. If you miss mistings or allow a dry spell the block can stall or develop problems, so I treated this kit like a short, intense project rather than a hands-off gadget.
5. Two 3 lb Mushroom Grow Kits (Lion’s Mane & Blue Oyster) – Best Value Pack
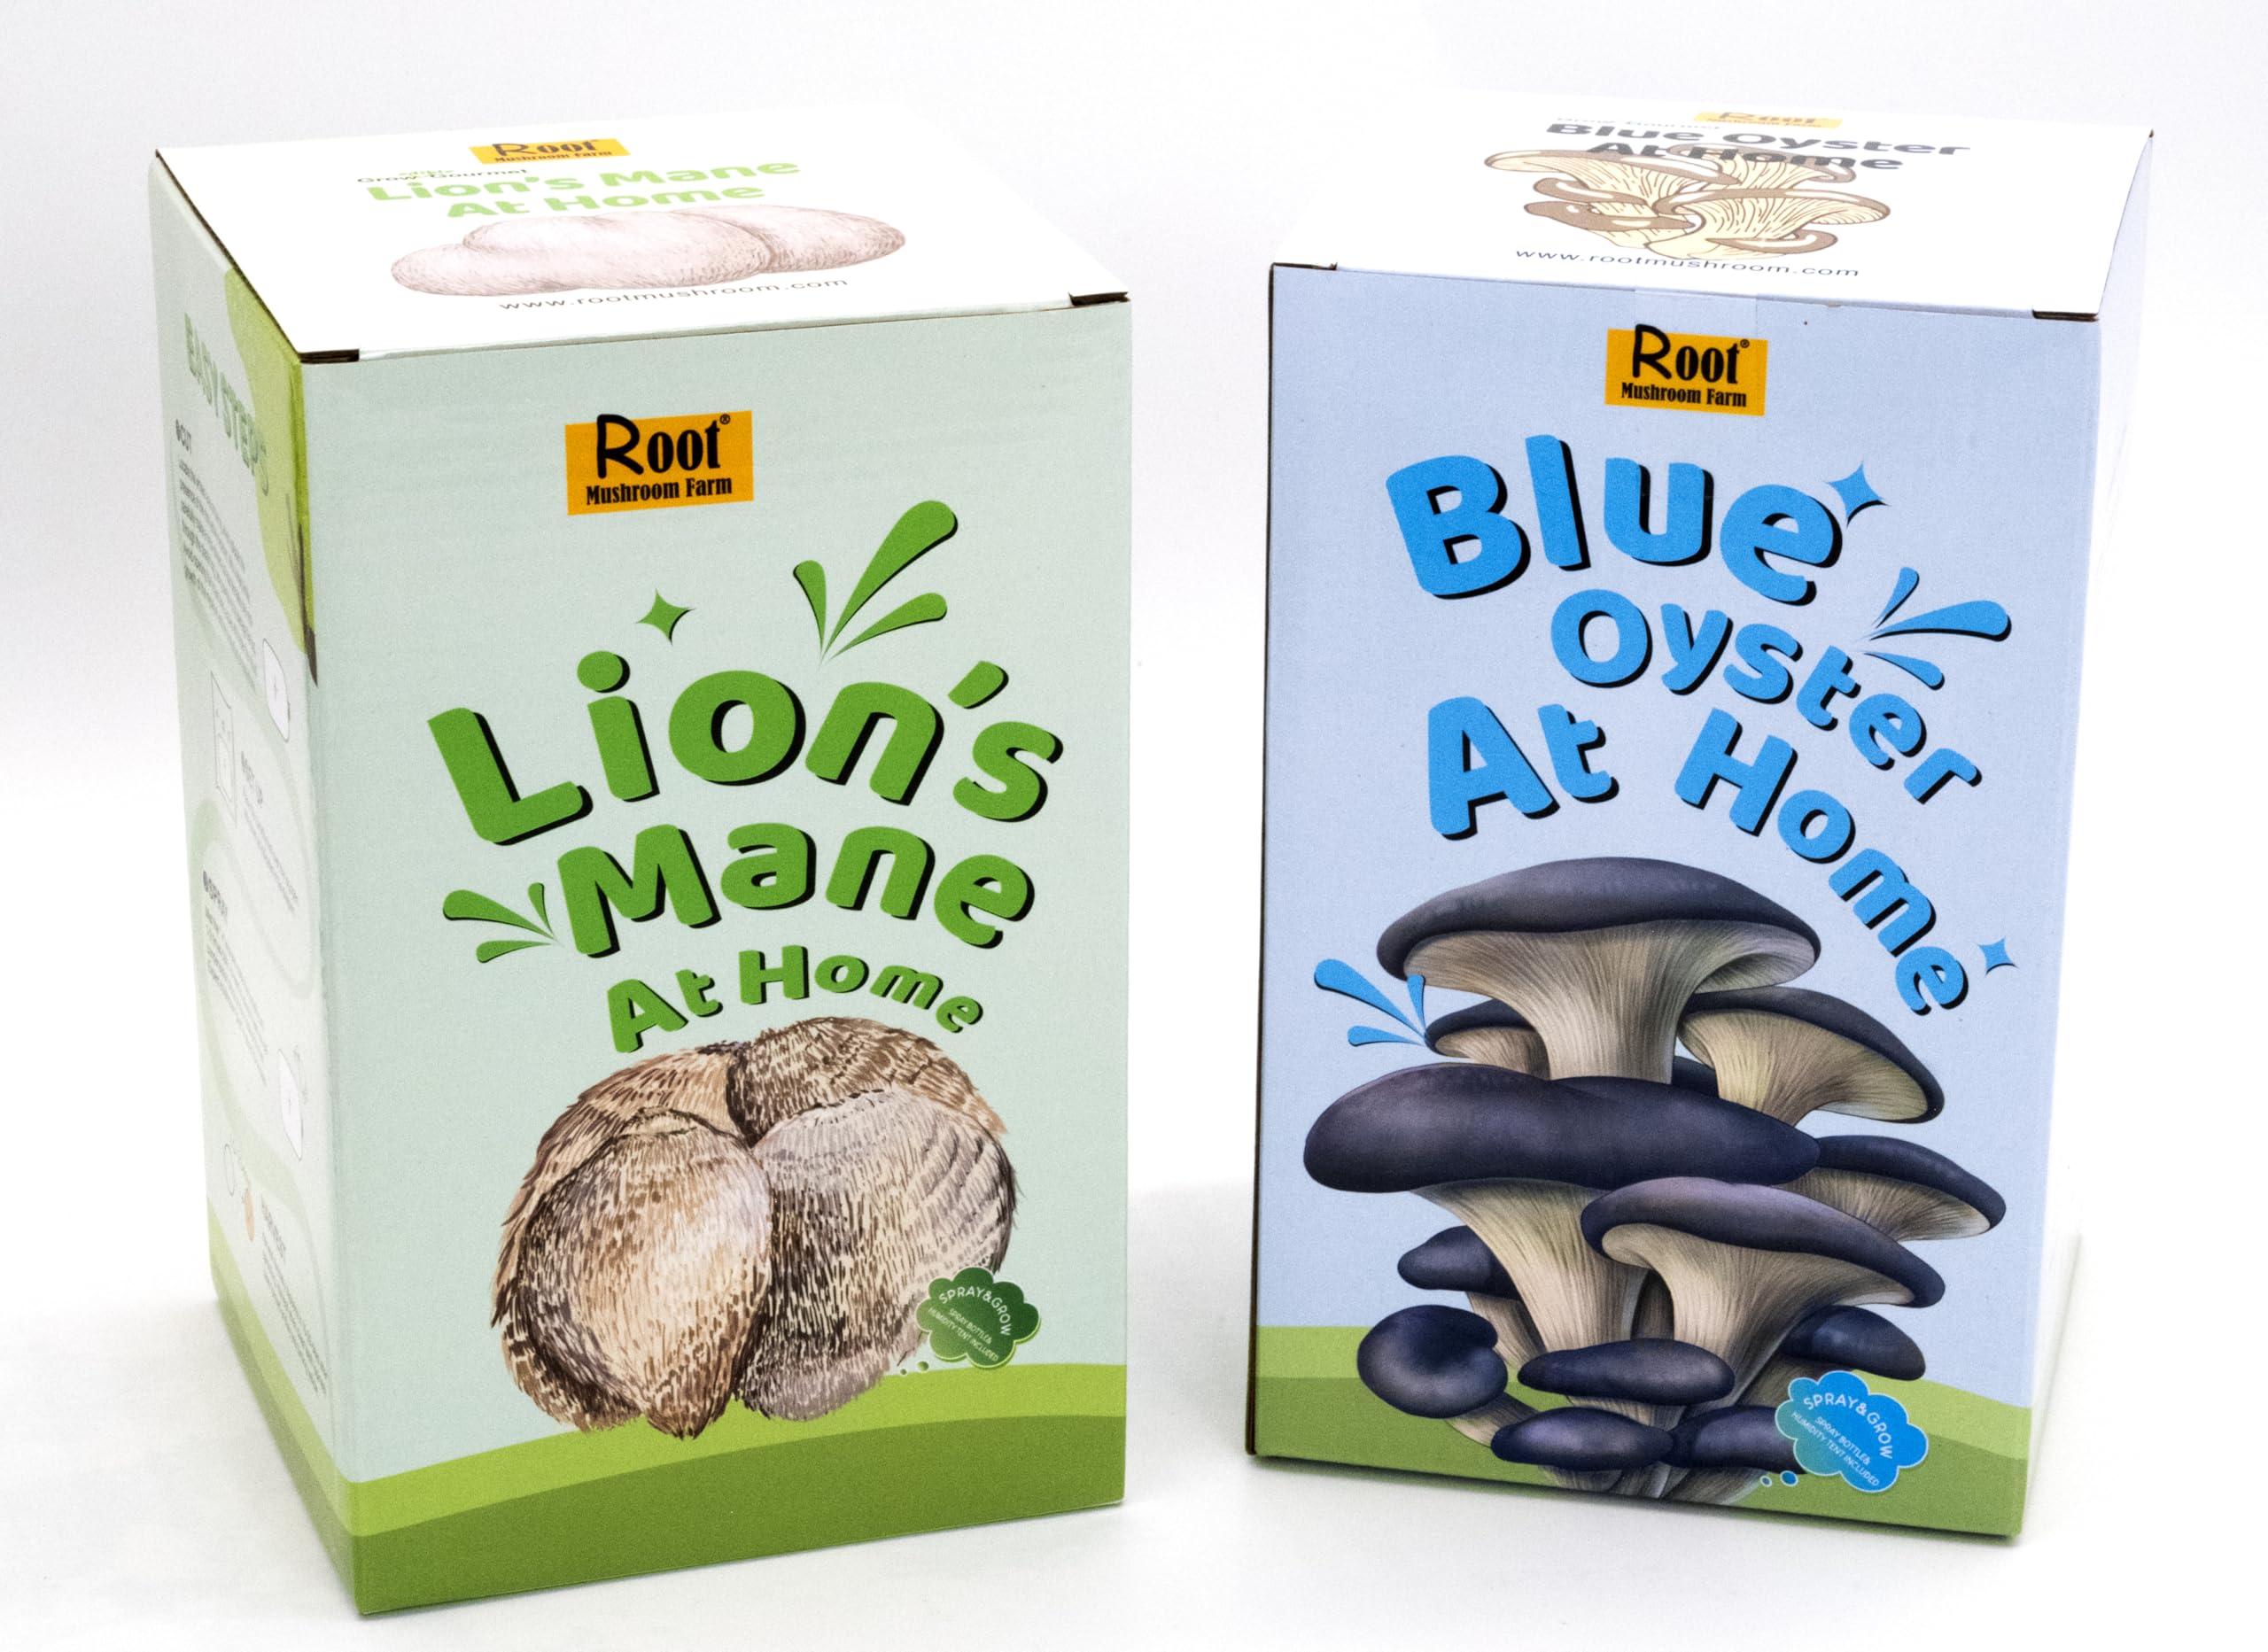
Two 3 lb blocks that let me experiment with species variety and multiple attempts without buying separate kits.
Why I picked it: Two different species in one purchase for experimenting and backup attempts.
Best for: Beginners who want to trial different mushrooms or get multiple harvests.
A value pack that stretches experimentation dollars further.
Pros
- Two species included
- Comes with spray bottle
- Good for experiments
- Beginner friendly
Cons
- Humidity bag can restrict growth
- Quality varies by batch
My take
I tried the two-pack using both the supplied bag method and a small plate/tent trick. When I kept the fruiting area less confined the clusters expanded more freely; the original humidity bag sometimes pressed against developing mushrooms and caused contact mold.
These kits produced multiple flushes for me when I managed moisture and used a simple tray to hold water and raise humidity. They’re forgiving for learning, but expect some trial-and-error with ventilation and bag placement.
One of my runs showed clear signs of uneven colonization when I didn’t soak properly, so I recommend opening and hydrating the slits thoroughly and monitoring the block closely during the first two weeks.
6. Booming Acres 5 lb All-in-One Grow Bag – Best for Bulk
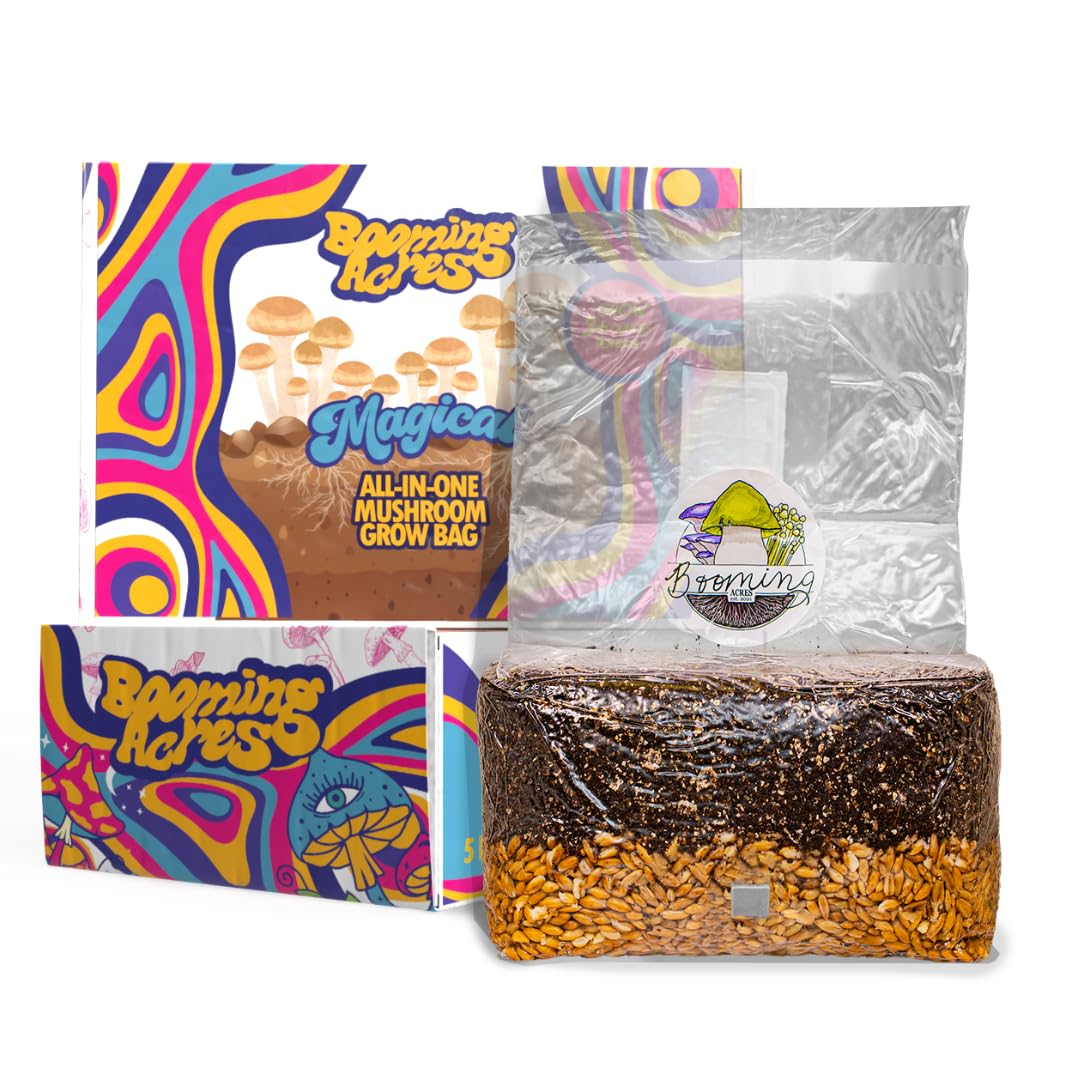
A large, pre-sterilized 5 lb substrate bag suited to experienced growers who want a substantial starting block.
Why I picked it: Generous substrate and ready-to-inoculate design deliver strong yields when handled correctly.
Best for: Experienced growers and anyone who wants larger harvests per bag.
A more serious, higher-capacity option for growers willing to supply culture or spores.
Pros
- Pre-sterilized and ready
- Injection port included
- Large 5 lb volume
- Good yield potential
Cons
- You must provide spores/syringes
- Some contamination reports exist
My take
I appreciated the industrial-strength approach: the bag is hydrated, sterilized, and includes an injection port and a micron filter. For someone who already works with syringes or liquid culture it’s an efficient way to scale up.
When I inoculated under clean technique the block produced substantial pins and solid first flushes. The size and nutrient content meant I could coax longer runs than with small retail kits.
Be aware that this setup assumes you’re bringing your own spawn or syringe. I also found mixed service and occasional contamination reports in other runs, so maintain aseptic procedures and have a contingency if a bag fails.
7. Quick Mushroom Grow Kit – Best for Quick Experiments
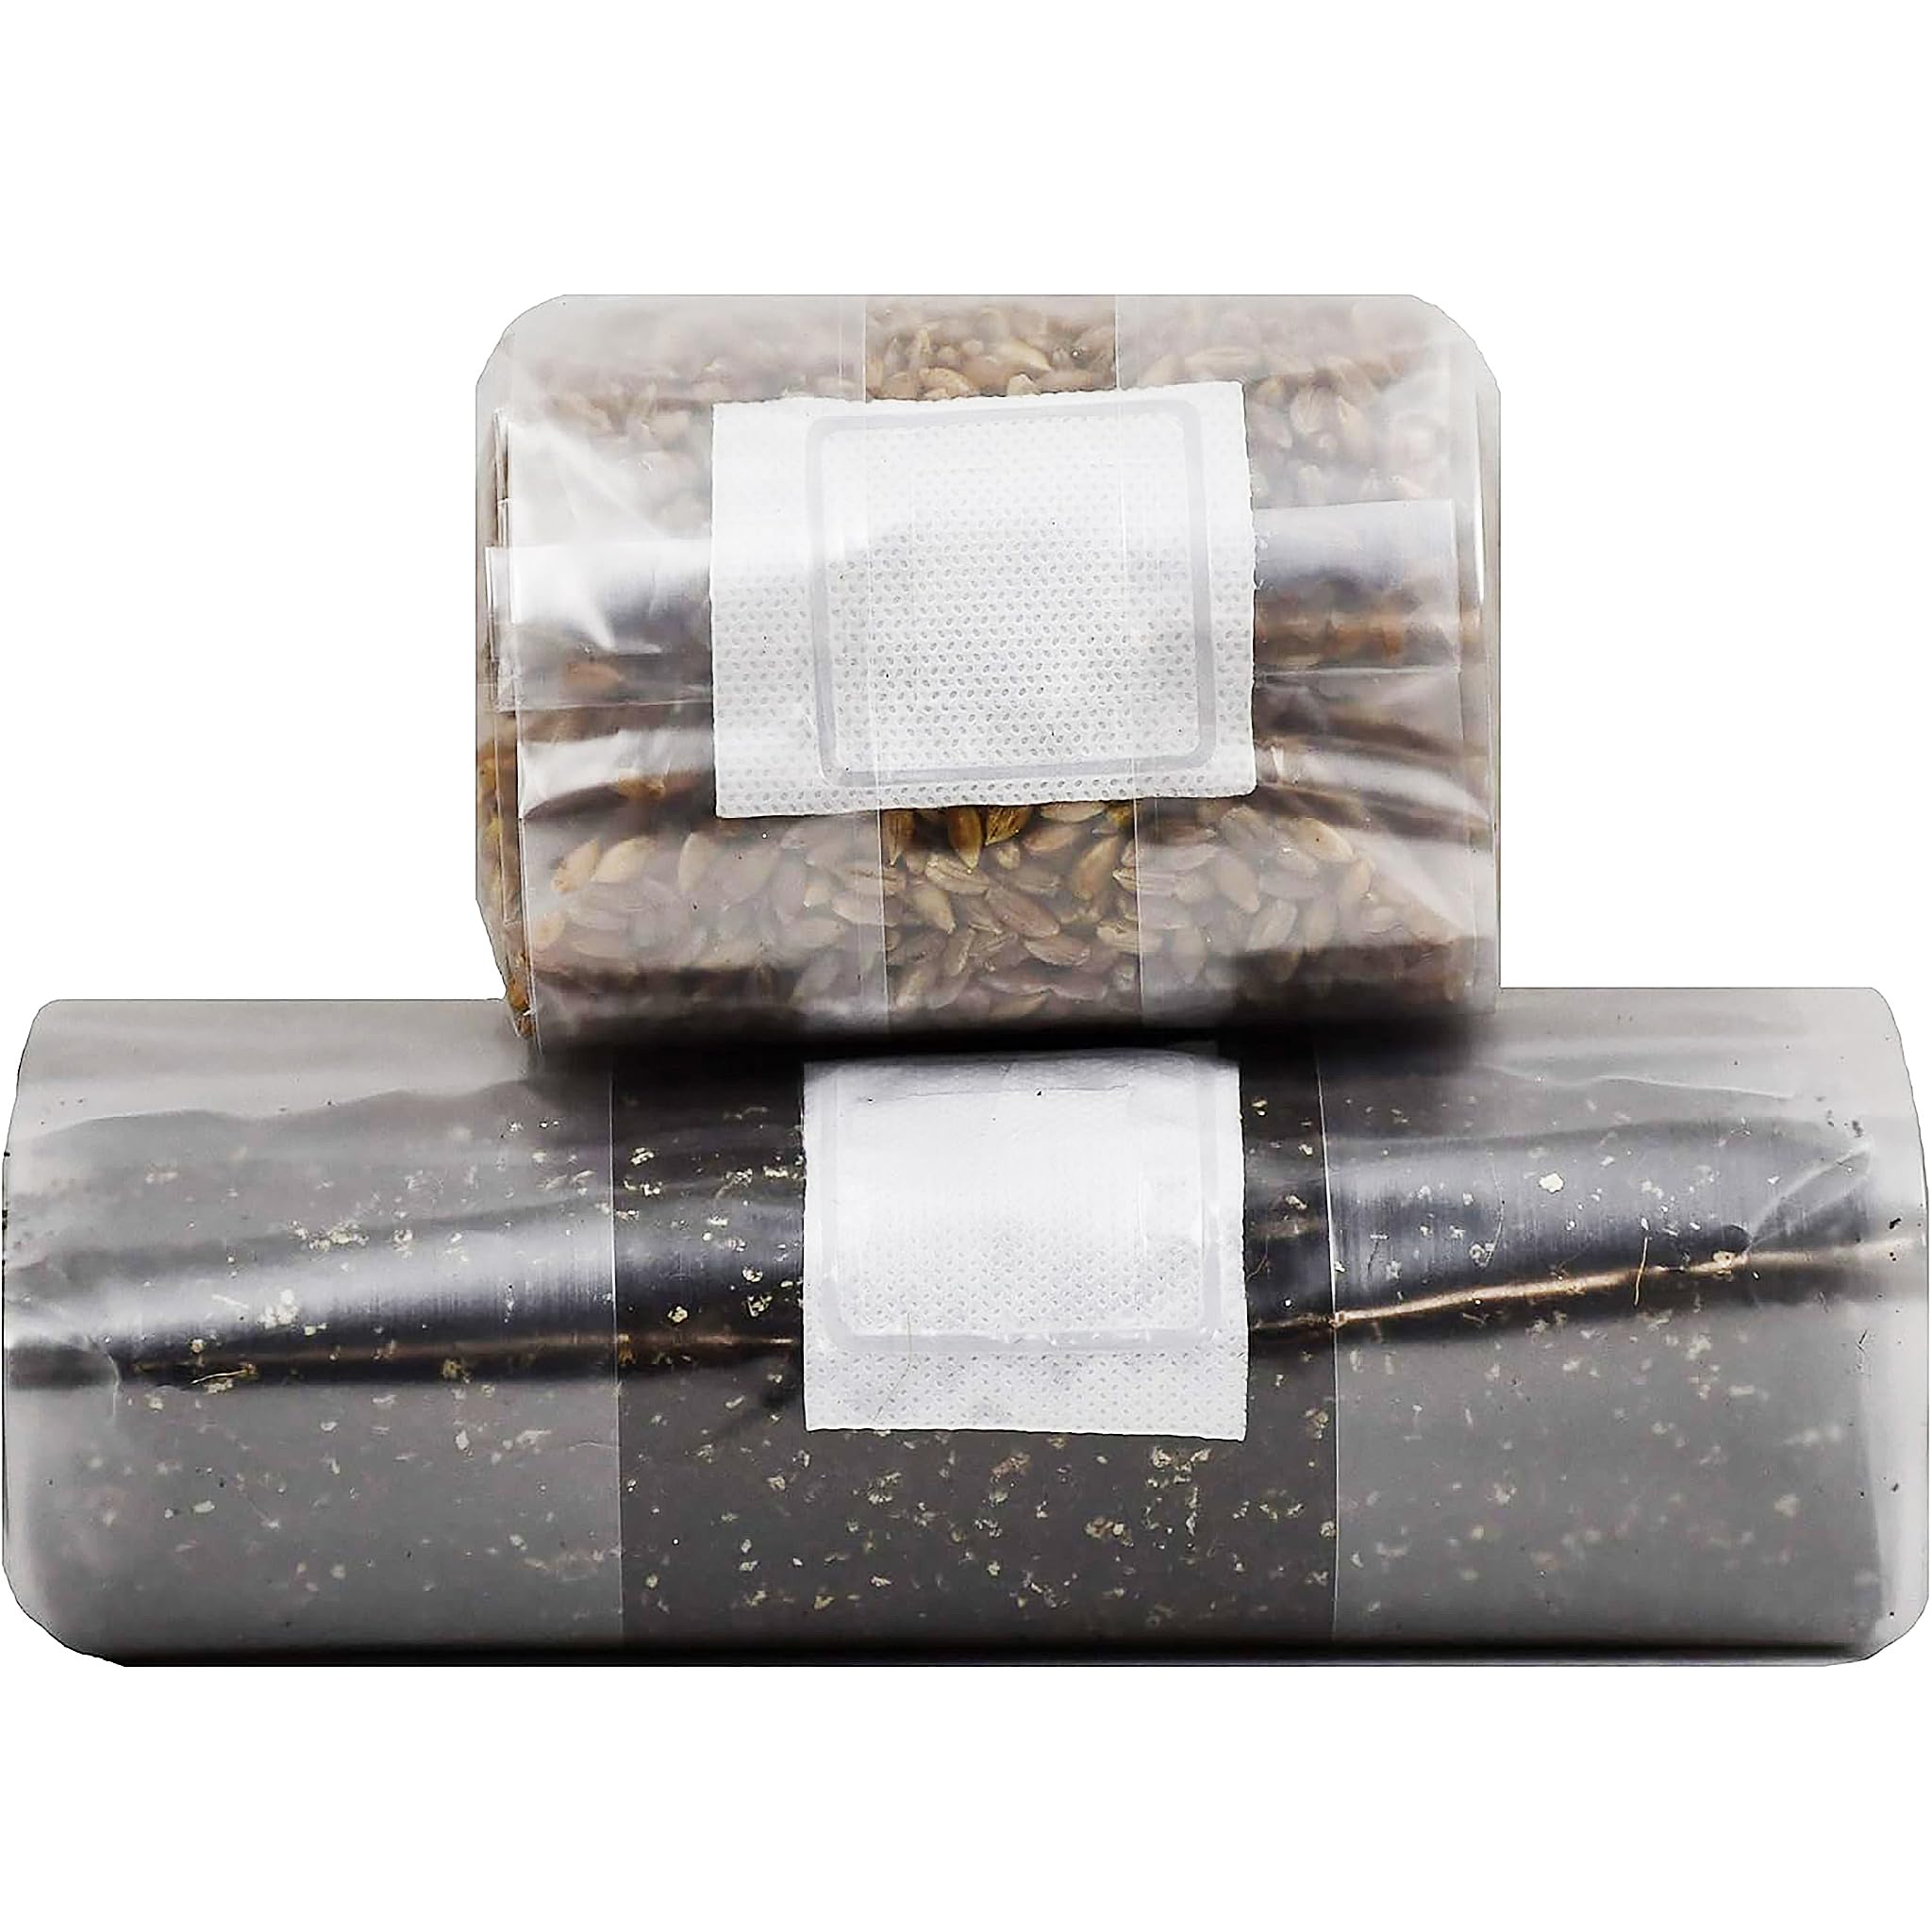
A compact, pre-sterilized rye and manure kit built for short runs and quick experimentation.
Why I picked it: Compact, self-healing ports and organic substrate make it ideal for trial grows.
Best for: Trying new strains, small-scale tests, or quick grain spawn runs.
An affordable compact kit for experiments and short runs.
Pros
- Self-healing injection port
- Compact and convenient
- Pre-sterilized grain
- Good for experimenting
Cons
- May need more substrate
- Contamination risk if technique slips
My take
I used this kit to test a couple of strains. The grain colonized fully in about 15 days when I maintained clean inoculation practices.
This kit is ideal for quick trials, but I did find the included humidity solution a bit small—using a tray or small tent improved results dramatically.
Contamination is possible if inoculation technique is sloppy, so I treated this as a good learning tool for improving sterile technique rather than a guaranteed harvest machine.
How I Choose a Mushroom Grow Kit
Species and culinary use
I choose kits based on the species I want to cook with. Oyster varieties fruit quickly and taste clean in sautés; lion’s mane gives a meaty texture that works well for tinctures and specialty dishes.
- Oysters = fast pins and great sautés
- Lion’s mane = denser texture, tinctures, extracts
- Check the kit description for the species before buying
Kit size and yield expectations
I match kit size to my goals. Small retail boxes are perfect for a single meal or a demo, while 3–5 lb substrate bags are better when I want multiple pounds from fewer setups.
- Mini kits = quick, small yields
- 3 lb = good balance of effort and harvest
- 5 lb bags = best for larger or repeat harvests
Ease of use and included accessories
I look for kits that include a spray bottle, clear instructions, and a simple fruiting method. Self-contained kits are best for beginners; injection-port bags work well when I’m ready to inoculate with my own culture.
- Included mister/sprayer speeds setup
- Self-healing ports are useful for syringes
- Read instructions to understand required effort
Humidity, light, and placement
I always plan where I’ll keep a kit before I start. Most kits need indirect light and regular misting; some benefit from a small tent or tray to maintain humidity.
- Indirect light is usually enough
- Mist 2–3 times daily for many kits
- Use a tray or clear tent to stabilize humidity
Contamination: prevention and response
I prevent contamination by working cleanly and avoiding overwatering. If I see mold or black spots I remove the affected portion or discard the kit and start fresh—contamination is easier to prevent than fix.
- Maintain steady humidity, avoid puddles
- Use aseptic technique for injections
- Discard heavily contaminated blocks promptly
Frequently Asked Questions
How long until I can harvest?
From my experience, most oyster kits begin pinning in 7–14 days and are harvest-ready in about ten days; lion’s mane and some specialty kits can take up to three weeks to produce a market-ready flush.
Can I get multiple harvests from a kit?
Yes—many kits produce two or more flushes. I’ve seen strong first flushes followed by smaller subsequent yields; soaking and careful humidity control help coax out additional flushes.
What should I do if I see mold?
If I spot surface mold or black spots I remove the contaminated material and isolate the kit. For heavy contamination I stop using the block and dispose of it to avoid spreading spores to other grows.
Do I need extra tools or spores?
Some kits are all-in-one and include a mister and humidity bag. Larger injection-port bags usually require you to bring your own syringe or liquid culture, so I prepare those ahead of time.
Final Take
I pick a mini kit when I want a fast, low-effort harvest or a fun gift; I turn to 3–5 lb bags when I want larger, more serious yields.
No matter which kit you choose, steady humidity, prompt harvesting, and clean technique made the biggest difference in my results.
")