
I tested a range of cross-stitch kits, tools, floss sets, and frames so you can turn photos into polished stitched pieces without wasting time or money.
I approached this roundup with one goal: make it easier to convert photos into stitchable projects and actually enjoy the process. That means good thread choices, reliable tools, and a frame that lets my hands do the work.
Over several projects I used small snips for tidy thread ends, starter kits to test colors, large floss sets for accurate shading, and a scroll frame to free both hands for long stitching sessions. Below are the specific products I reached for and why each one earned a spot.
If I'm turning a photo into a cross-stitch pattern, I typically start with a floss set or a large kit to match tones, add a reliable pair of scissors for neat thread ends, and use a scroll frame for long sessions. Smaller beginner kits are great for practice and kids, while the big floss pack gives me the color depth I need for photo realism.
1. Embroidery Stork Scissors with Leather Sheath – Best Small Scissors
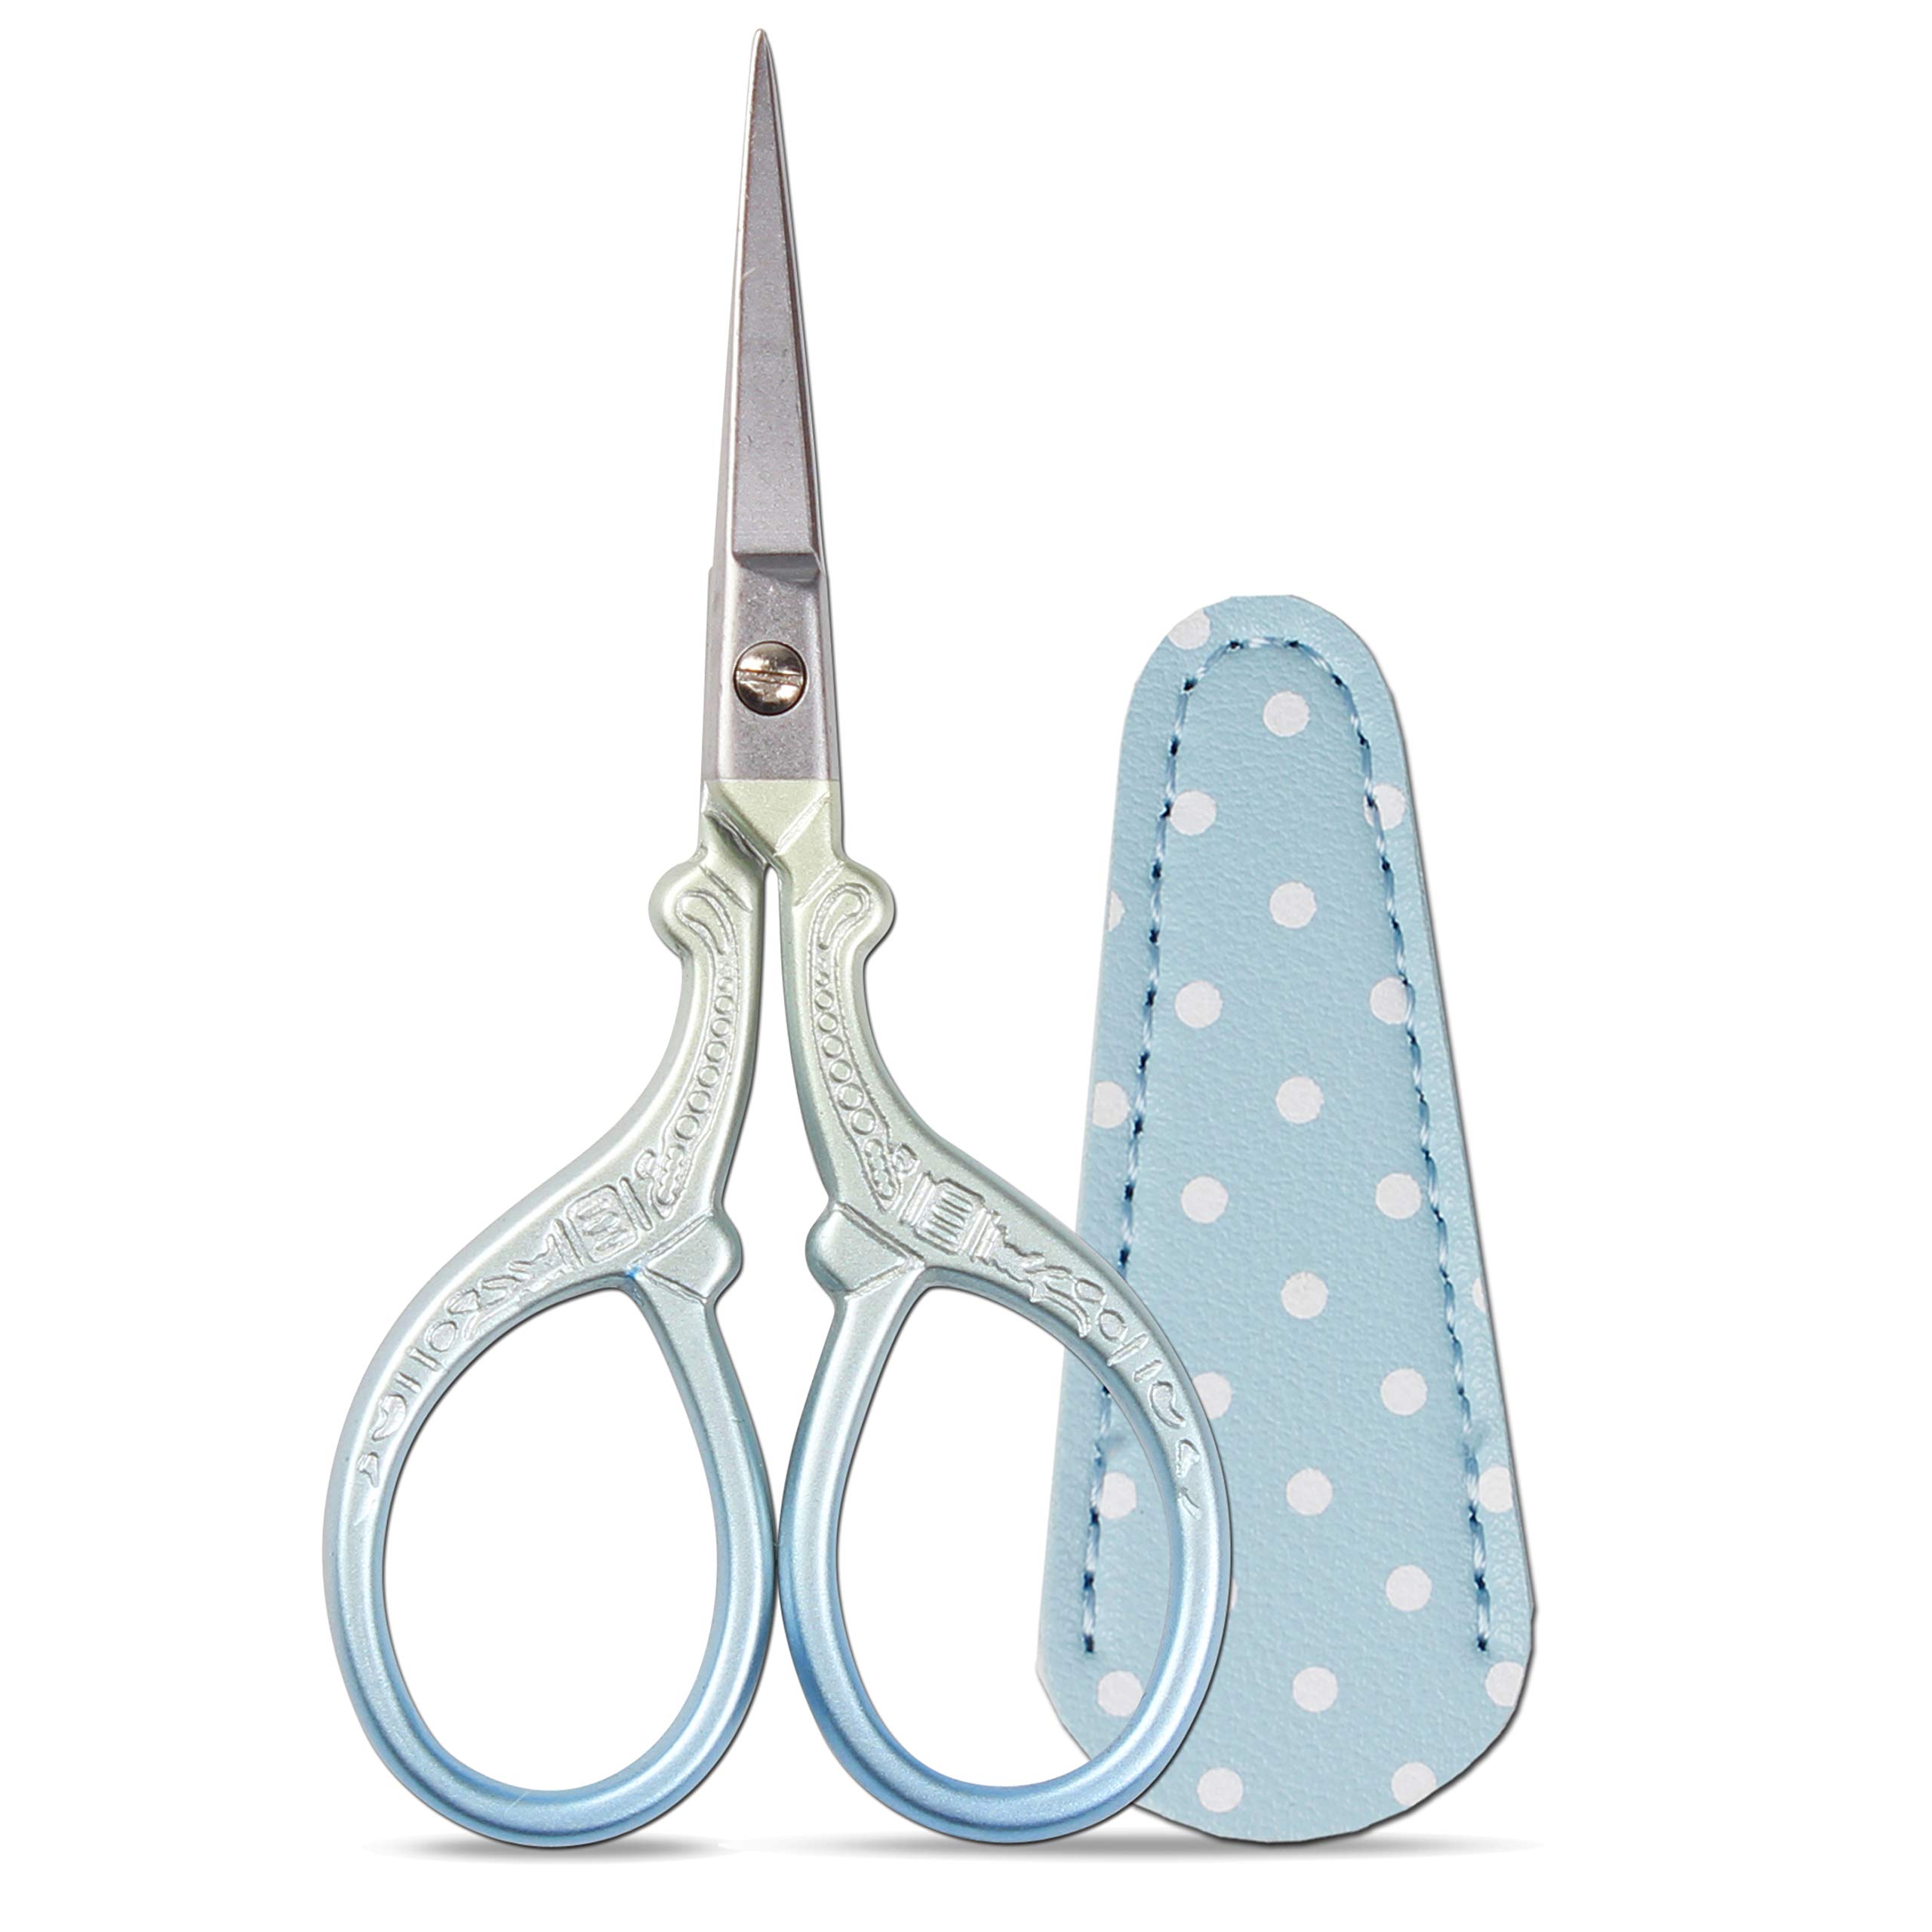
I keep a tiny pair of stainless-steel stork scissors in every project bag. These 3.6-inch shears are compact, sharp enough for thread, and come with a protective leather cover.
Why I picked it: Compact, sharp thread snips with a protective sleeve.
Best for: Thread trimming, quick snips, portable sewing kits.
Very affordable option for everyday cutting.
Pros
- Compact and easy to stash
- Sharp enough for thread ends
- Protective leather sheath
- Attractive painted handles
Cons
- Not the absolute sharpest shear
- Small handles not ideal for large hands
My take
I use these scissors for every project where I need quick, precise thread trims. The 3.6-inch size slips into my travel pouch and the little leather sheath keeps the tips protected when I toss the pouch into my tote.
They arrived with a light oil on the tips and a few handmade polish marks, which I wiped away. For general thread cutting and tidy snips they perform reliably, though I still reach for a razor-sharp pair for intricate single-strand work.
The stork shape and painted finish make them easy to find on a cluttered table, and the stainless steel has held up to regular use without rusting. If you want a cute, practical pair of snips for day-to-day stitching, these are a solid pick.
2. Similane 215-Piece Embroidery Starter Kit – Best Starter Kit

When I want everything in one box, I reach for a full starter kit. This Similane set pairs 100 threads with multiple hoops, Aida cloth, and all the small tools I need to begin a photo-to-stitch practice piece.
Why I picked it: Comprehensive all-in-one kit with lots of thread and practical tools.
Best for: Beginners and anyone who wants an all-in-one starter kit.
Great value for a complete starter collection.
Pros
- Wide color variety
- Multiple hoop sizes
- Comes with many useful tools
- Clear instructions for beginners
Cons
- Thread organization takes effort
- Hoop range may not suit very large projects
My take
I used this kit to prototype a small photo-based pattern and appreciated having nearly everything at hand: hoops, three Aida cloths, pins, needles, bobbins, and the 100-color floss selection.
The threads are bright and the fabric feels sturdy enough for practice work. The included instructions walked me through basic stitches and hoop setup so I could focus on translating color blocks from my photo mock-up.
If you prefer to skip hunted-down tools and want to start testing photo-to-pattern ideas right away, this kit saved me time and kept my workspace tidy while I experimented.
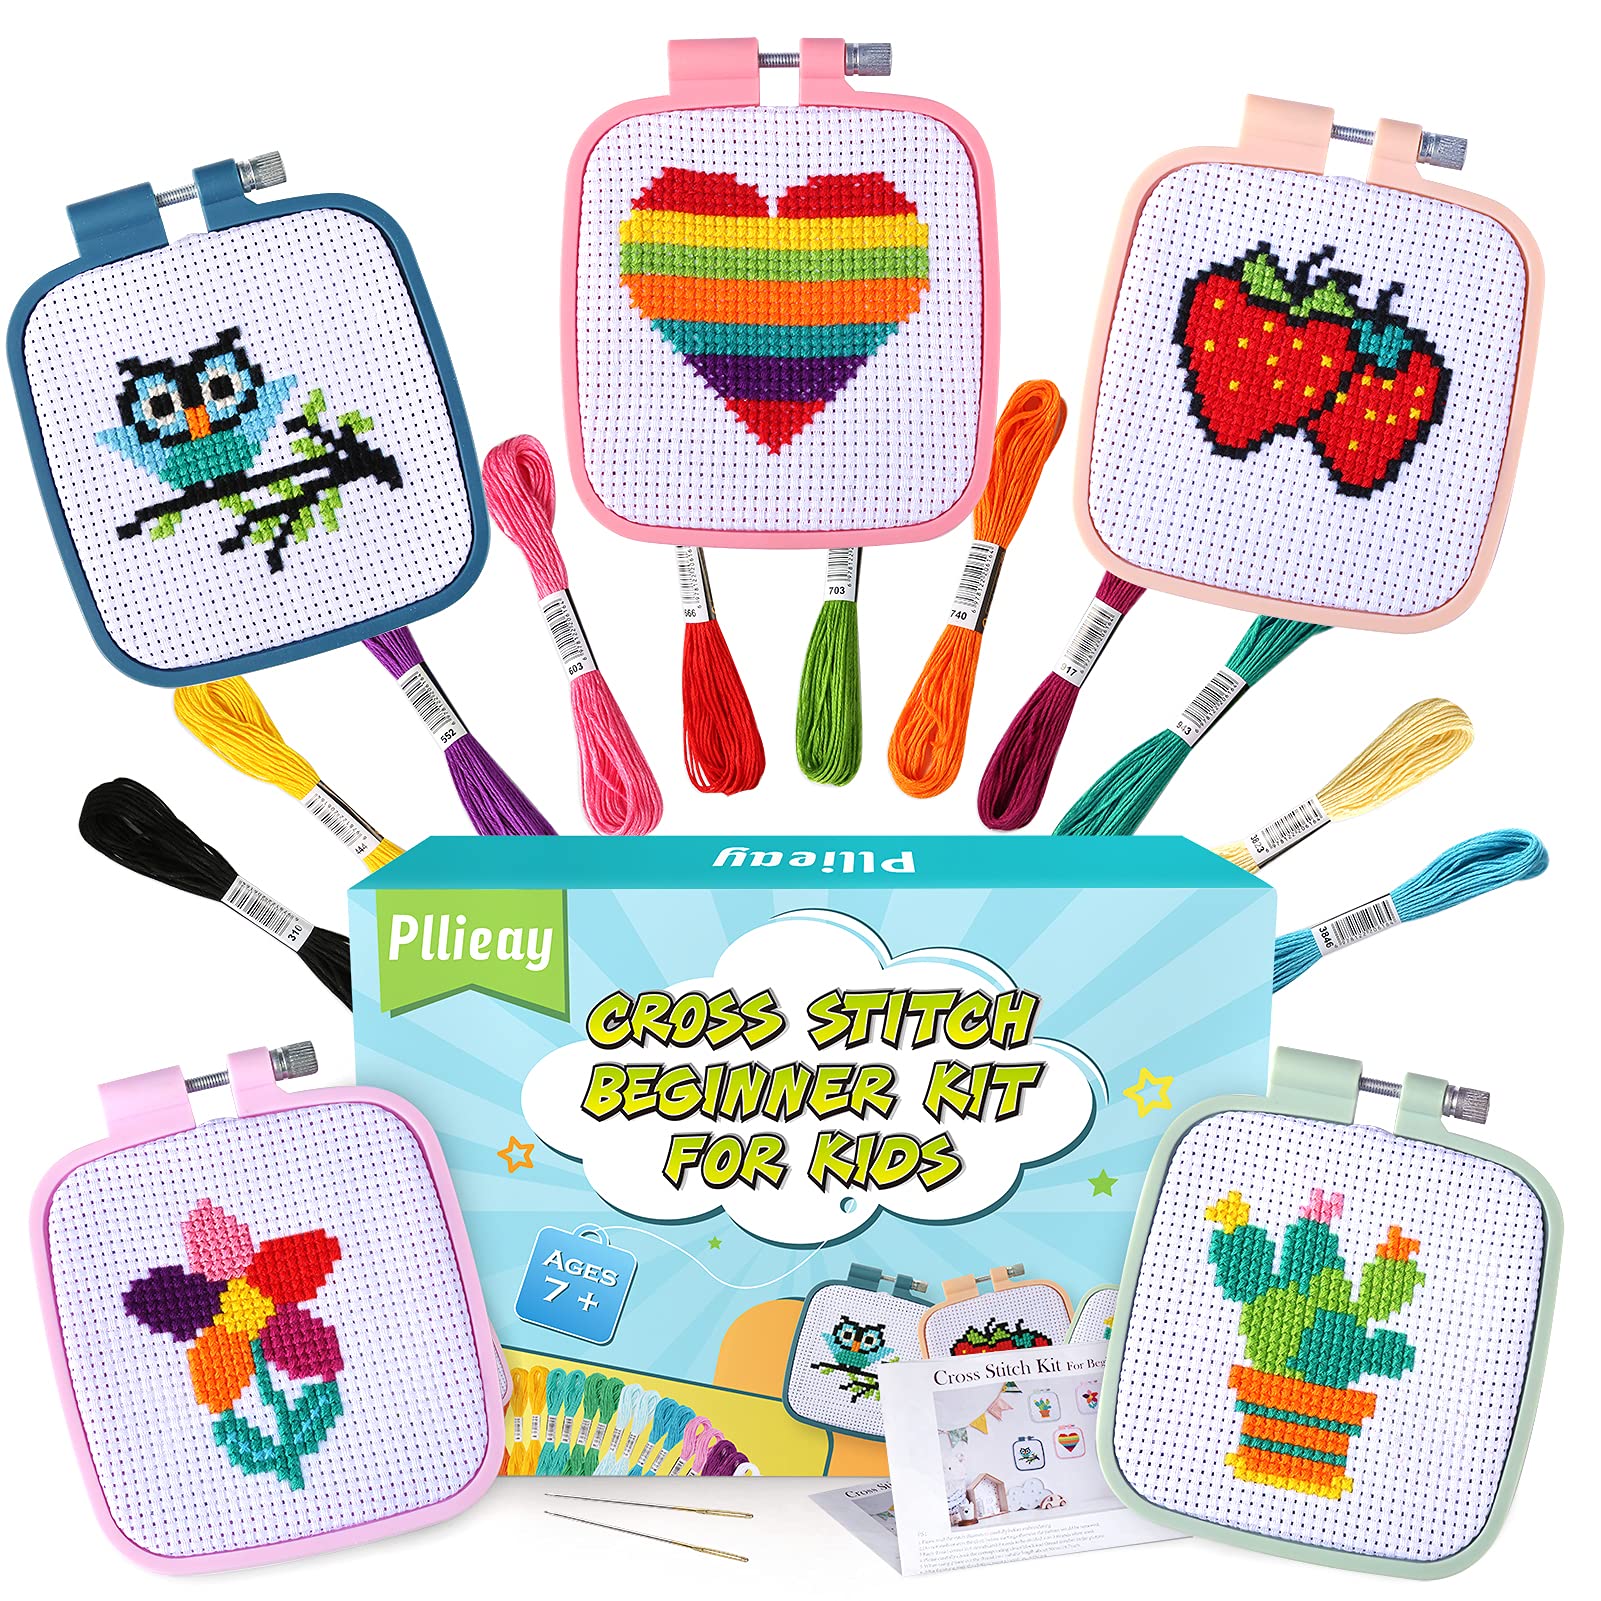
3. Pllieay Beginner Cross Stitch Kit for Kids – Best for Kids
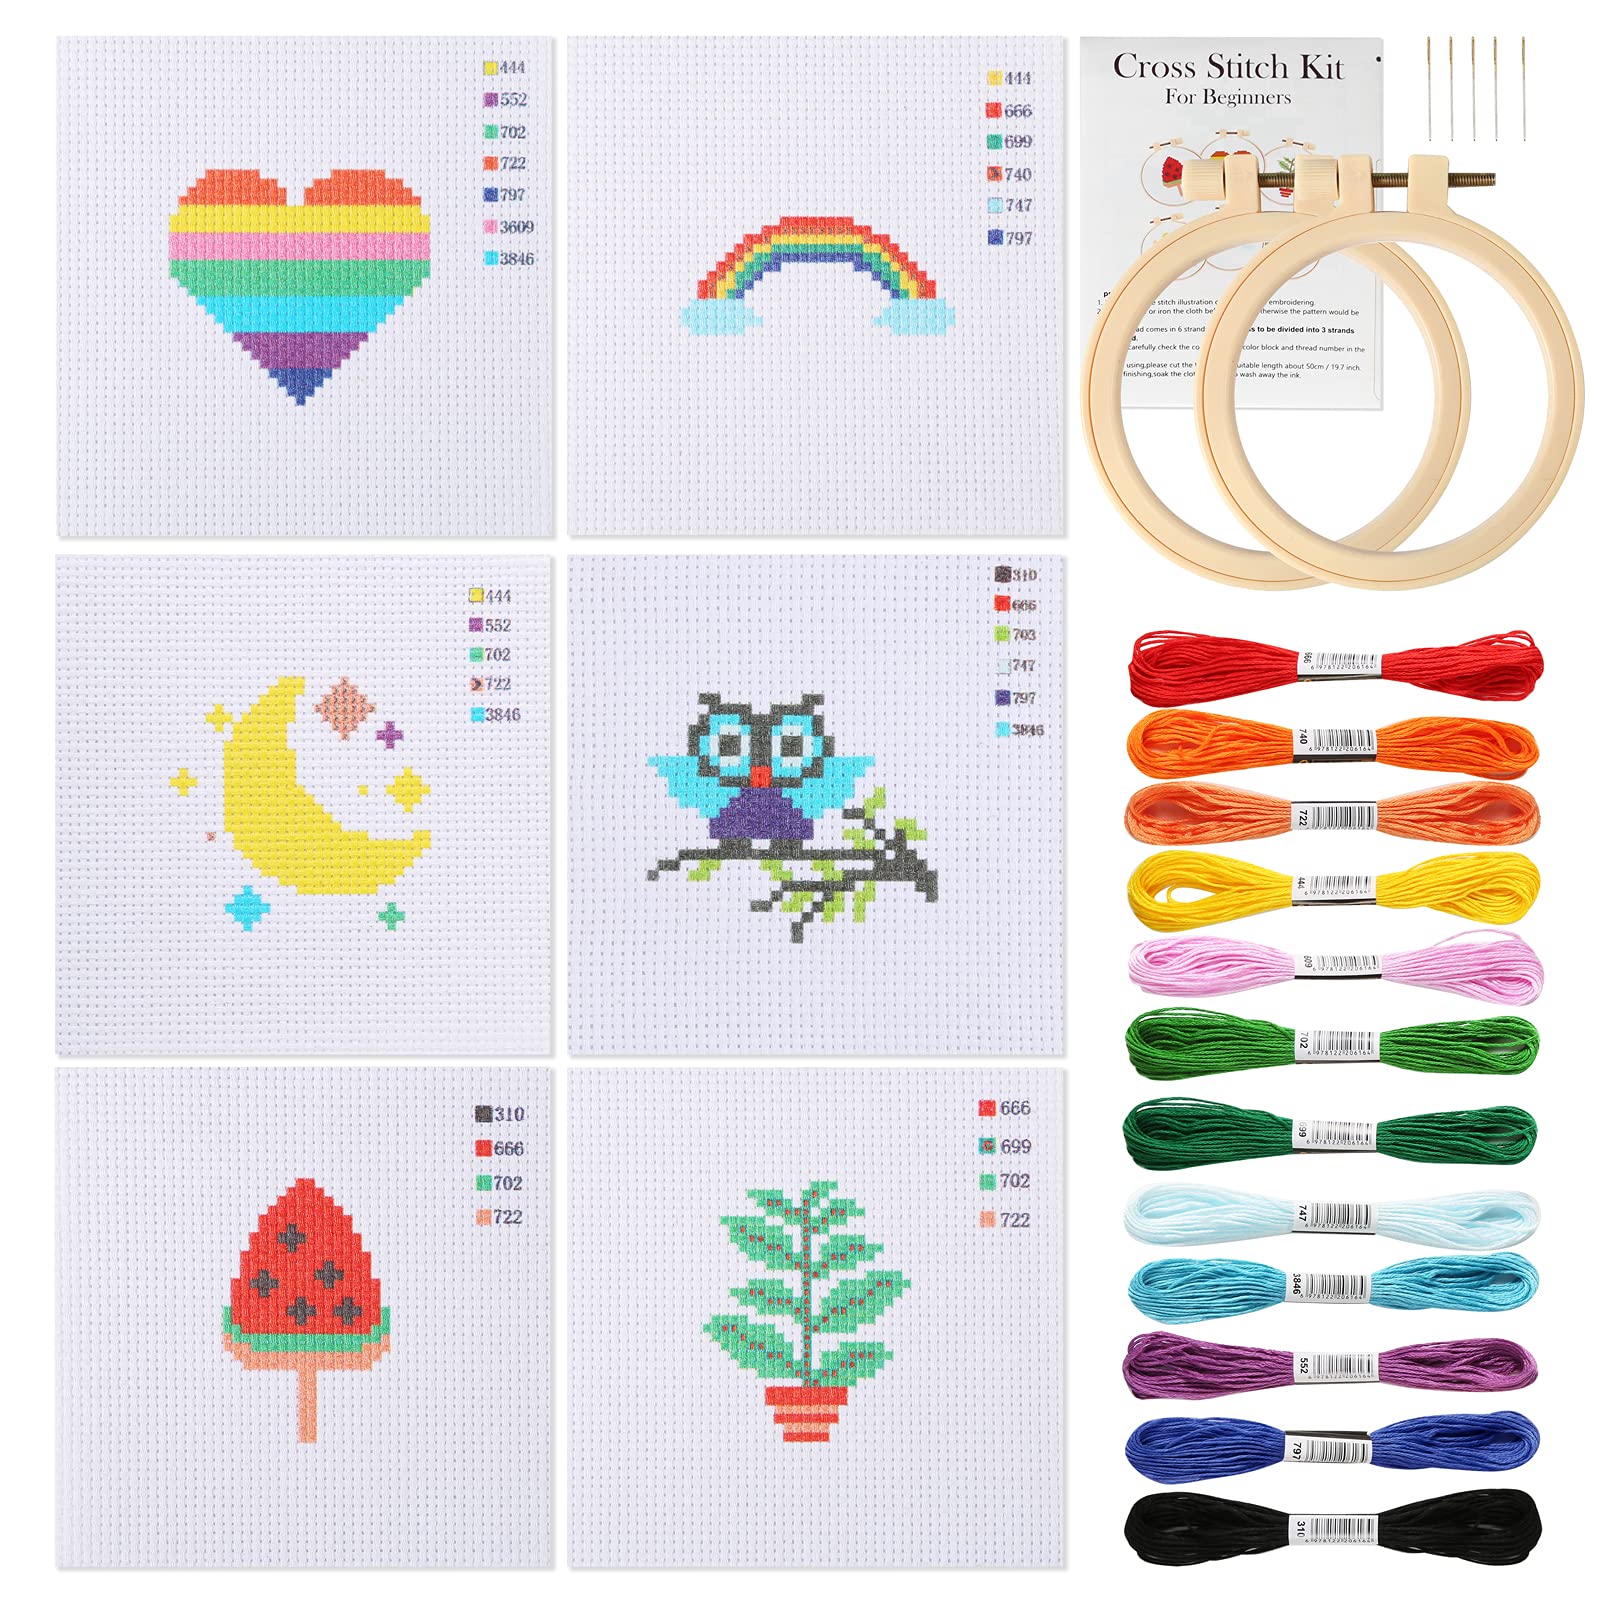
For introducing kids (or absolute beginners) to stitching, this set delivers simple, washable printed patterns, small hoops, and easy-to-handle threads.
Why I picked it: Kid-friendly printed patterns and simple, washable designs.
Best for: Children and absolute beginners starting with small projects.
Budget-friendly starter kit for kids.
Pros
- Printed patterns for easy guidance
- Small, simple designs kids enjoy
- Everything included to begin
Cons
- Project size is small
- Limited color variety
My take
I gave this kit to a young beginner and appreciated how the printed patterns remove a lot of early frustration. The motifs — rainbows, ice cream, owls — are simple and quick wins that build confidence.
The thread lengths are generous for the size of the projects, and the designs wash off the Aida cloth after finishing, which is handy for practice runs.
A couple of hoops were stiff to seat on the fabric in one of the packages I tried, so I recommend checking hoop fit before gifting it to a small child. Overall, it’s a cheerful, low-pressure way to learn stitching basics.
4. Inscraft 250-Color Embroidery Floss Set – Best Color Range

When I need nuanced shading for photo conversions, I turn to a large floss box. This Inscraft kit gives me 250 colors, bobbins, and a clear multi-tier box so matching subtle tones becomes much easier.
Why I picked it: Huge color selection organized in a compact storage box.
Best for: Photo-to-stitch projects and stitchers who need many shades.
A larger investment that pays off for color accuracy.
Pros
- Extensive 250-color range
- Bobbins and numbered threads
- Neat 4-tier storage box
Cons
- Can feel overwhelming to sort
- Plastic box edges may be fragile
My take
For photo-to-cross-stitch work I often need many close color matches. Having 250 colors on bobbins saved me from improvising with blends and made shading much more precise.
The threads arrived pre-wound on bobbins and sorted by color families, which sped up my project setup. I reorganized them numerically for my pattern, and the transparent box kept everything visible when I worked on a palette-heavy piece.
This set also includes small tools that let me stitch on the go. If you want to translate photos with believable depth and gradation, a large floss set like this reduces frustrating color compromises.
5. Pllieay 5-Pack Beginner Cross Stitch Set – Best Value Multipack
I reach for a multipack when I want variety and practice without commitment. Five small printed projects and several threads let me explore different motifs quickly.
Why I picked it: Multiple quick projects to practice techniques affordably.
Best for: Learners who want several starter projects at once.
Good value for multiple practice projects.
Pros
- Five different patterns
- Printed fabric for easy stitching
- Great for lesson practice
Cons
- Hoops are very small
- Hoops can be hard to seat
My take
I used this five-pack to run quick experiments with color placement and stitch density while converting simple photos into tiny stitched icons.
The printed patterns wash away when you’re done, which is useful for repeating exercises. However, I did find the square hoops small and stiff on some pieces, requiring a bit of muscle to secure the fabric.
If you’re teaching yourself or a child and want to get through multiple short projects, this multipack is efficient and low-commitment.
6. ZOCONE Beech Wood Tapestry Scroll Frame – Best Hands-Free Frame
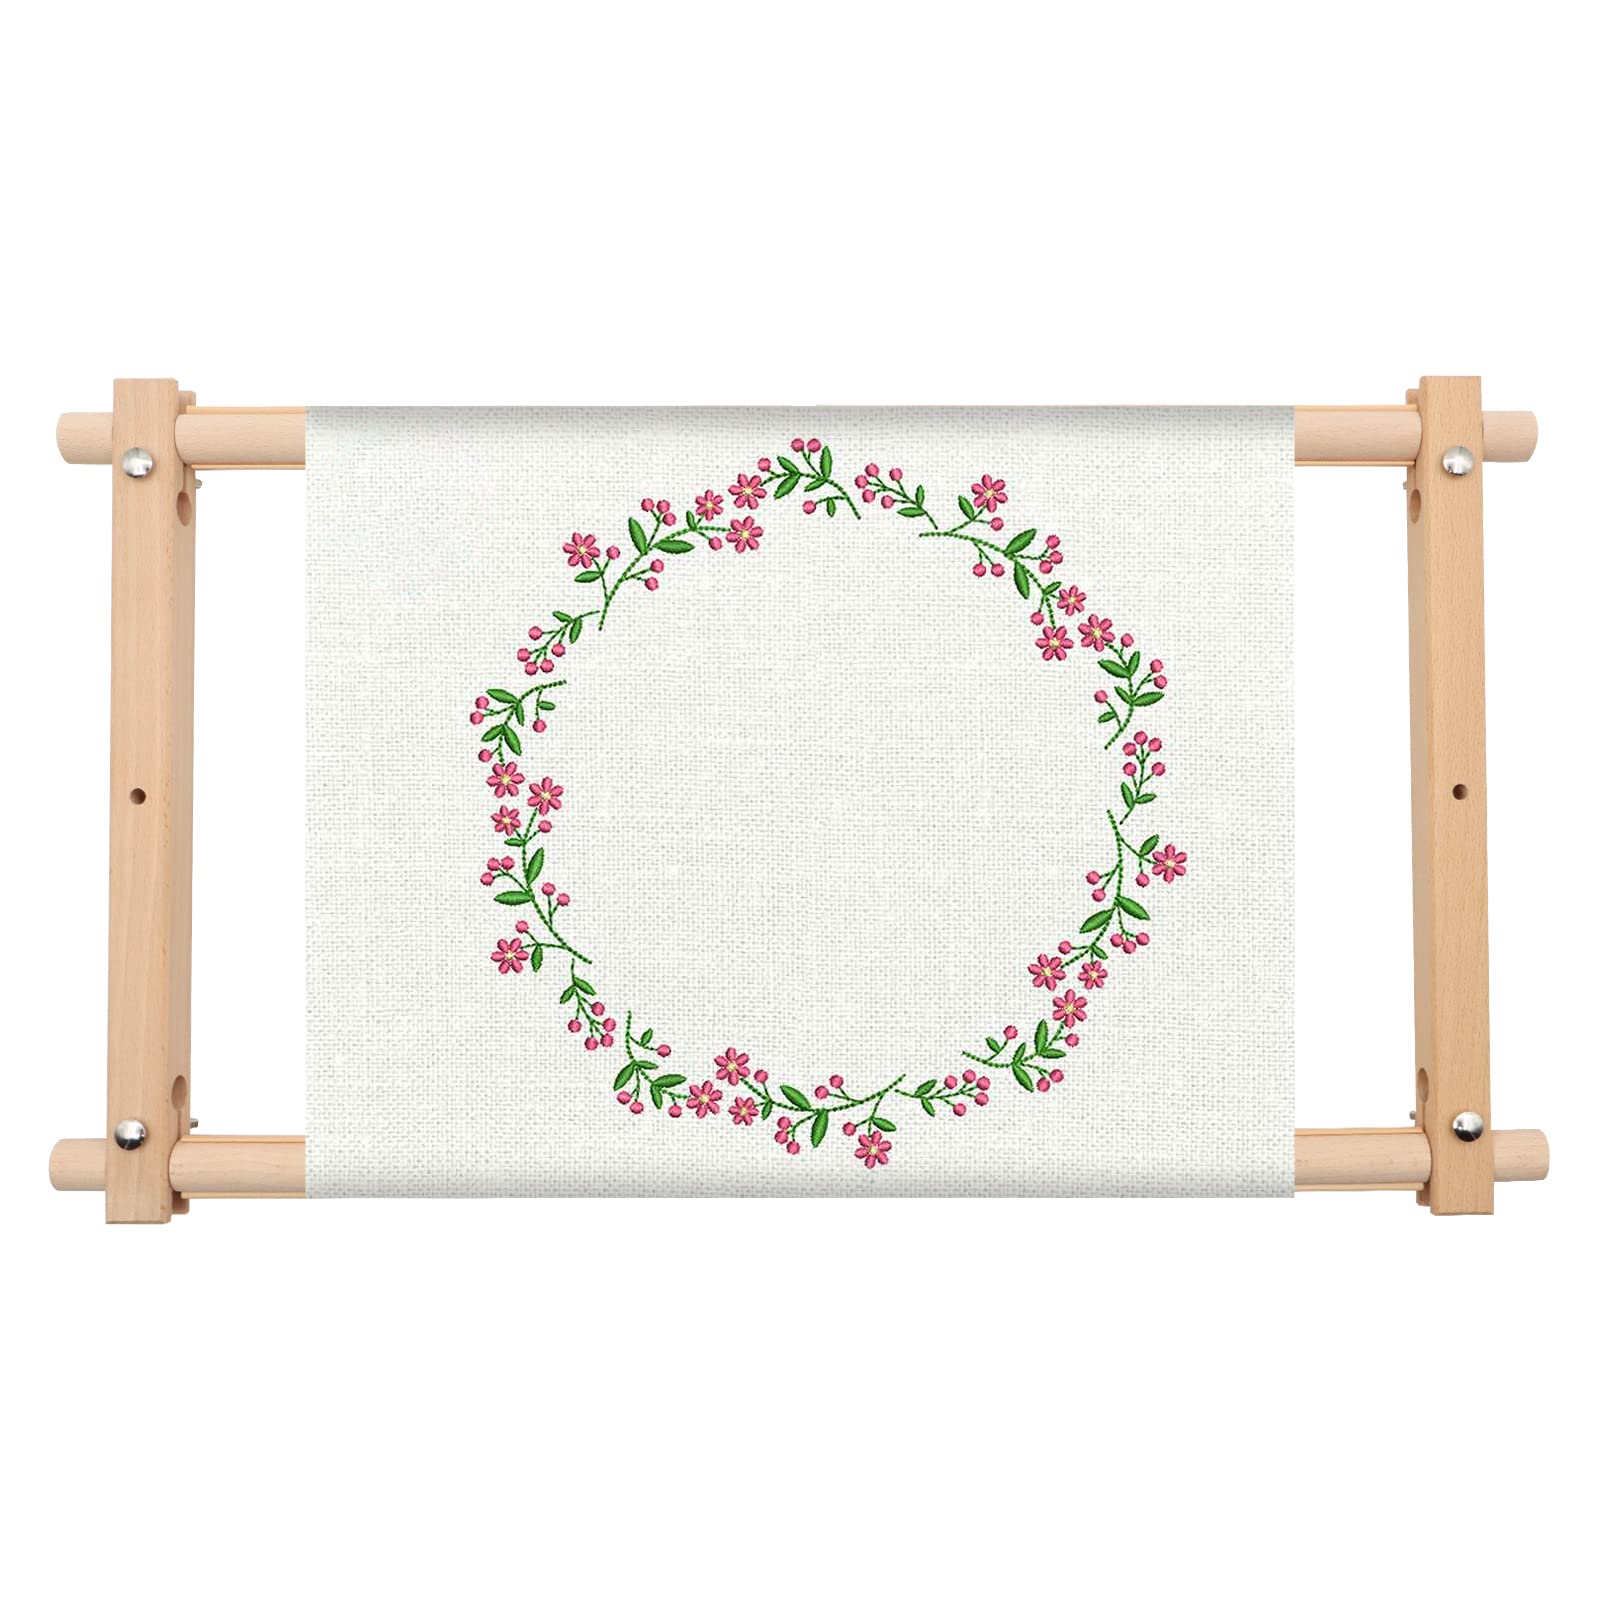
A scroll frame rethought my process: hands-free support, sturdy beech wood, and adjustable clips that keep fabric taut while I work through long photo-based projects.
Why I picked it: Solid hands-free frame that eases long stitching sessions.
Best for: Large pieces, two-handed stitches, and long sessions.
Mid-range tool worth it for regular stitchers.
Pros
- Solid beech wood construction
- Hands-free, frees both hands
- Holds fabric very tight
Cons
- Wing nut can loosen over time
- A bit large for tiny projects
My take
After pulling a tendon, this scroll frame let me continue stitching without cramping my hands or shoulders. The bottom slips under my thigh and the clamps hold the fabric tight so I can use both hands for complex stitches.
Assembly is straightforward and the wood feels sturdy. I did find the wing nut loosened occasionally during long sessions, but tightening it is quick and didn’t interrupt my workflow significantly.
For anyone converting photos into larger stitched pieces, a hands-free frame like this changed how comfortably and quickly I can work.
How I Choose Supplies for Photo-to-Cross-Stitch Projects
Thread and Color Selection
When I turn a photo into a stitchable pattern, color accuracy is the first thing I chase. A large floss set with many shades reduces compromise and makes gradients look natural.
If I’m starting small or testing a pattern, I’ll use a starter kit or smaller multipack to validate color groupings before committing to dozens of skeins.
- Aim for a floss set with a wide tonal range for photo shading.
- Prefer bobbins and numbers — they make reordering and matching simpler.
- Start with a smaller kit if you’re prototyping a photo conversion.
Fabric and Count
Fabric count dictates detail. I pick lower counts (larger squares) for bold, simplified portraits and finer counts when I want more photographic detail.
Sturdy Aida works well for practice. For a final piece, I choose a tighter weave that holds small stitches neatly.
- 16–18 count Aida is a good middle ground.
- Lower counts (11–14) simplify photos into bold shapes.
- Higher counts (28+ over two) let you translate more detail.
Tools That Save Time
Small tools — sharp embroidery scissors, needle threaders, bobbins — speed up the repetitive parts of stitching so I can focus on color placement.
A scroll or stand transforms long sessions: I stitch longer and with less fatigue when my hands are free.
- Keep a dedicated pair of small, sharp scissors for thread ends.
- Use needle threaders and bobbins to keep threads organized.
- Invest in a frame if you plan multi-hour stitching sessions.
Kits vs. Custom Conversions
I use kits to practice techniques and try color combinations quickly. For true photo conversions, I build a palette from a large floss set so I can match subtle tones.
Start with a kit to learn stitches, then scale up with a dedicated floss selection and a scroll frame for final photo pieces.
- Kits are great for learning and quick projects.
- Large floss collections are better for photo realism.
- Pair a high-count fabric with many colors for the most detail.
Frequently Asked Questions
Can I convert any photo into a cross-stitch pattern?
Yes — but I simplify photos before stitching. I reduce detail, boost contrast, and pick a limited palette to translate the photo into clear blocks of color that stitch well.
How many thread colors do I really need for a photo-based piece?
I usually start with 20–50 key shades for a small portrait and scale up to hundreds when I want fine gradients. A 250-color box gives me the flexibility to match subtle tones without blending too much.
Do I need a scroll frame to work on photo projects?
I don’t always need one, but for larger photo conversions a scroll or stand frees my hands and reduces fatigue. It makes two-handed stitches and long sessions much more comfortable.
What fabric count should I choose for photo detail?
For more photographic detail I go higher in count; for bold, graphic translations I choose lower counts. A middle-ground 16–18 count is where I start when I’m not sure.
Final Take
If I’m converting photos to cross-stitch, I prioritize color range and comfort: a large floss set for accurate color, sharp small scissors for neat trims, and a scroll frame for long, two-handed work.
For beginners or kids I use printed kits to learn stitches before stepping up to custom photo projects. The right mix of tools and threads keeps the process enjoyable and the results closer to the photo I started with.
")