
I tested clays and tools I use to make earrings and shortlisted options that condition easily, bake predictable, and finish well for jewelry.
I make polymer clay earrings regularly, so I focused on materials and tools that help small, detailed work hold up in everyday wear.
This roundup covers the clays and cutters I reach for when I need consistent thickness, reliable curing, and finishes that take paint, varnish, or stamping.
I include bulk whites, sampler color packs, a liquid option for pours and inlays, and a cutter set that speeds up making matching pairs.
Across these picks I balanced workability for fine details, size and color options for pairing, and tool compatibility so I can move from shaping to baking to finishing without surprises.
1. Sculpey Original Clay — White (1.75 lb) – Best for Large Runs
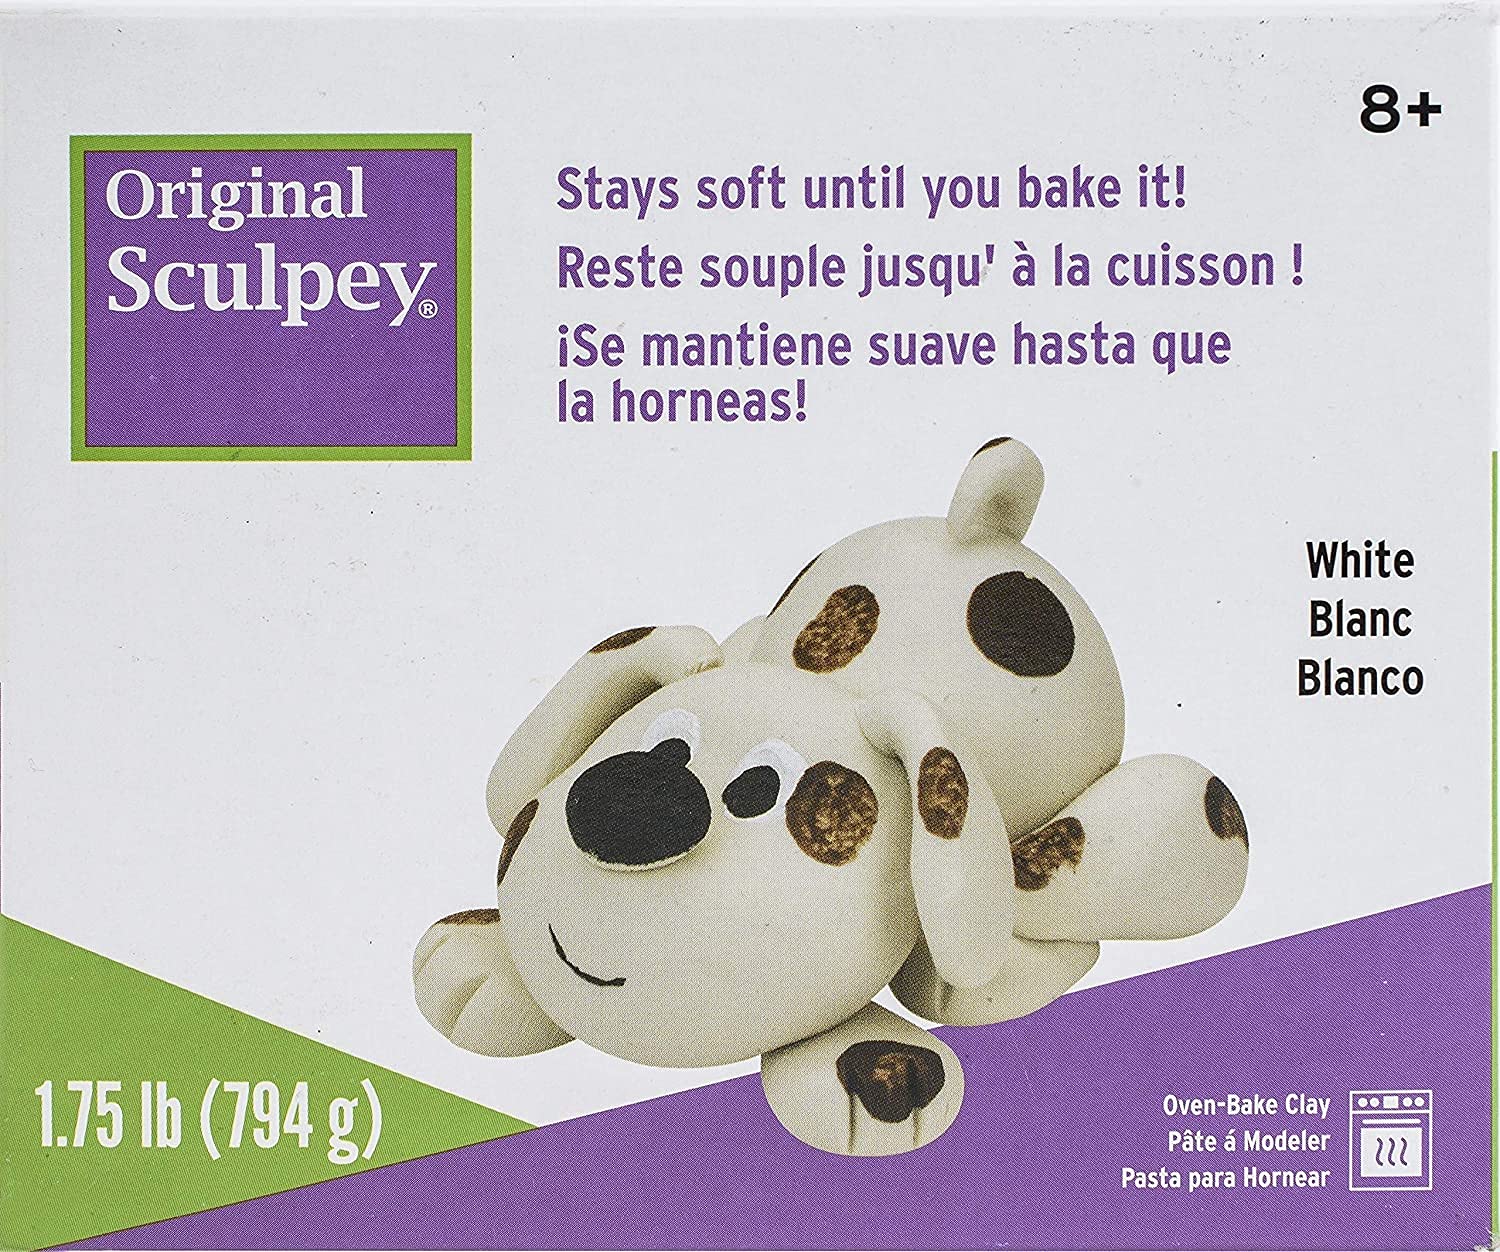
I reach for this large white block when I need a reliable base for batch-making white or custom-colored earring components.
Why I picked it: Bulk white that conditions easily and sands/paints well after baking.
Best for: Making many matching earring pieces or using white as a paintable base.
Good bulk value for makers who turn out many pieces.
Pros
- Large quantity for multiple projects
- Stays soft until baked
- Sands and paints cleanly
- Non-toxic and classroom-safe
Cons
- Can feel sticky when hands are warm
- Brick size needs conditioning
My take
When I’m producing several pairs of earrings at once, the 1.75-pound white brick gives me enough material to mix tints, roll sheets, and cut dozens of shapes without running out mid-run.
The clay conditions with a few minutes of kneading or a pass through my pasta machine and smooths together nicely for thin earring shapes. It stays soft until I bake, which makes multi-step projects—like layering or adding texture—easy.
After baking the pieces cure hard and accept sanding and water-based acrylic paint without issues, so I can refine edges and seal for a professional look.
I do watch my working temperature: the clay can get tacky if overhandled with warm hands, so I sometimes cool it briefly in the fridge for very fine detail work.
2. Round Polymer Clay Cutters — 40pc Set – Best Cutters for Consistency
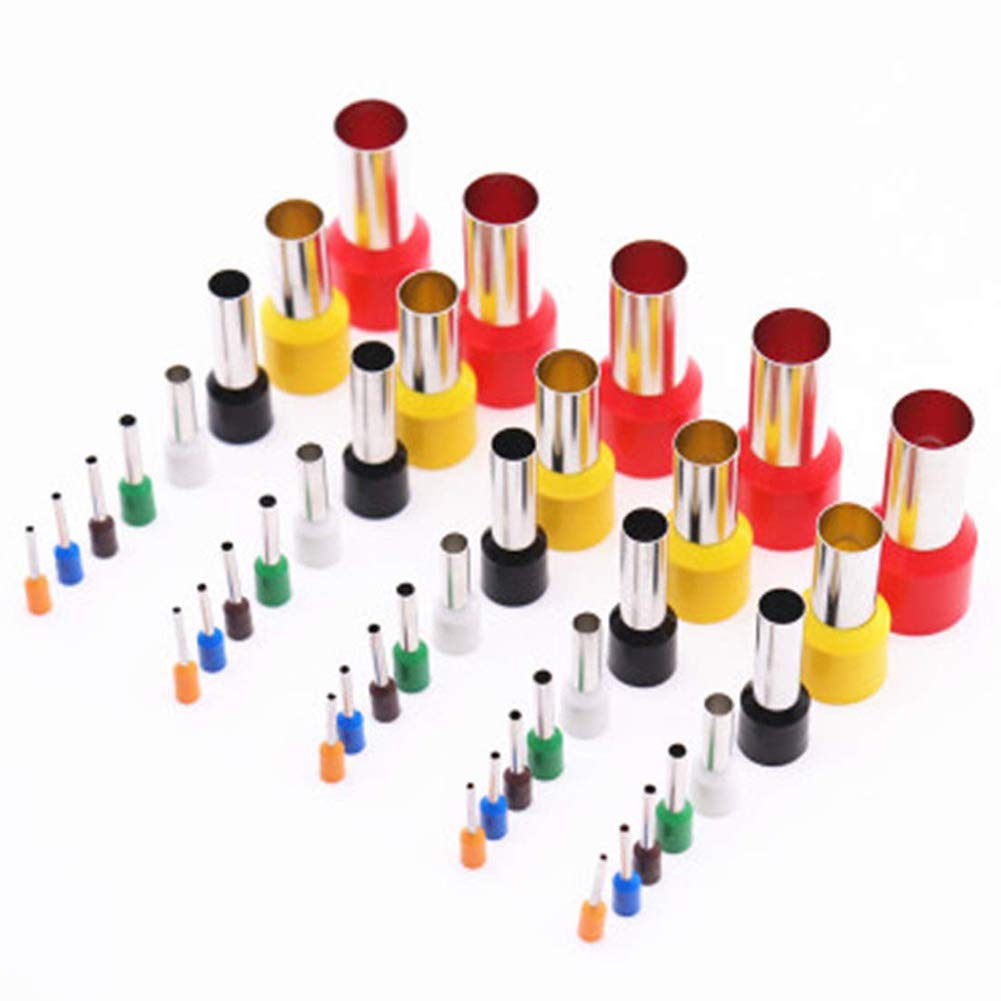
I use this circle cutter set to punch perfectly matched earring shapes quickly and consistently.
Why I picked it: Comprehensive size range and durable stainless edges for repeatable cuts.
Best for: Cutting discs, holes, and layering identical earring parts.
Affordable and versatile toolset for hobbyists and small shops.
Pros
- Wide size range
- Stainless steel edges
- Compact storage case
- Cuts clean circles
Cons
- Clay can stick inside cutters
- No ejector tool included
My take
For earrings I value symmetry and repeatability, and this 40-piece set lets me cut identical circles from sheeted clay without fuss.
The steel rims hold their shape and punch cleanly through conditioned clay; that saves me time versus hand-cutting with blades or templates.
I learned to dust the rims with cornstarch or keep a skewer handy to push stuck clay out—simple hacks that keep the cutters performing well.
Because the set includes very small diameters, I can make tiny studs or larger drops and pair sizes easily for layered, stacked designs.
3. Sculpey III Clay — White 8 oz – Best Beginner Bar

I recommend this 8 oz bar when I want a soft, forgiving clay that’s easy to condition for simple earring projects.
Why I picked it: Soft texture and predictable handling make it great for newcomers and quick jewelry runs.
Best for: Simple shapes, kid-friendly projects, and quick ornaments.
Economical single-bar option for hobbyists learning techniques.
Pros
- Very soft and easy to mold
- Doesn't dry out before baking
- Kid-friendly, non-toxic
- Good for fine fingerprints/details
Cons
- Softer clay can be harder to hold thin edges
- Smaller bar may run out during larger batches
My take
I reach for Sculpey III when I want clay that softens with minimal conditioning and captures impressions cleanly—handprints, tiny textures, and delicate detail come out nicely.
It’s forgiving when shaping small earring components and bakes reliably into a sturdy piece as long as I follow the bake time for thickness.
For thin drops or lightweight studs it performs well, though for very sharp, thin edges I sometimes prefer a firmer formula that holds more crispness during handling.
The white bar mixes easily with pigments or other colors if I need to tint small batches for marbling or ombré effects.
4. Liquid Sculpey — Translucent – Best for Pours & Inlays
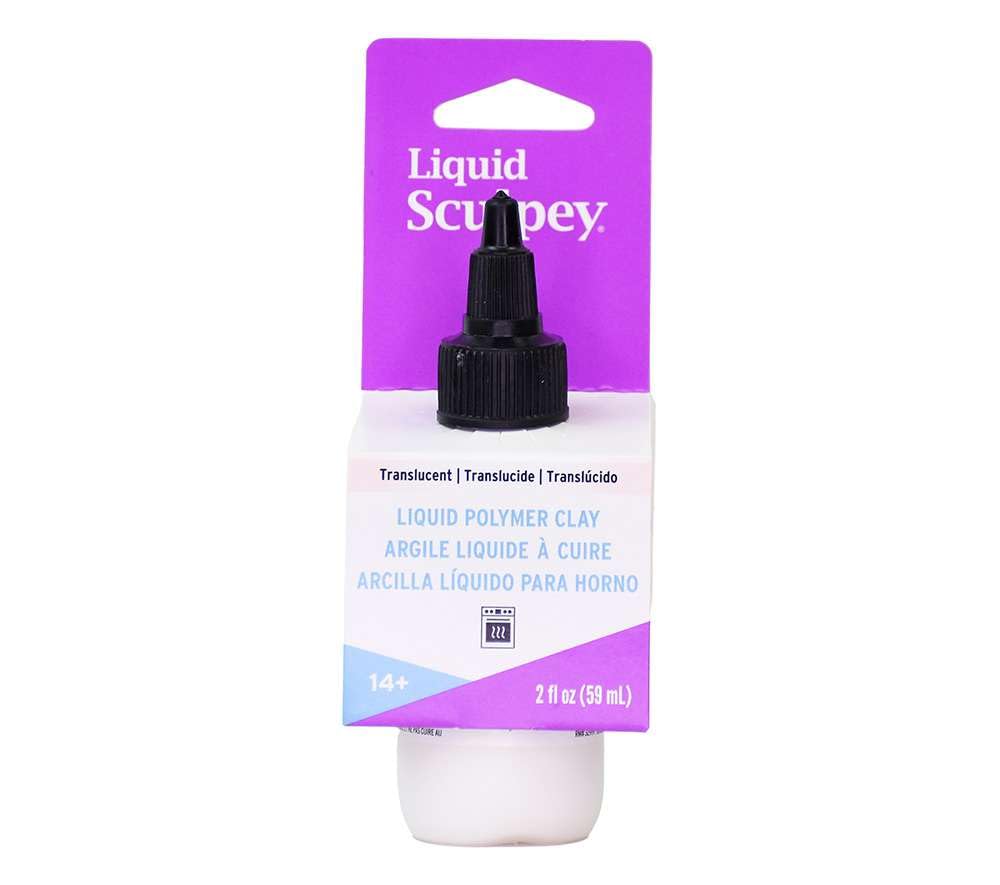
I use Liquid Sculpey to fill bezels, add translucent layers, and glue sculpted parts together on earrings.
Why I picked it: Pourable, mold-friendly, and stays translucent after baking for inlay effects.
Best for: Pouring into bezels, embedding dried flowers or glitter, and thin translucent accents.
Small bottle ideal for detail work and specialty techniques.
Pros
- Great for pours and molds
- Stays translucent after baking
- Flexible, lightweight cure
- Twist cap controls flow
Cons
- Can be runny without thickening
- No ultra-fine tip included
My take
Liquid Sculpey is my go-to for filling small jewelry bezels and making thin, translucent layers that protect embedded elements like dried flowers or glitter.
The flow control cap makes it easy to fill without overpouring; when I need a thicker consistency I let it sit to thicken or mix with a clay softener.
It bakes into a flexible, lightweight layer that sands and polishes gently, so I can blend edges into solid clay pieces.
I also use it as a strong adhesive when attaching tiny decorative elements before the final bake—especially useful when building multi-layered earring designs.
5. Sculpey III Sampler — 30 Colors – Best Color Variety
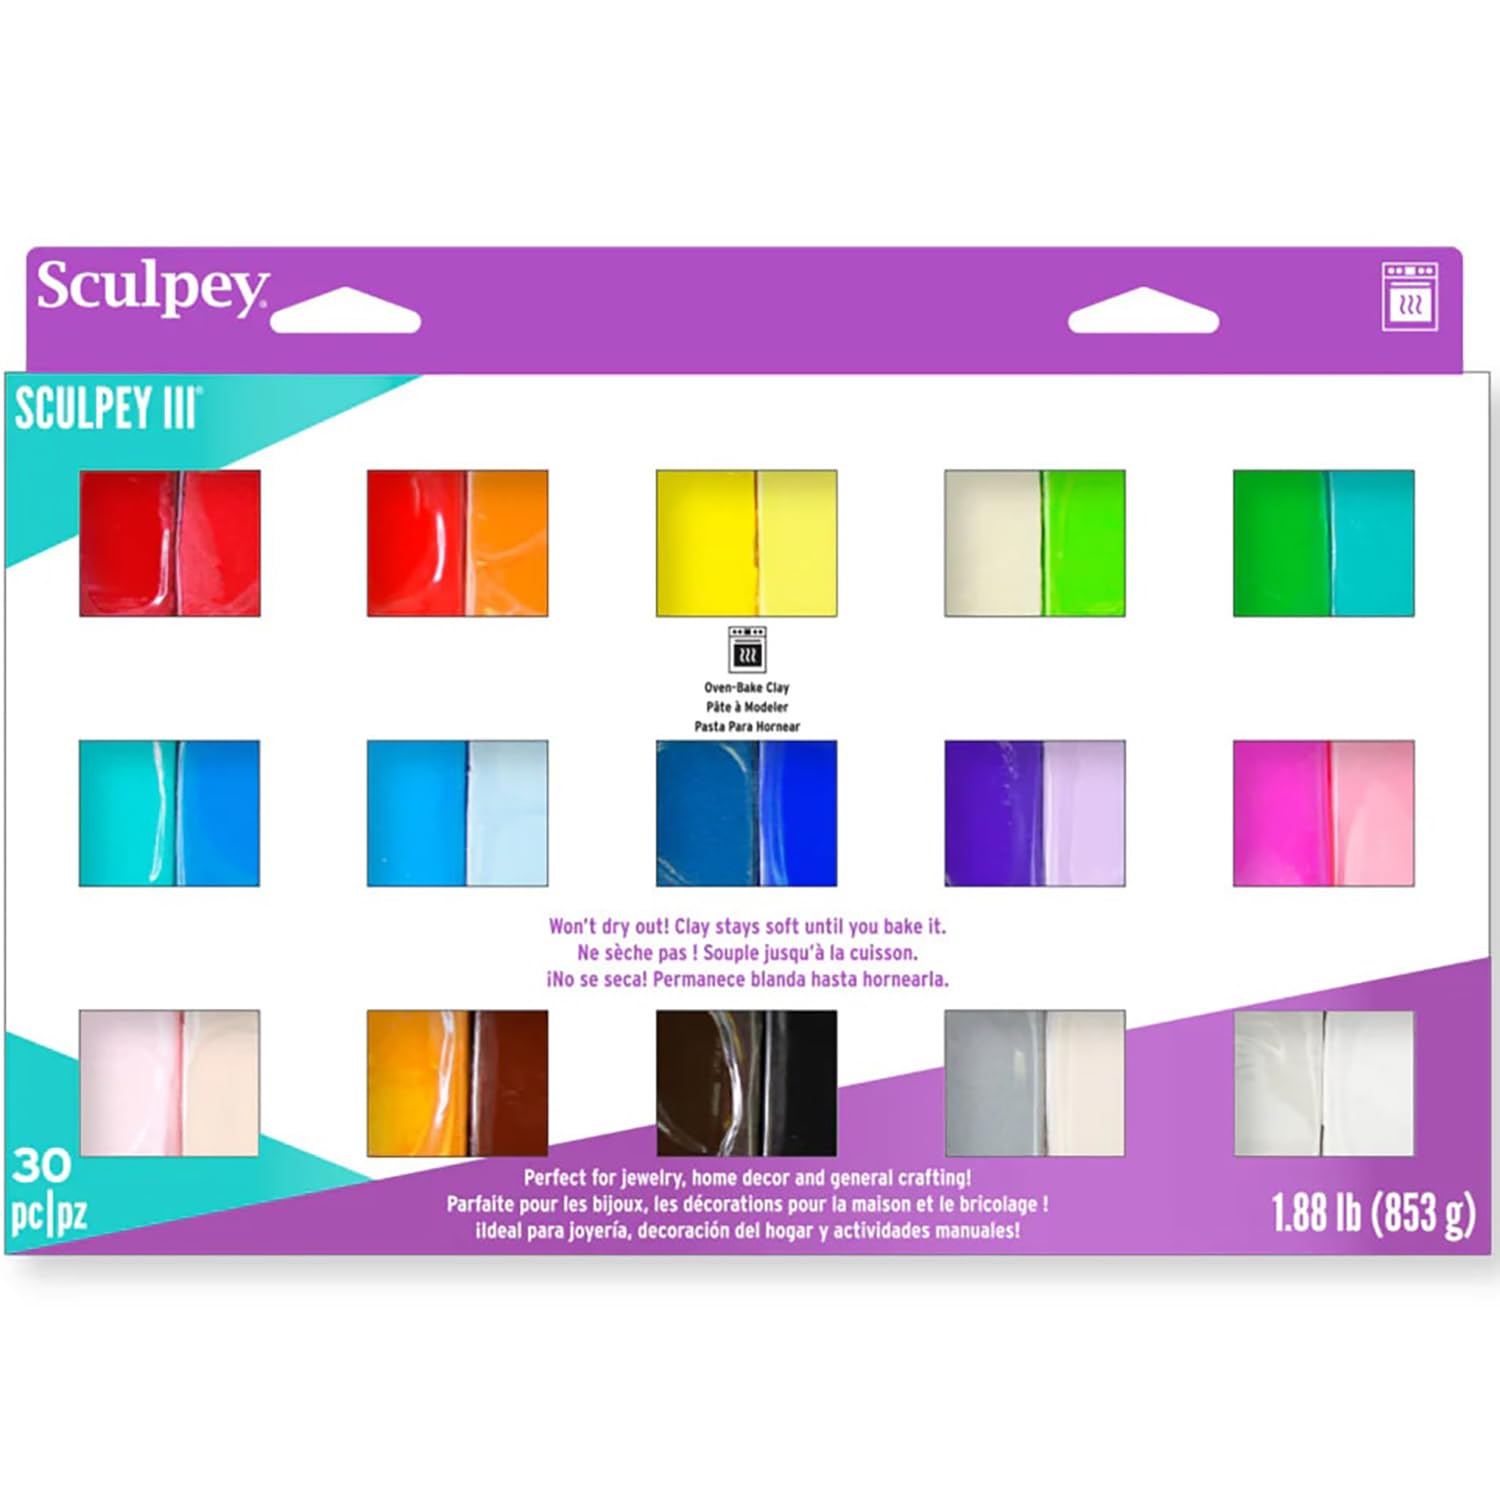
I keep this sampler on hand when I want color options without committing to large bricks—perfect for experimenting with color combos for earrings.
Why I picked it: Thirty one-ounce bars let me mix, swirl, and test palettes quickly.
Best for: Trying color mixes, marbling, and tiny accent pieces.
Sampler value if you prioritize a broad color palette over large quantities.
Pros
- Huge color selection
- Easy to mix and marble
- Good for small accents
- Non-toxic and kid-safe
Cons
- Small bars run out fast
- Limited white/black quantities
My take
When I design colorful earrings—swirls, gradients, or tiny inlaid motifs—the 30-color sampler lets me experiment without buying full-size bars.
I mix small amounts to create subtle shades or marble effects for one-off designs and blends consistently thanks to the soft texture.
For production pieces I’ll remake popular combos in larger quantities, but the sampler saves time during the concept and prototyping stage.
Keep in mind that darker colors can tint fingers during long sessions, so I clean my hands and tools between color changes to avoid accidental contamination.
6. Sculpey Original Clay — White (1 lb) – Best Mid-Size White
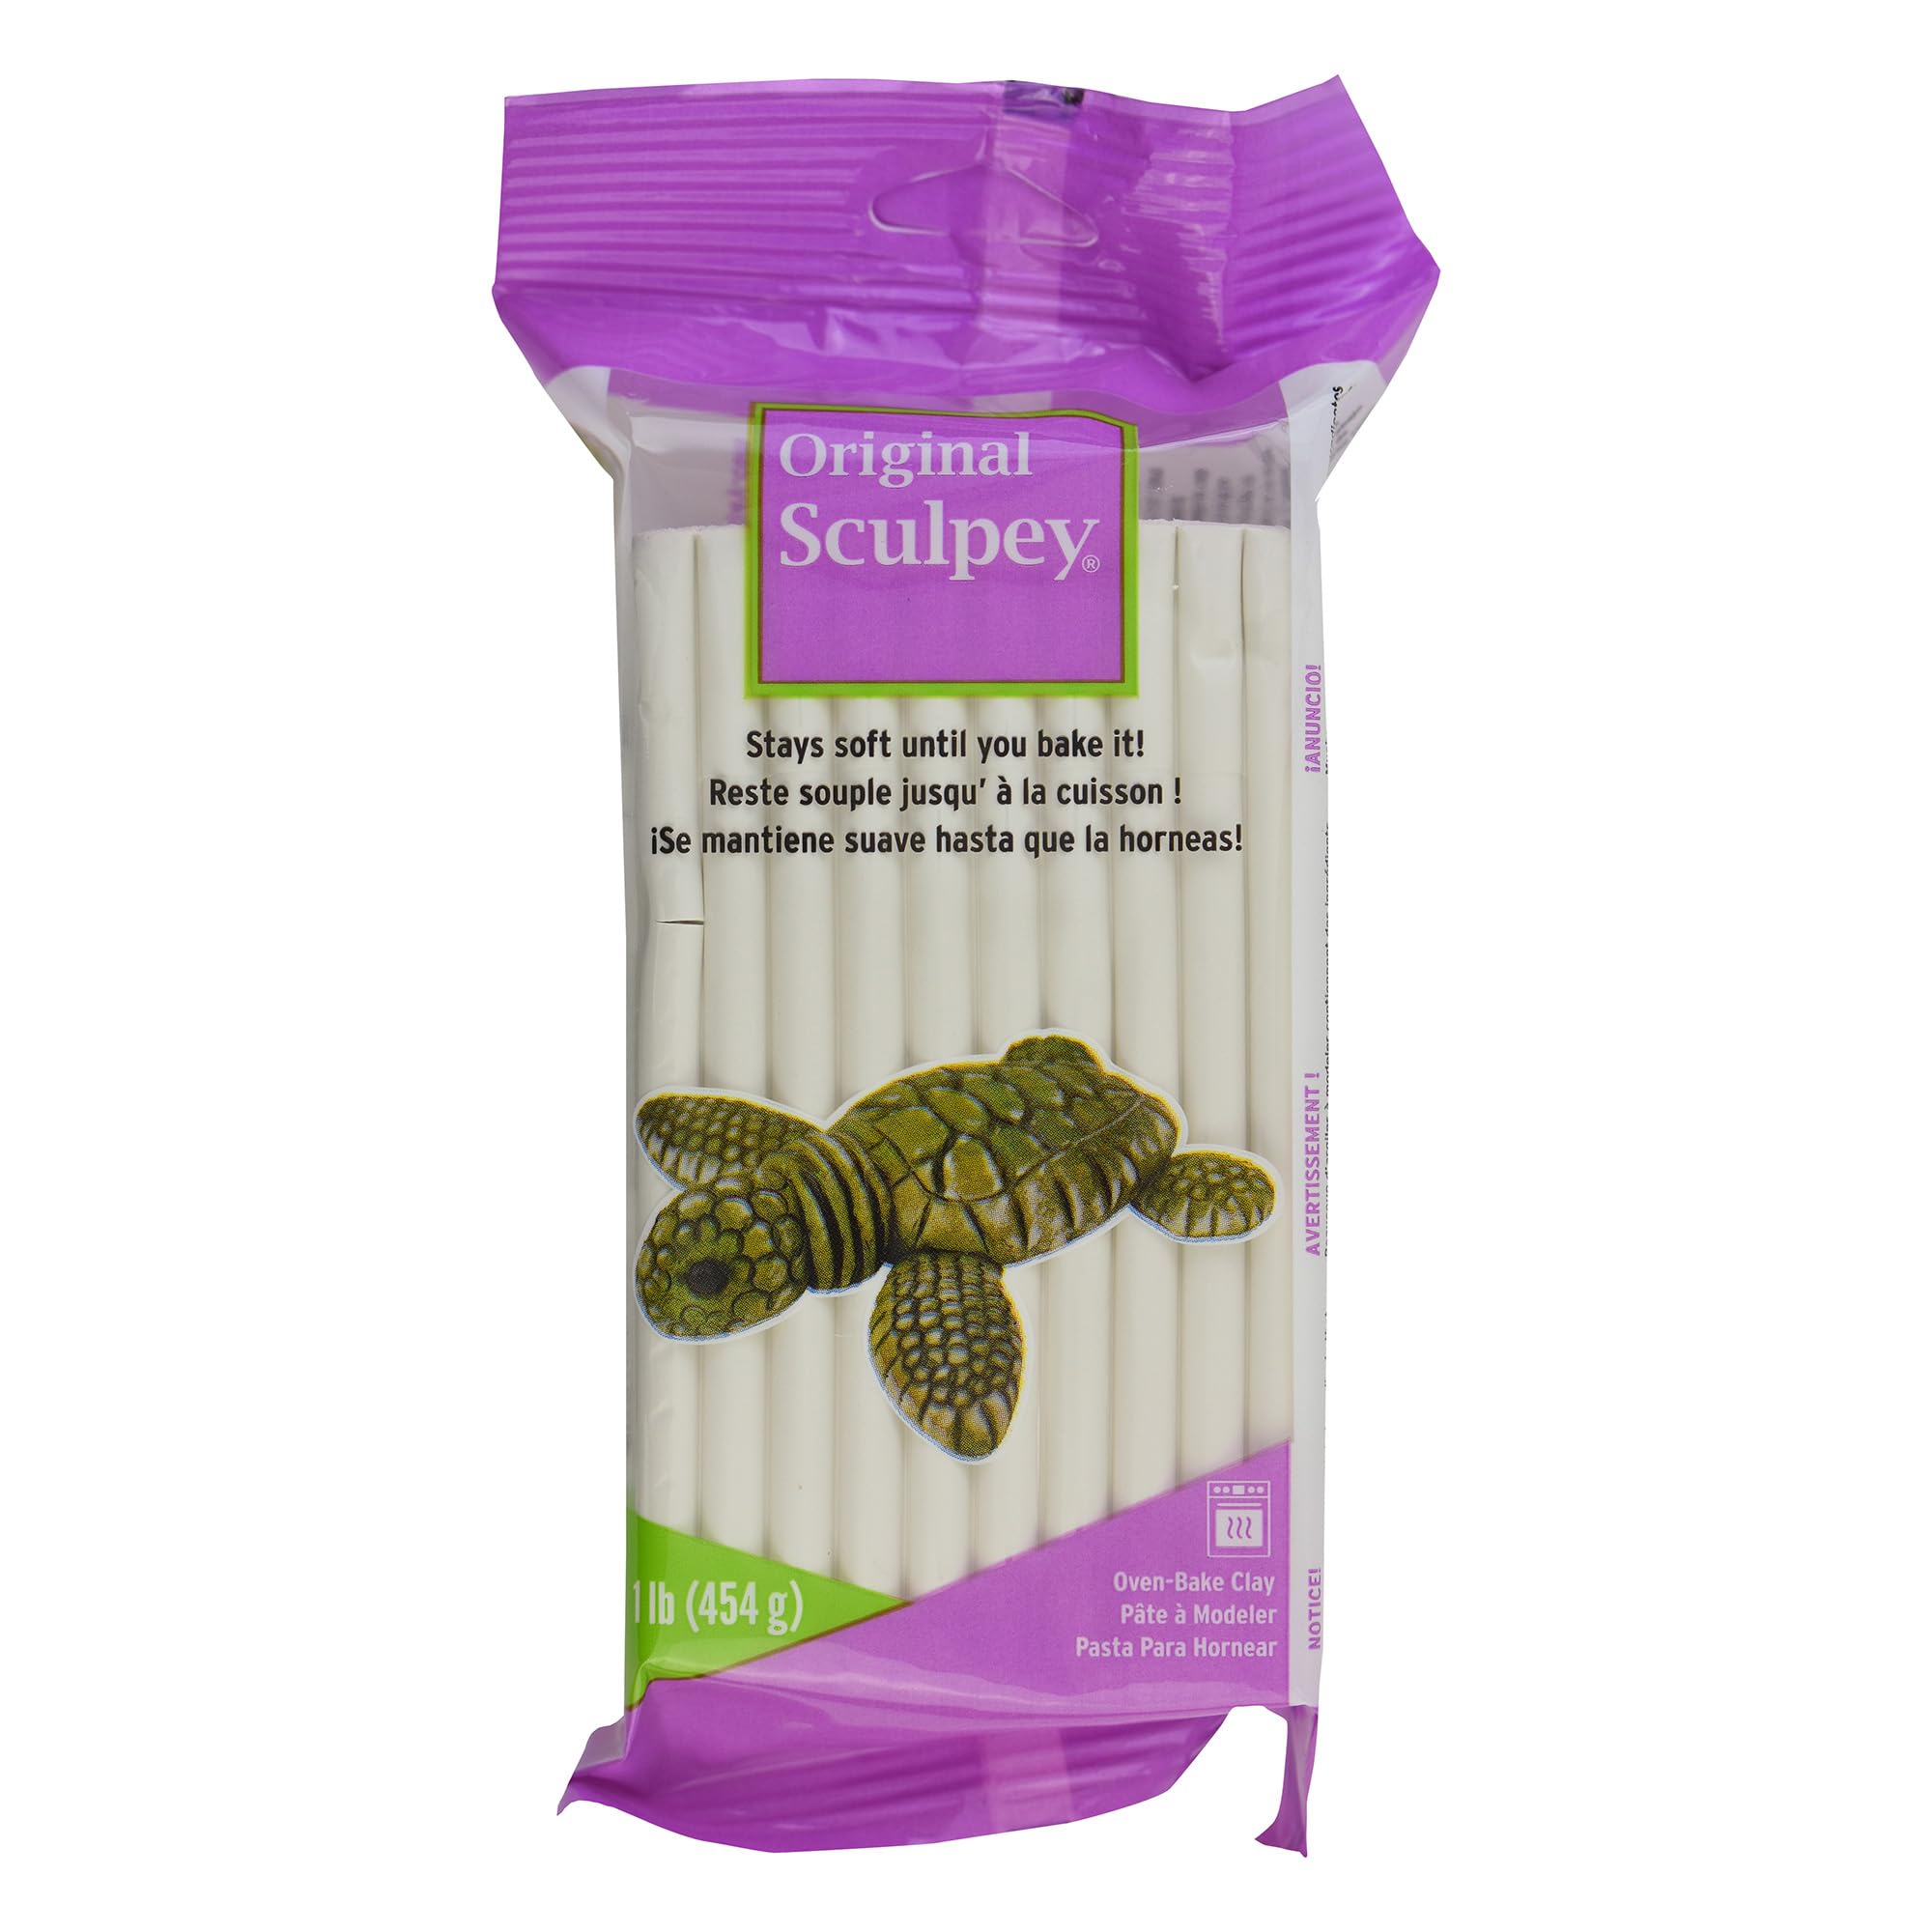
I like this one-pound white when I need a balance between quantity and storage convenience for jewelry batches.
Why I picked it: Handy size that conditions easily and bakes into durable pieces.
Best for: Regular hobby runs and occasional small batches to sell.
Good middle-ground option for consistent makers.
Pros
- Convenient size for storage
- Soft and easy to shape
- Paints and seals well
- Non-toxic
Cons
- Softer than some professional clays
- May become tacky with warm hands
My take
This one-pound block hits a sweet spot: it stores easily on my shelf and gives me enough material to produce series of earrings without buying a huge brick.
Conditioning is straightforward—few minutes of kneading or a pasta machine pass is typically all it needs for thin, detailed pieces.
Once baked the pieces are durable, sandable, and accept acrylic finishes, which makes finishing and protecting earring surfaces simple.
For very fine structural pieces I’ll reinforce with armature wire, but for standard studs and drops this clay performs very reliably.
7. Sculpey III Classics — 10 Colors – Best Starter Pack
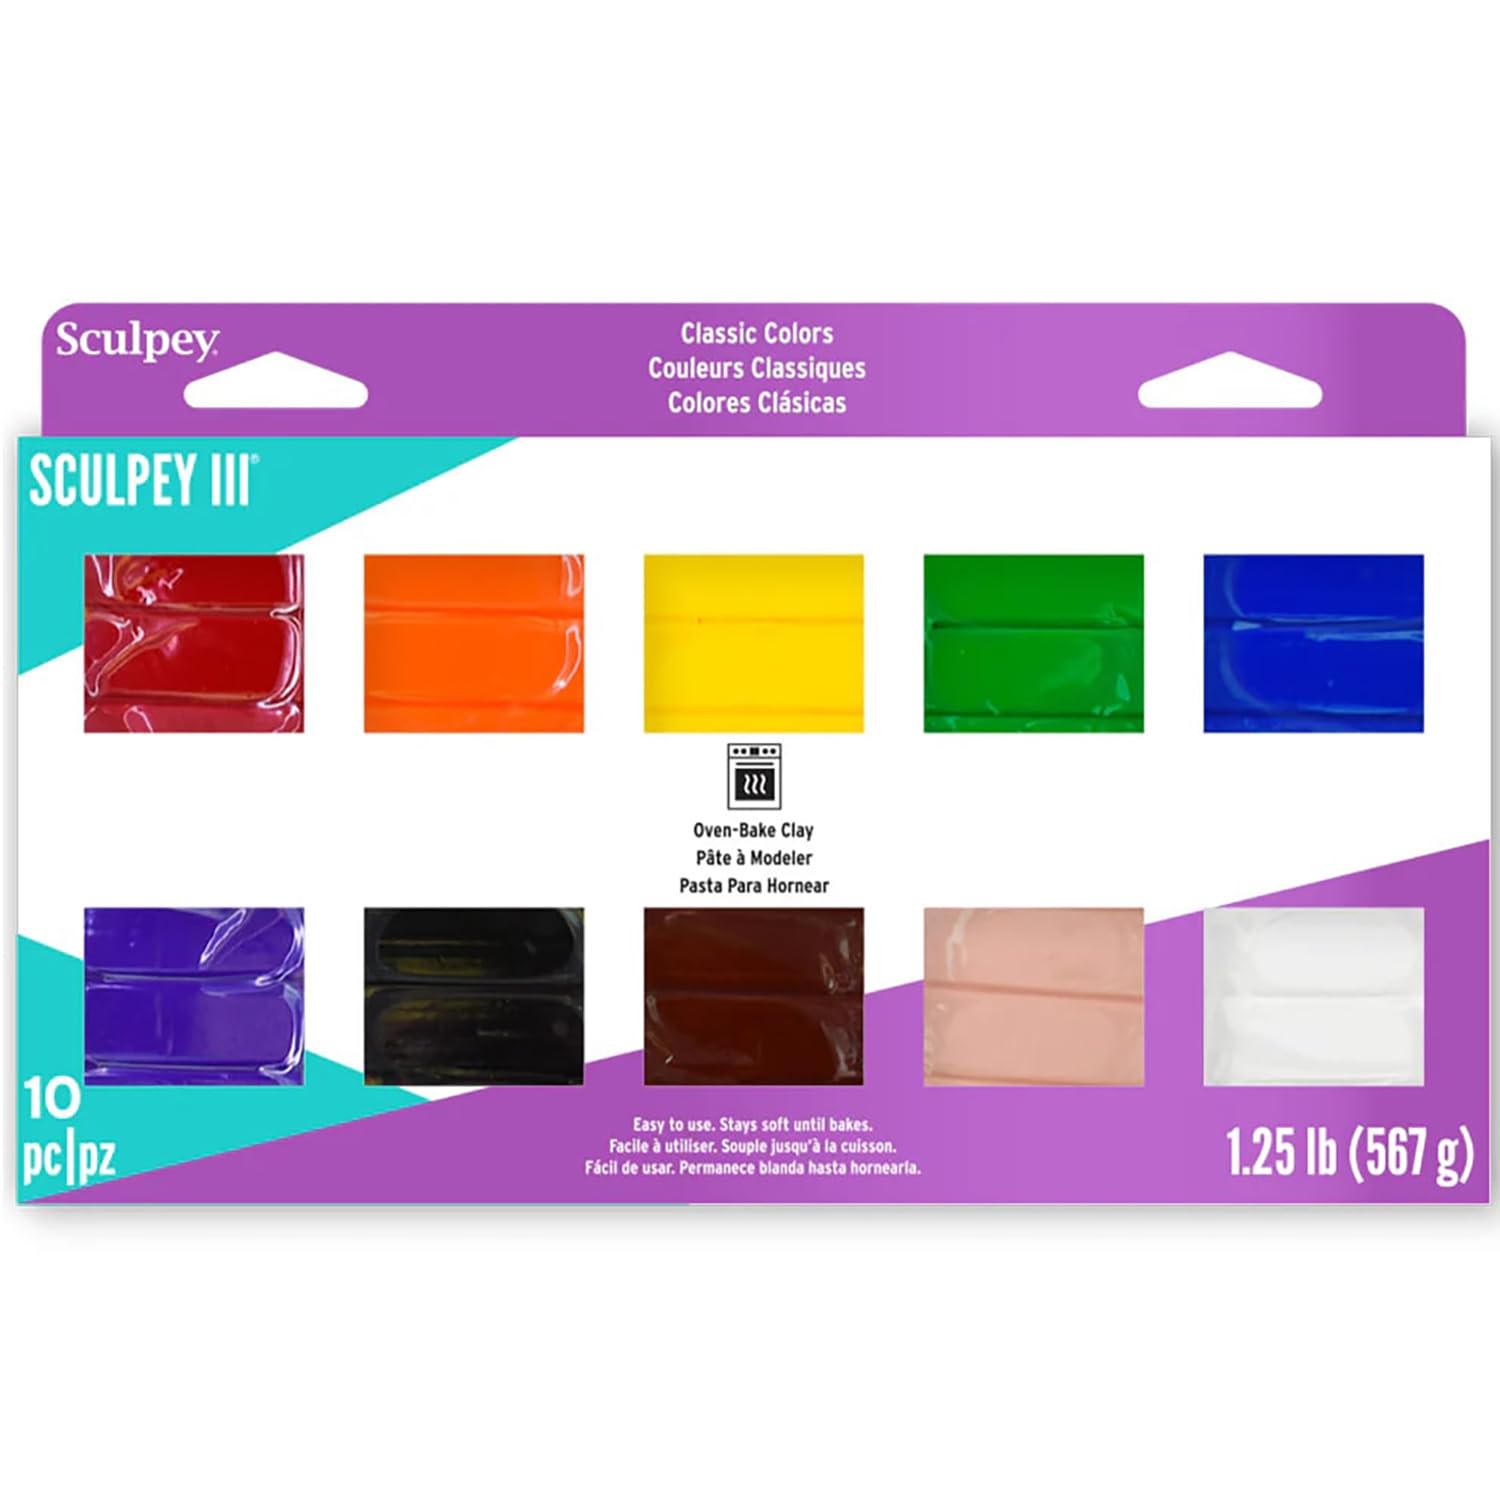
I recommend the 10-color classics pack when I want essential hues on hand for mixing and teaching workshops.
Why I picked it: Compact color selection that covers primary needs without excess.
Best for: Workshops, beginners, and quick color mixing.
Handy starter set for makers and educators.
Pros
- Classic essential colors
- Easy to blend
- Kid-friendly formula
- Compact packaging
Cons
- Small individual bars
- May need extra white/black for mixing
My take
For teaching a class or running a quick earring station, the 10-color pack gives me the basic palette every student needs without overwhelming them.
The colors blend predictably and are soft enough for kids to work with while still holding shapes well enough for small jewelry.
I pair this pack with my cutters and texture tools to show color mixing and marbling techniques in real time.
If I expect to reproduce a color consistently I’ll reserve a little extra clay from the start, since the small bars can disappear quickly during group projects.
8. Sculpey III Clay — Black 8 oz – Best Black Clay
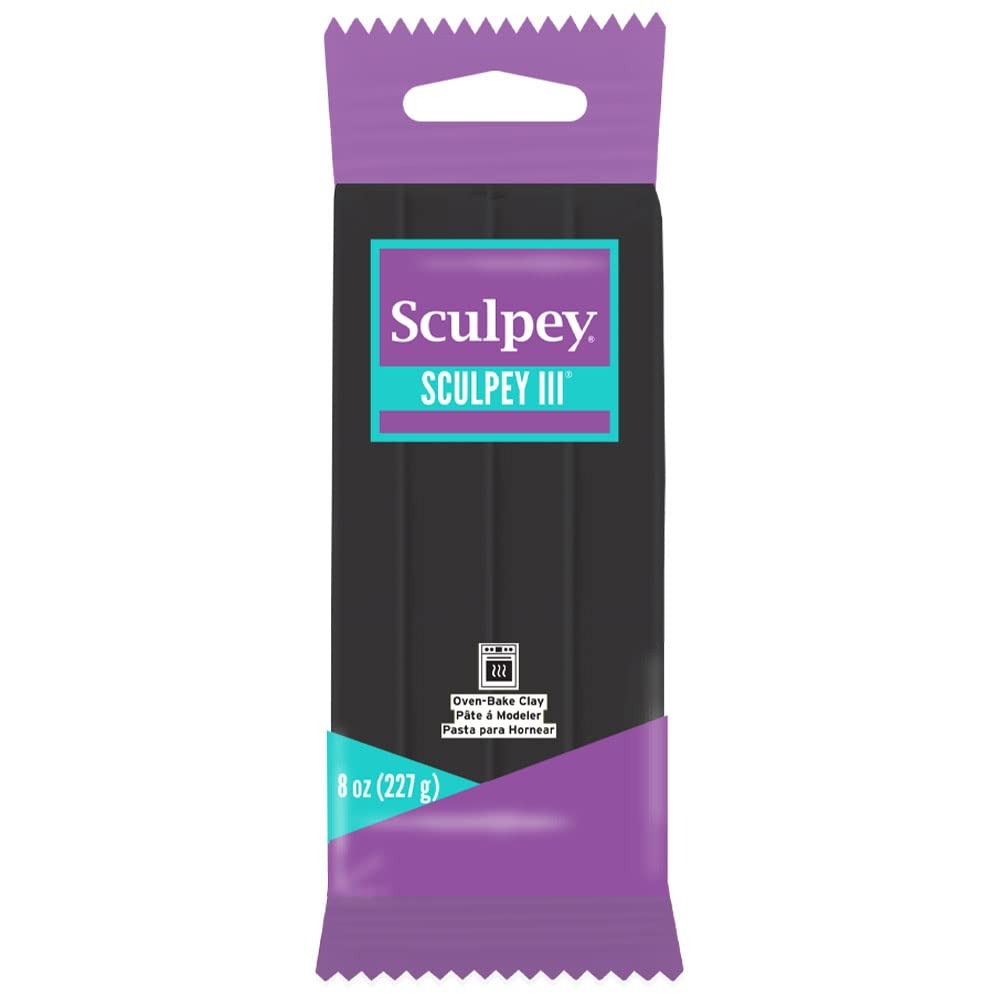
I keep an 8-ounce black bar handy for backing pieces, contrast accents, and making classic monochrome earrings.
Why I picked it: Deep black that conditions easily and pairs well with metallics.
Best for: Bold contrast pieces and dark base layers.
Solid single-color choice for consistent black needs.
Pros
- Deep, consistent black
- Easy to condition
- Great with mica powders
- Non-toxic
Cons
- Can show fingerprints
- Smaller bar for frequent use
My take
Black clay is a staple for me: it anchors bright colors, provides contrast for inlays, and plays well with metallic powders for a refined look.
This 8-ounce bar conditions quickly and holds up during thin-sheet cutting for earring backs and silhouette shapes.
Because black shows fingerprints, I sometimes use light dusting or quick smoothing to keep surfaces clean before baking.
It pairs especially well when I need a neutral backdrop for colorful top layers or mica-shift accents.
How I Choose Polymer Clay and Tools for Earrings
Clay Formula & Workability
I consider how soft the clay is out of the package and how much conditioning it needs. Softer clays like Sculpey III are easier for beginners and detail work, while firmer clays hold very sharp edges better.
When making earrings I prioritize formulas that stay soft until baked so I can correct shapes, nest layers, or add textures without rushing.
- Soft clays: great for impressions and marbling.
- Firmer clays: better for crisp edges and structural pieces.
- Liquid clay: ideal for pours, bezel fills, and translucent effects.
Size & Color Needs
I match the quantity to my production level—large bricks for batch-making, smaller bars or samplers for prototyping and color experiments.
Sampler packs are useful when I’m exploring palettes; once I decide on a color combo I rebuy larger bars to save time and ensure consistency.
- Bulk white is a versatile base for custom tints.
- Sampler packs speed up prototyping and marbling.
- Keep extra black and white for mixing and shading.
Cutting, Tools, and Shape Consistency
Tools such as circle cutters and texture sheets make producing matching earring pairs fast and repeatable.
I look for cutters with durable rims and a full size range so I can scale designs without reshaping each piece.
- Use cornstarch or a release agent to prevent sticking.
- Have a skewer or push tool to clear stuck material from cutters.
- A pasta machine dramatically reduces conditioning time.
Baking and Curing
I always follow the manufacturer’s guidance for baking. Consistent oven temperature and bed material (foil or tile) give even cures and reduce the risk of burning.
Thin earring pieces need less time than thick components; I bake by thickness and test a sample when trying a new formula.
- Bake on a protected surface like foil or an oven-safe mat.
- Bake longer for thicker pieces, less for thin drops.
- Avoid microwaving or exceeding recommended temperatures.
Finishing & Assembly
I sand, paint, and seal baked pieces depending on the look I want—matte, glossy, or textured. Liquid clay or resin can be used for glossy inlays, while matte varnishes mute shine.
For attaching findings I use a mix of thin liquid clay as glue before final baking or a jewelry-grade adhesive for post-bake assembly.
- Sand gently with fine-grit sandpaper for smooth edges.
- Use water-based acrylics for color; seal with a non-yellowing varnish.
- Embed eye pins or posts before baking for a stronger bond.
Frequently Asked Questions
Can I bake polymer clay earrings with metal findings already inserted?
I usually insert metal eye pins or headpins before the final bake for the strongest bond; metal that’s oven-safe is fine. For posts I sometimes embed them before baking or attach them afterward with a jewelry-grade adhesive if the post isn’t oven-safe.
How do I prevent cracking when baking layered earring pieces?
I keep layers thin and bake by the thickest section. Conditioning all layers to a similar firmness before assembling helps, and I avoid rapid temperature changes after baking to reduce stress.
What’s the easiest way to keep clay from sticking to cutters?
I dust the cutter rims with cornstarch or use a tiny amount of powdered release; a quick skewer pushes out stubborn bits. Keeping clay at the right conditioning level also reduces sticking.
Should I seal baked polymer clay earrings?
I seal depending on the finish—use a matte or satin varnish for muted looks and a gloss resin or liquid clay layer for high shine. Always test a small piece first to ensure compatibility.
How should I store unused polymer clay?
I store unused blocks in a cool, dry place away from sunlight in polypropylene bags or containers. Refrigeration can extend shelf life, but avoid heat and direct sun exposure.
Final Take
If I want bulk white for many identical pieces I choose the 1.75 lb Original Sculpey; for quick prototyping and color play the 30-color sampler is indispensable.
The 40-piece round cutter set is the single tool that sped up my production most, and Liquid Sculpey opened up bezel pours and translucent accents I couldn’t achieve with solid bars.
With the right clay formula, cutters, and finishing routine I consistently produce earring pairs that look polished and hold up to everyday wear.
")