
I tested compact cutters and heavy-duty smart machines to find reliable options for quick projects, advanced making, and bundled value. Here are the die cutting machines I reach for most.
I’ve used a range of die cutting machines—from pocket-sized cutters for last-minute labels to powerhouse systems that tackle leather and balsa wood. In this roundup I focus on real-world use: setup, everyday workflow, material versatility, and which machine I grab for each task.
I explain how each machine performed with Design Space, long cuts using Smart Materials, and the accessories that make projects easier. If you want a quick craft companion, a pro-level cutter, or a bundle that gets you started fast, I’ll tell you which one fits your needs.
I compared machines based on material range, cutting force, portability, ease of setup, and included content so you can match a cutter to your projects and workspace.
1. Cricut Joy – Best for Quick Projects
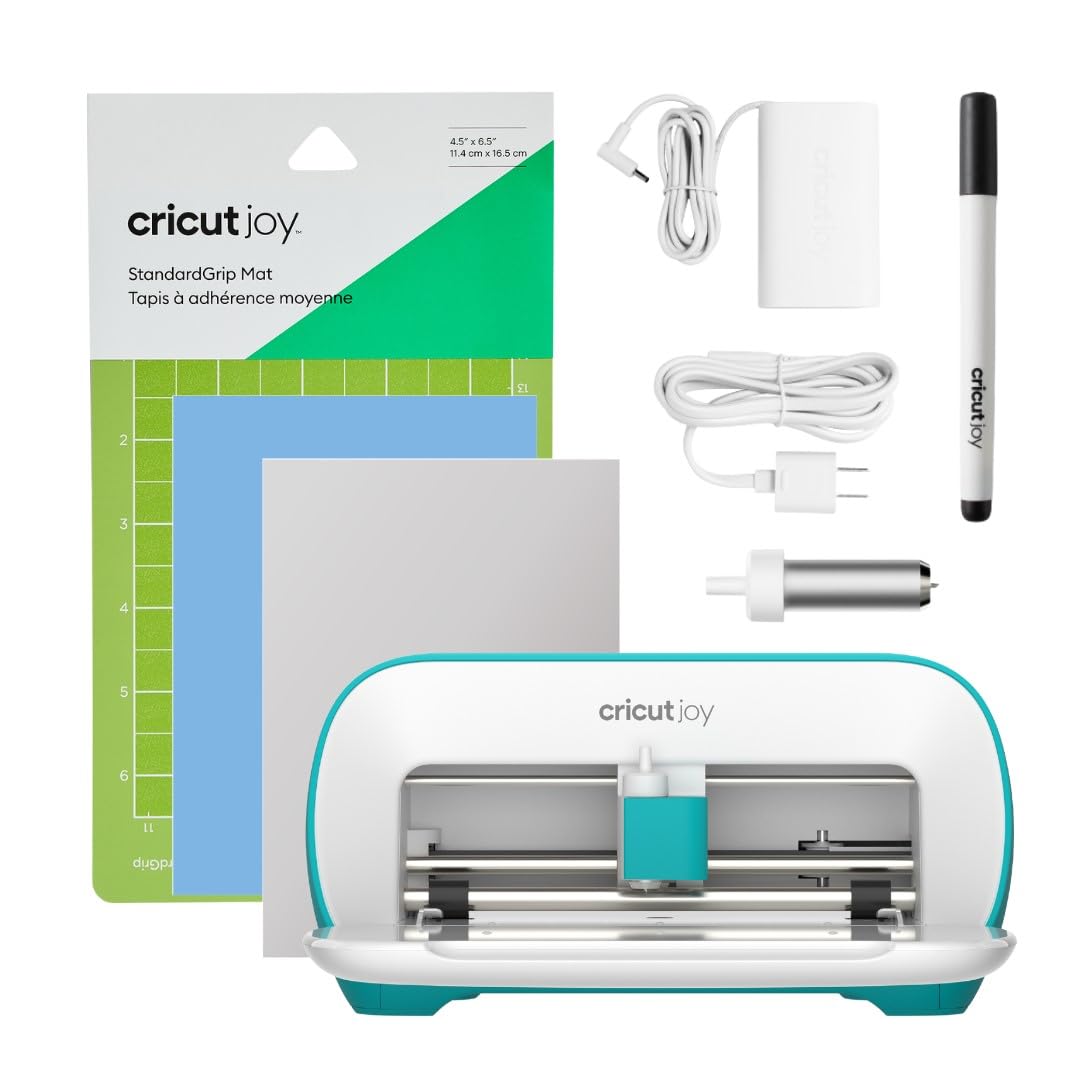
I keep the Cricut Joy on my craft table for fast labels, quick cards, and small decals. Its compact size and Bluetooth setup let me knock out projects in under 15 minutes.
Why I picked it: Ultra-compact, fast setup, and ideal for small, instant tasks.
Best for: Quick labels, simple cards, and small decals at home.
An affordable, entry-level option for casual makers.
Pros
- Extremely compact and portable
- Fast setup and smart feed
- Cuts 50+ materials
- Writes and draws neatly
Cons
- Limited cutting width for large projects
- Learning curve if new to Cricut
- Not Chromebook compatible in some cases
My take
When I need a fast, low-fuss project—name labels, a last-minute card, or a short vinyl decal—the Joy is my go-to. It fits in a cubby and powers up almost instantly, so it rarely interrupts my workflow.
I’ve used it with Smart Materials for matless cuts and also measured vinyl to use a Joy mat when necessary. The smart feed is handy for repeating longer cuts, and the drawing feature saves me from swapping tools for simple handwritten effects.
There is a learning curve if you’re brand new to the Cricut ecosystem. I found transfer tape and 12" pads made many projects faster and cleaner. Also, check your device compatibility up front—some tablets and Chromebooks aren’t supported the same way.
2. Cricut Maker 3 – Best for Power Users
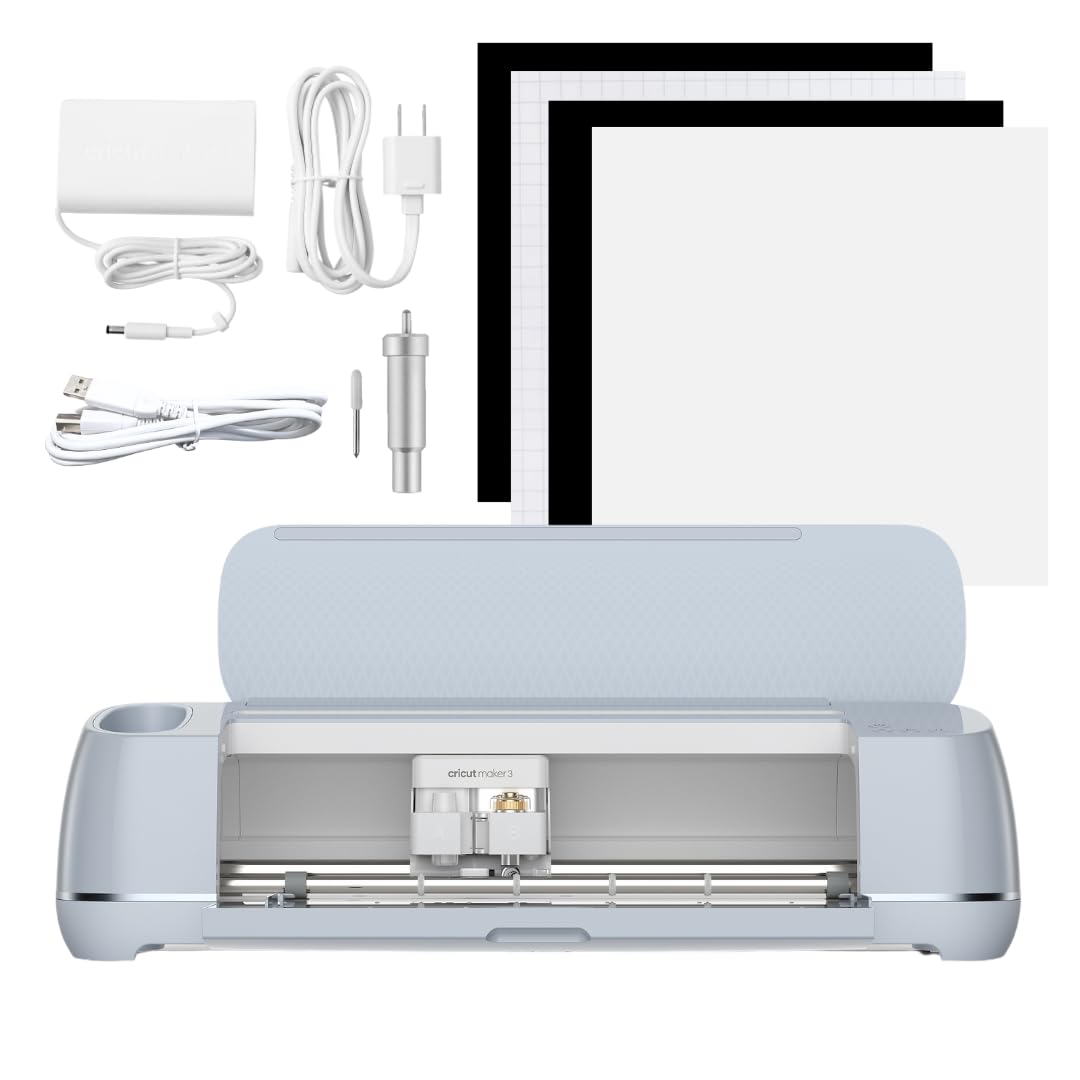
I use the Maker 3 when I need pro-level capability: heavy materials, precision detail, and a fleet of tool options. It handles everything from delicate fabric to thicker matboard.
Why I picked it: Maximum material compatibility and tool flexibility for advanced projects.
Best for: Advanced makers, small-business production, and multi-material projects.
A more expensive option, but designed for heavy-duty versatility.
Pros
- Cuts 300+ materials
- High cutting force and speed
- Works with 13+ tools
- Print then cut compatibility
Cons
- Takes time to dial material settings
- Larger footprint than compact cutters
- More complex for casual use
My take
For wedding signage, engraving tags, and seasonal product runs I reach for the Maker 3. Its 10x cutting force and compatibility with dozens of tools let me switch from vinyl to leather or balsa wood without changing platforms.
It’s incredibly versatile—foil, engrave, score, and even use a home inkjet to print then cut full-color designs. I did spend time finding ideal settings for certain materials, but the presets and Design Space guidance shortened that learning curve.
If I’m producing larger batches or experimenting with tougher media, the Maker 3 saves me hours. It’s the machine I choose when I want predictable, professional cuts.
3. Cricut Explore 3 – Best Mid-Range

I treat the Explore 3 as my everyday workhorse when I want more speed and material range than compact cutters but without the full Maker toolset.
Why I picked it: Good balance of speed, materials support, and price.
Best for: Hobbyists and crafters who want more capability than entry-level machines.
A moderately priced option for frequent makers.
Pros
- Works with 100+ materials
- 2x faster than earlier models
- Writes, foils, and scores
- Print then cut capable
Cons
- Less powerful than Maker series
- Can have occasional connection delays
- May need USB troubleshooting
My take
The Explore 3 lives in my studio when I want reliable precision for decals, shirts, and paper projects. It’s noticeably faster than previous Explore machines and handles a wide range of common materials with clean edges.
I experienced a few connection timeouts early on; rebooting or switching USB ports fixed those hiccups. Once connected, the machine is steady and surprisingly quiet for the work it does.
For people making lots of cards, signage, or apparel without needing advanced blades or engraving, the Explore 3 strikes a practical balance.
4. Cricut Maker 3 Bundle – Best Value Bundle
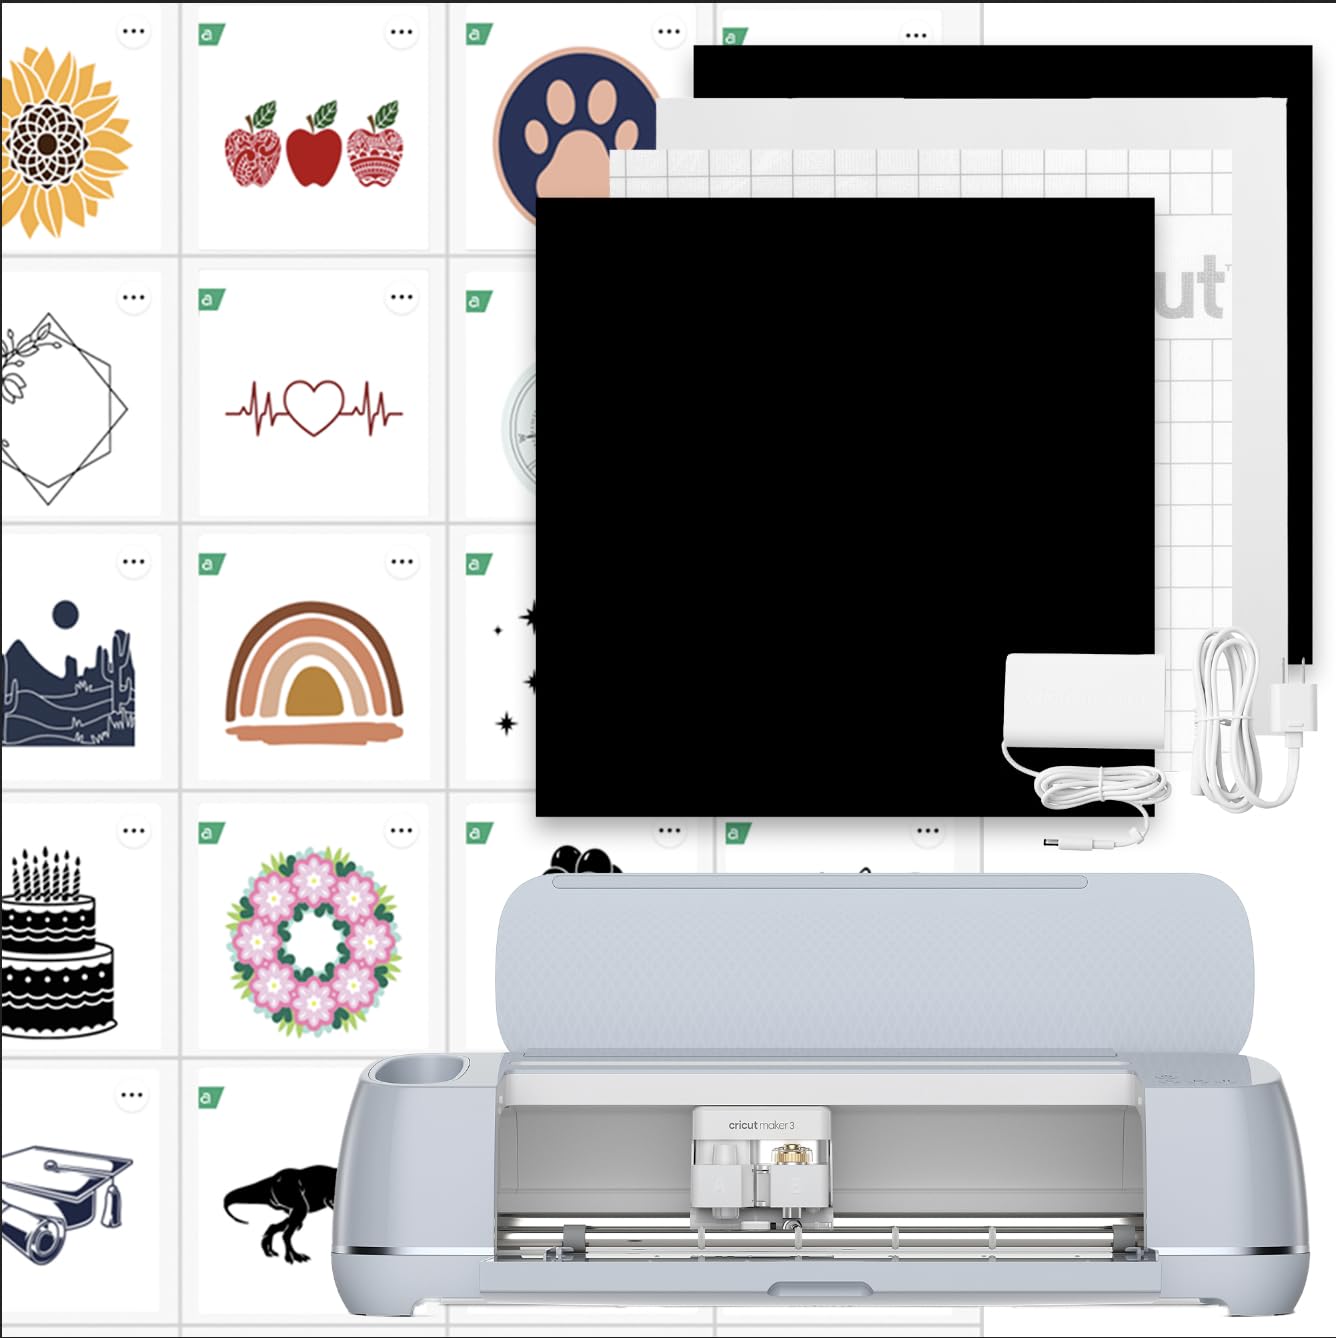
I recommend the Maker 3 bundle when I want the Maker’s power plus starter content and built-in learning resources so I can get projects moving immediately.
Why I picked it: Adds digital content and guides to the Maker 3’s capabilities.
Best for: Beginners wanting guided projects and makers who value extra content.
Bundle offers added value over the base machine for new users.
Pros
- Includes digital content and templates
- Access to beginner guides and workshops
- Smart Materials allow very long matless cuts
- Same Maker 3 power and tool support
Cons
- Subscription recommended for full content value
- Potential replacement part concerns
- Larger initial setup
My take
I appreciate the bundle because the included images and guided projects flattened my learning curve. The Learning Plan in Design Space walked me through core techniques so I could start productive work on day one.
Smart Materials capability impressed me—single matless cuts up to 12 feet and repeated cuts to much longer lengths make large banners and long vinyl runs practical without extra setup.
A note of caution: getting the most from the machine often means subscribing to additional content, and I advise checking warranty options. I’ve heard and seen accounts of units needing replacement parts, so I personally opted for added coverage to protect my investment.
How I Choose a Die Cutting Machine
Materials and Tools
I start by listing the materials I plan to cut. If I need leather, balsa wood, or matboard, I prioritize a machine with higher cutting force and tool compatibility. For paper, vinyl, and iron-on, a compact or mid-range cutter is usually sufficient.
Consider the toolset you’ll want: scoring, engraving, and rotary blades expand what you can make. I value machines that accept multiple tools without complex swaps.
- Hobby crafts: vinyl, cardstock, iron-on
- Advanced projects: leather, matboard, balsa wood
- Look for compatibility with additional tools
Workspace and Portability
I measure my crafting area before buying. Compact machines like the Joy slide into a cubby and store easily, while Maker-class machines need a dedicated table.
If I travel to craft fairs or workshops, portability matters. Otherwise, I accept a larger footprint for extra capability.
- Small desk or shared space: choose compact machines
- Dedicated studio or business use: prioritize power over size
Software and Compatibility
I test the Design Space app on my devices before committing. Bluetooth setup is convenient, but I also verify USB support for desktop workflows.
Some tablets and Chromebooks have limited compatibility, so I confirm my specific device pairs smoothly with the machine.
- Check iOS/Android/Windows/Mac support
- Confirm Bluetooth and USB workflows
- Verify compatibility with your tablet or Chromebook
Accessories and Consumables
I budget for blades, mats, transfer tape, and Smart Materials. Transfer tape and appropriate mats dramatically improve results on vinyl projects.
If you plan to do long matless cuts, stock up on Smart Materials and consider a roll holder to keep your workspace tidy.
- Buy spare blades and cutting mats
- Transfer tape for vinyl projects
- Smart Materials for long, matless cuts
Warranty and Support
I weigh warranty and replacement-part accessibility in my purchase decision. For machines I use heavily, I opt for extended protection to avoid downtime.
If a seller or brand offers robust support, I’m more comfortable investing in a higher-tier machine.
- Consider extended warranty for heavy use
- Check return and support policy before buying
Frequently Asked Questions
Which machine is best for small, last-minute projects?
I reach for the compact cutter for quick labels and cards—the setup time is minimal and projects finish fast.
Do I need a subscription to use these machines?
I can use basic features and my own designs without subscribing, but I subscribe when I want access to large template libraries and premium content.
Can these machines cut fabric and leather?
I cut fabric and thin leather with Maker-class machines; for thicker materials I switch to the appropriate blade or tool designed for that machine.
What accessories should I buy first?
I buy a spare fine-point blade, transfer tape, and the right cutting mat size for my projects; those accessories speed up consistent, clean cuts.
Final Take
If you want instant, small-scale projects, the compact cutter is the easiest on your shelf and your schedule. For broad material options and heavy use, the Maker-series machines are the ones I trust to deliver pro-level results.
Match the machine to your materials, workspace, and how much time you want to spend learning settings. I picked the machines here because each solved a specific need in my workflow—pick the one that fits yours and you’ll start making faster.
")