
I tested seven edging options — plastic spikes, no-dig coils, steel strips, rubber L-edge and corrugated panels — and I’m sharing what worked best for different yards and budgets.
I spent time installing and living with a range of garden edgings so I could judge ease of install, durability, and how tidy each option keeps beds and lawns separated. In this roundup I cover anchoring spikes, complete no-dig kits, flexible steel, rubber L-edge, corrugated galvanized strips, and heavy-duty hammer-in options.
My goal was practical: find products that make mowing easier, stop mulch and rock from migrating, and hold up to real conditions like frost heave, weed trimmer abuse, and wet soil.
I compared each edging by material, installation effort, how well it holds soil or mulch back, and what tools or anchors I needed to keep it in place.
1. Dimex EasyFlex 8" Spiral Nylon Anchoring Spikes – Best Anchoring Spikes
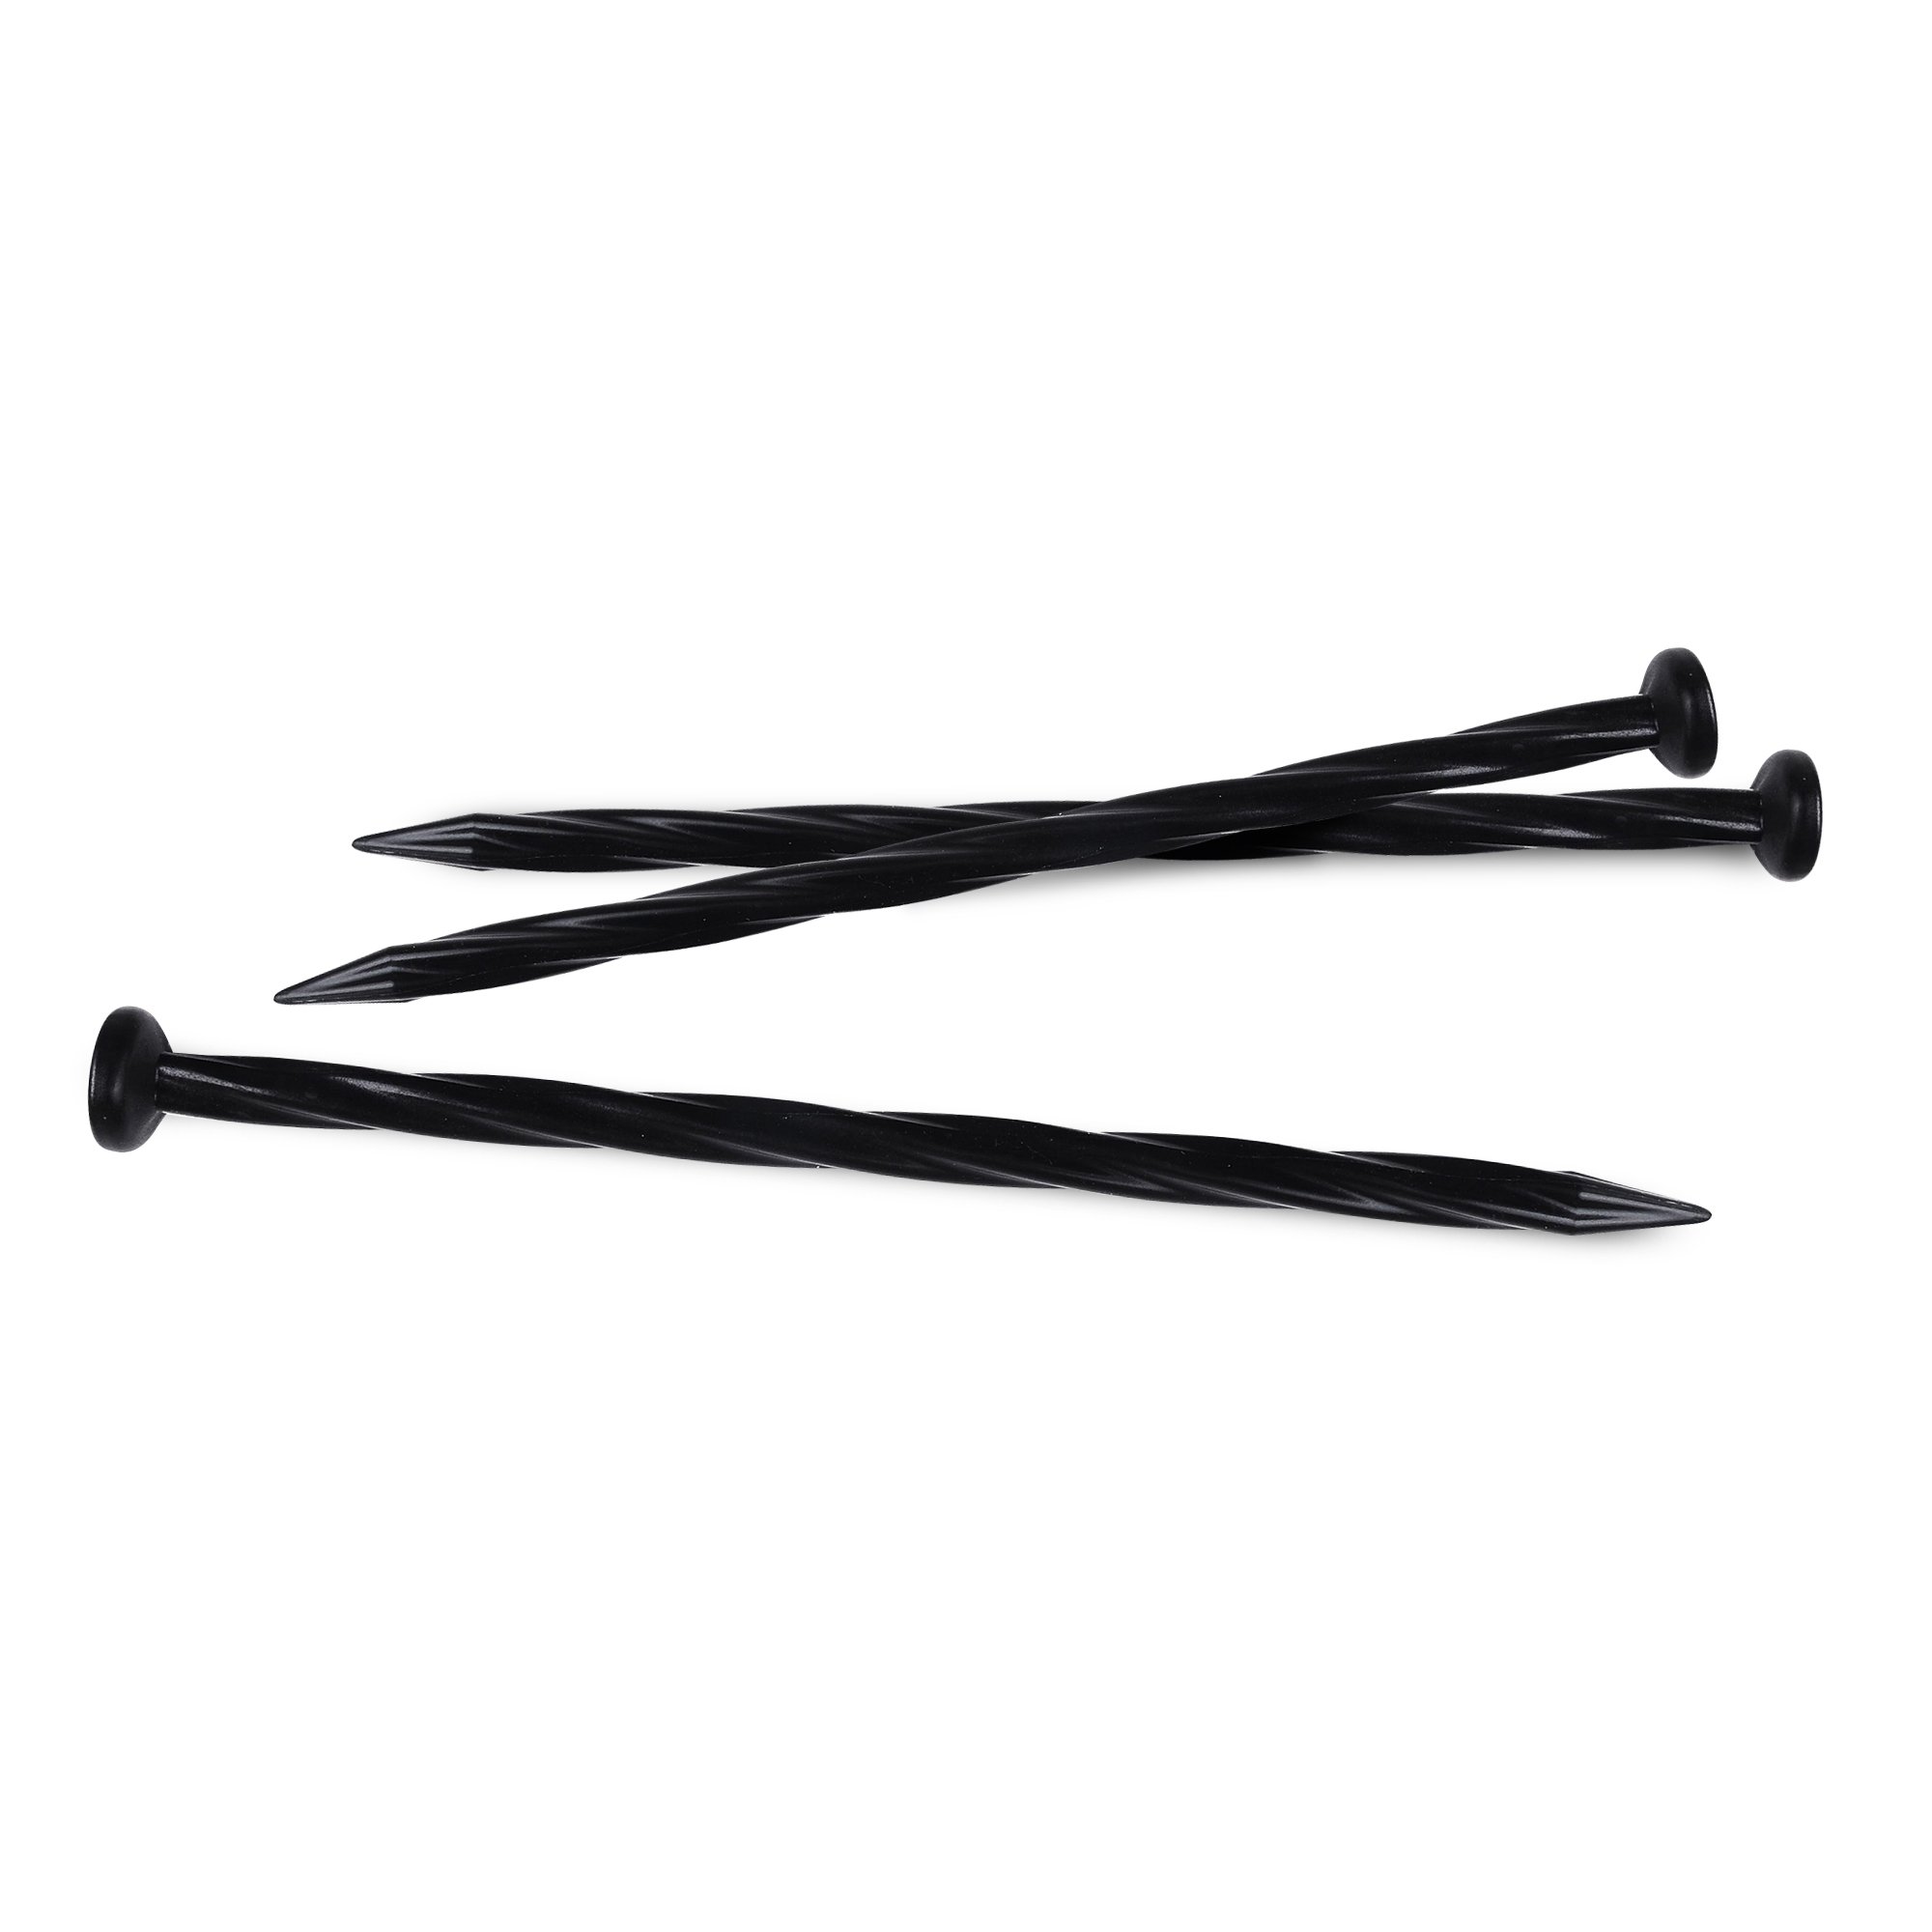
I use these spiral nylon spikes to secure no-dig edging and landscape fabric. They’re lightweight, reusable, and resist rusting the way metal stakes don’t.
Why I picked it: Spiral design grips soil and resists frost heave better than straight stakes.
Best for: Securing no-dig edging and landscape fabric in soft to medium soils.
Very affordable and great value for basic anchoring needs.
Pros
- Spiral shape resists pullout
- Rustproof nylon construction
- Reusable and lightweight
- Easy to drive with a mallet
Cons
- Can need extra spikes for tight shapes
- Not ideal for heavy rocky soils
My take
I bought a single box to test and immediately added more because the spikes drove in cleanly and held my edging without bending.
The spiraled profile does a surprisingly good job resisting frost heave and heavy rain compared with straight plastic pegs I’ve used before.
I hammered them through weed fabric and the edging tabs without trouble; in softer lawn soil I didn’t always need a mallet.
For long-term projects in rocky or compacted ground I’d supplement with metal stakes, but for most no-dig edging installs these are the fastest, cheapest way to anchor things down.
2. EasyFlex Heavy Duty No-Dig 100ft Edging Kit – Best Kit for Complete Install
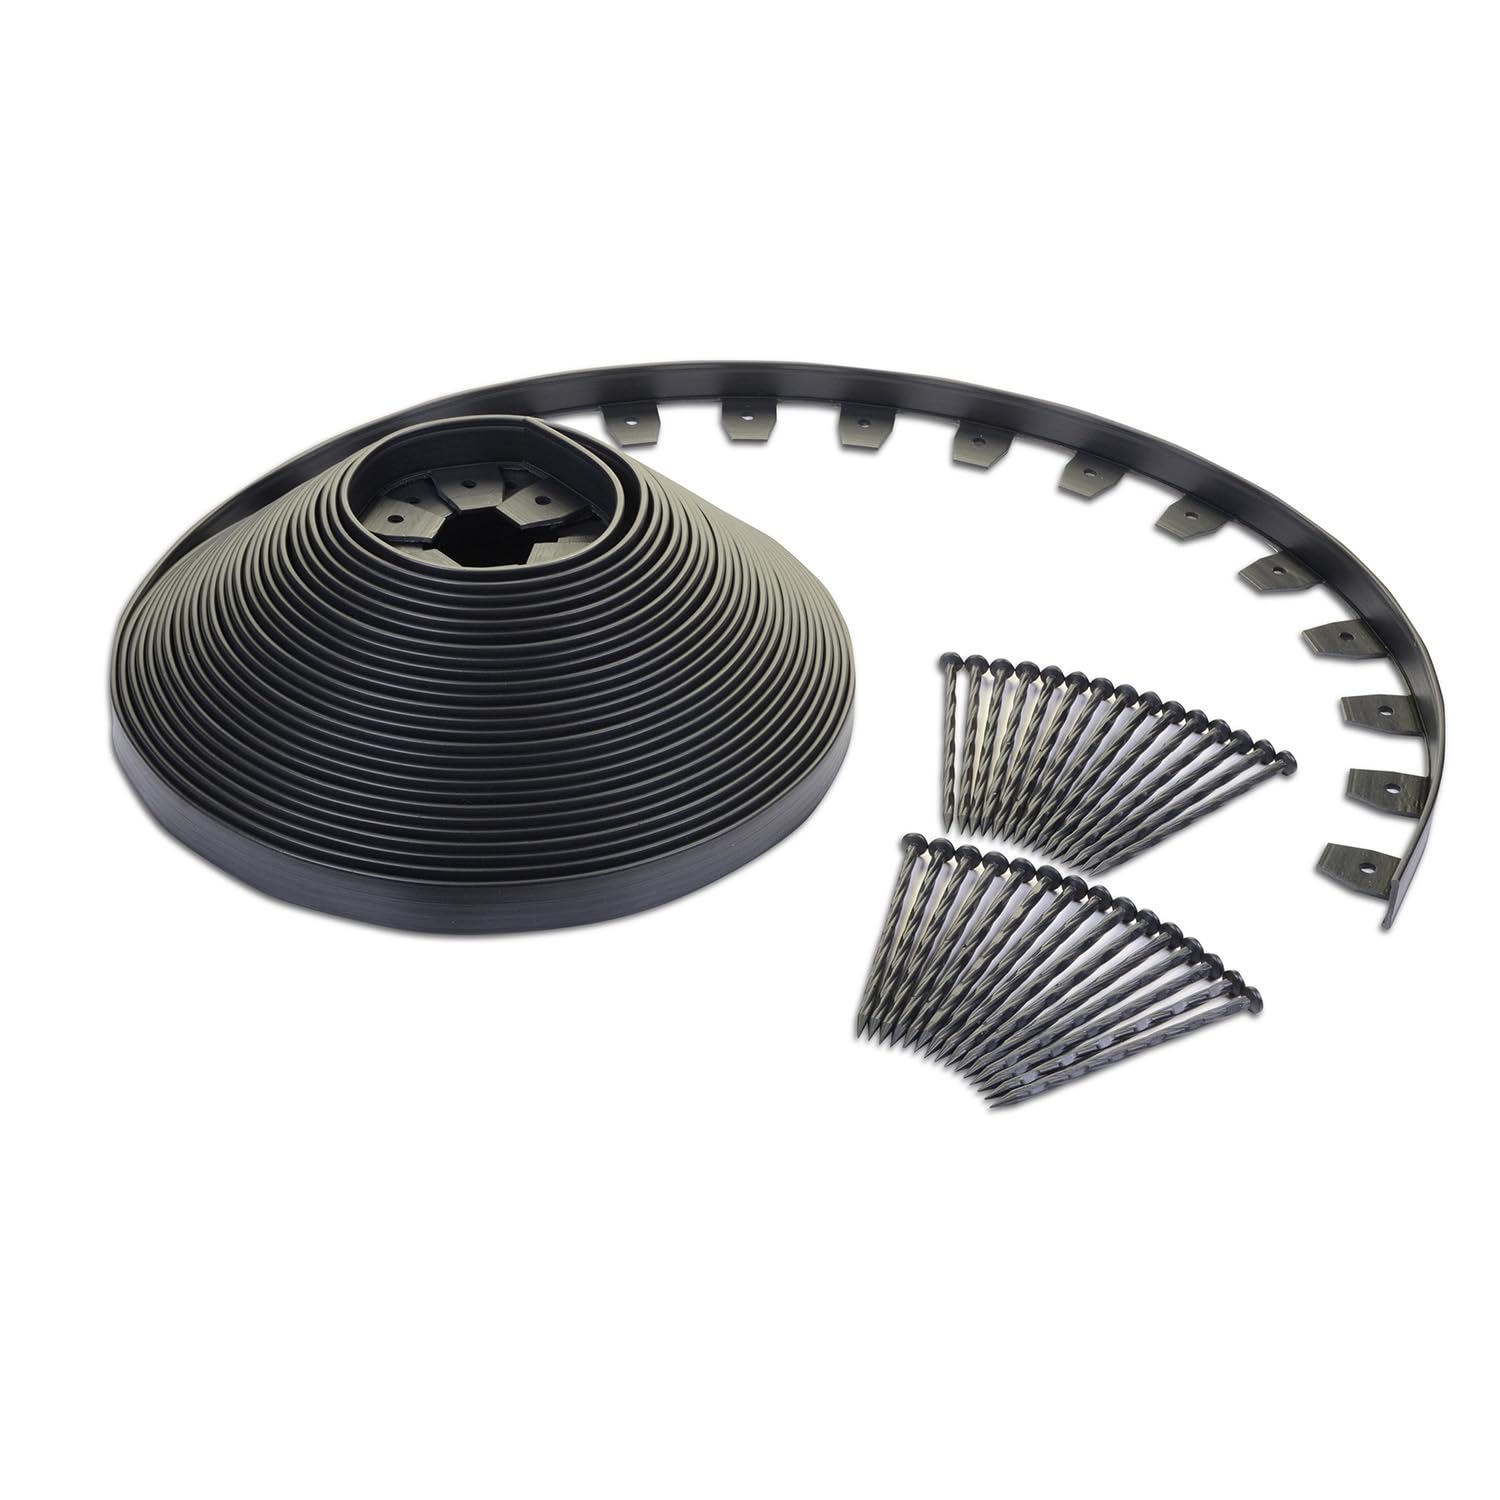
I installed the 100-foot coil and found the heavier 1.7-inch wall holds mulch and rock back while remaining flexible for curves.
Why I picked it: Includes a full 100-foot coil plus spikes so I could finish a continuous run without hunting parts.
Best for: Homeowners who want a full no-dig border kit for multiple beds.
Mid-range — cost-effective for a full 100-foot installation.
Pros
- Comes with coil and spikes
- Thicker wall than basic no-dig edging
- Flexible for curves
- Made from recycled plastic
Cons
- Roll is heavy to handle alone
- Spike count on some packages can be tight
My take
I installed this kit along two garden beds and appreciated how the 1.7-inch wall contained mulch and rock without flexing out under load.
The coil bends around trees and tight curves better than thinner plastic options, and hammering the included spikes through the mounting tab was straightforward with a dead-blow mallet.
The roll is bulky — bring a helper for long runs — and I added a few extra spikes in high-traffic areas to keep the edge crisp.
Overall it’s the quickest way I’ve found to get a clean, no-dig line that stays put season after season.
3. CORE Edge Flexible Steel Lawn Edging 4" – Best Flexible Steel
I used the CORE Edge strips where I needed a low, durable metal edge that resists mower and trimmer damage while keeping gravel and mulch in place.
Why I picked it: Thicker flexible steel with a dual-lock system for near-seamless joins.
Best for: Driveways, rock beds, and places where weed eater contact is frequent.
Premium for steel edging, but built to last.
Pros
- Durable flexible steel
- Dual-lock connections
- Resists mower and trimmer damage
- Holds shape for curves
Cons
- Requires hammering and basic tools
- Needs care with very rocky soil
My take
I installed several lengths and liked how the single-piece face and spike made a rigid edge that doesn’t shift under trimmer impact.
The dual lock connection produced a tidy line with minimal gaps; installation was easier with two people to align and tap sections together.
The steel’s protection against rust and flaking meant I felt comfortable using it in gravel beds where plastic would deform.
If you want a pro-looking, low-profile metal edge that tolerates regular maintenance, this was one of my favorites.
4. EcoBorder No-Dig Rubber L-Edge 3.125" x 24' – Best Rubber No-Dig
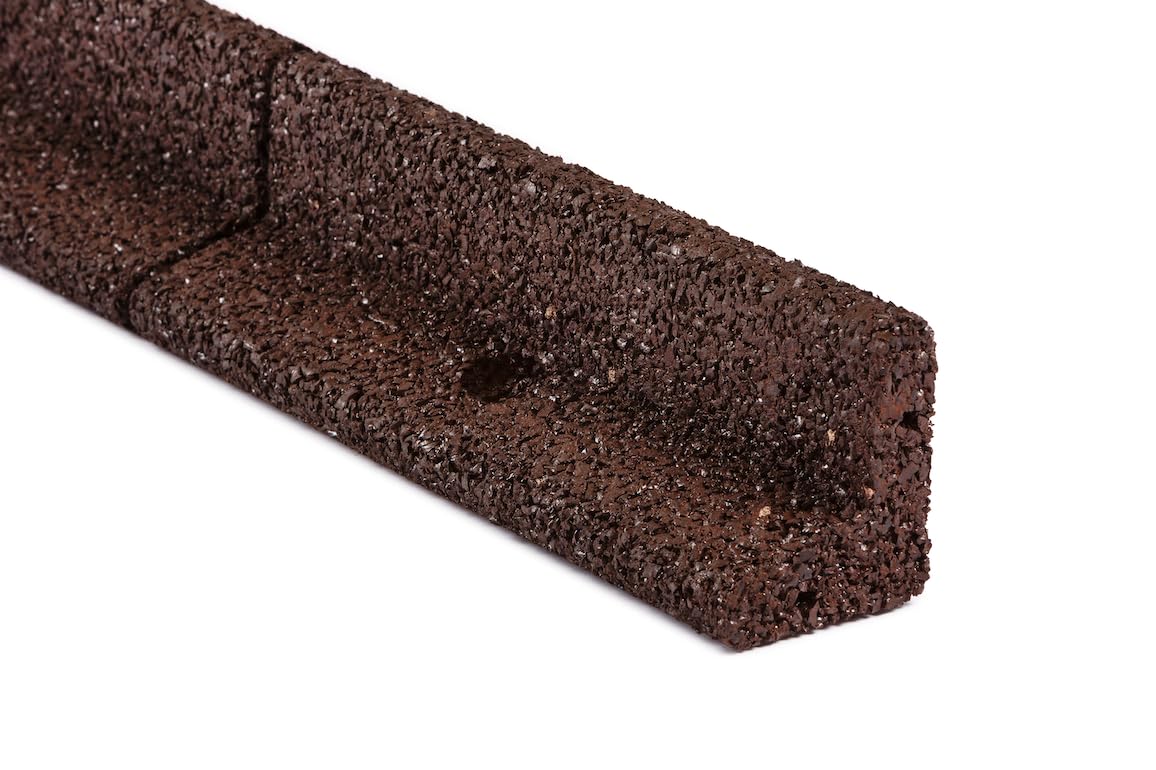
I installed this recycled-rubber L-edge in a front-bed where mower-safe, flexible edging mattered and appreciated the finished look.
Why I picked it: Mower-safe profile and eco-friendly recycled rubber construction.
Best for: Curved beds where mower-safe edges and recycled material matter.
Higher-end for recycled rubber but very durable and finished-looking.
Pros
- Made from recycled rubber
- Mower-safe rounded top
- Flexible and attractive
- Easy no-dig install
Cons
- Plastic connector pins can break
- Comes in shorter 24-foot lengths
My take
I liked the finished look once installed; the rounded top gives a clean line that’s easy to mow up to without tearing turf.
Installation was simple, though I had to pre-drill some connector holes and swap the supplied plastic pins for wooden dowel pins in a few spots to avoid breakage.
The material is heavy and feels like it will last, which makes it worth the higher cost in my opinion.
For small to medium beds where aesthetics and mower safety matter, this rubber edging delivered a polished, durable result.
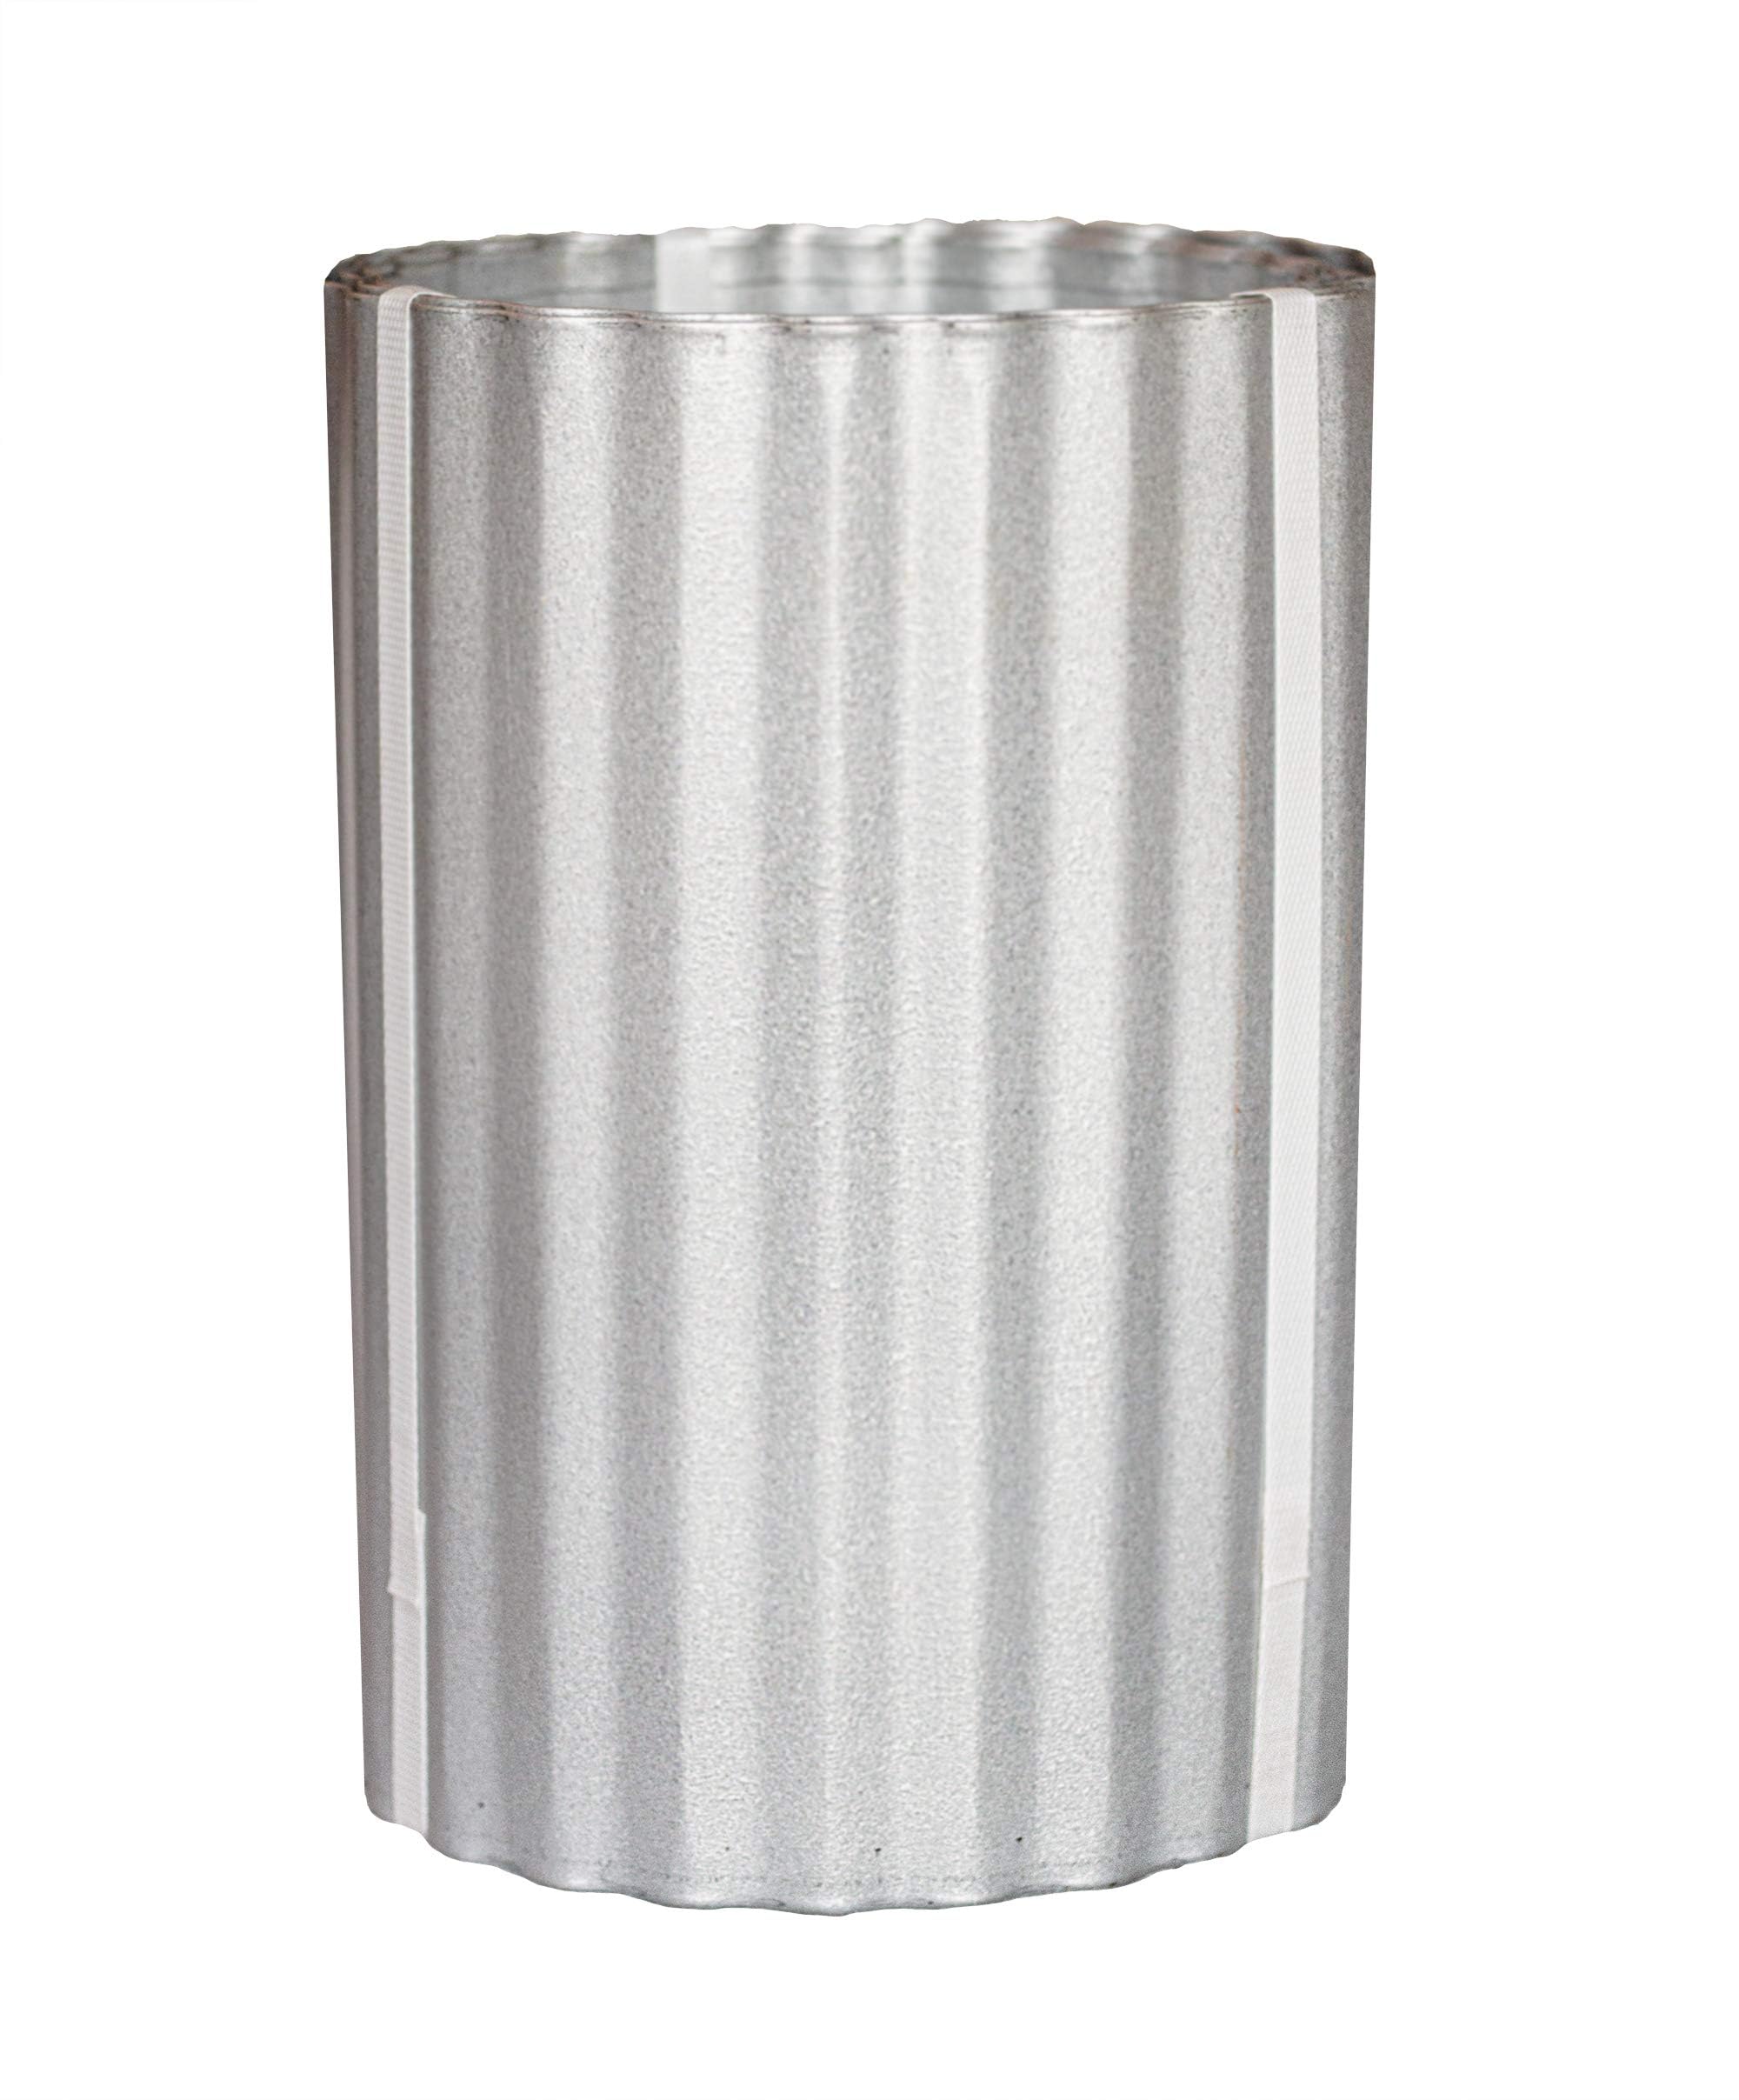
5. Worth Galvanized Corrugated Steel Edging – Best Corrugated Galvanized
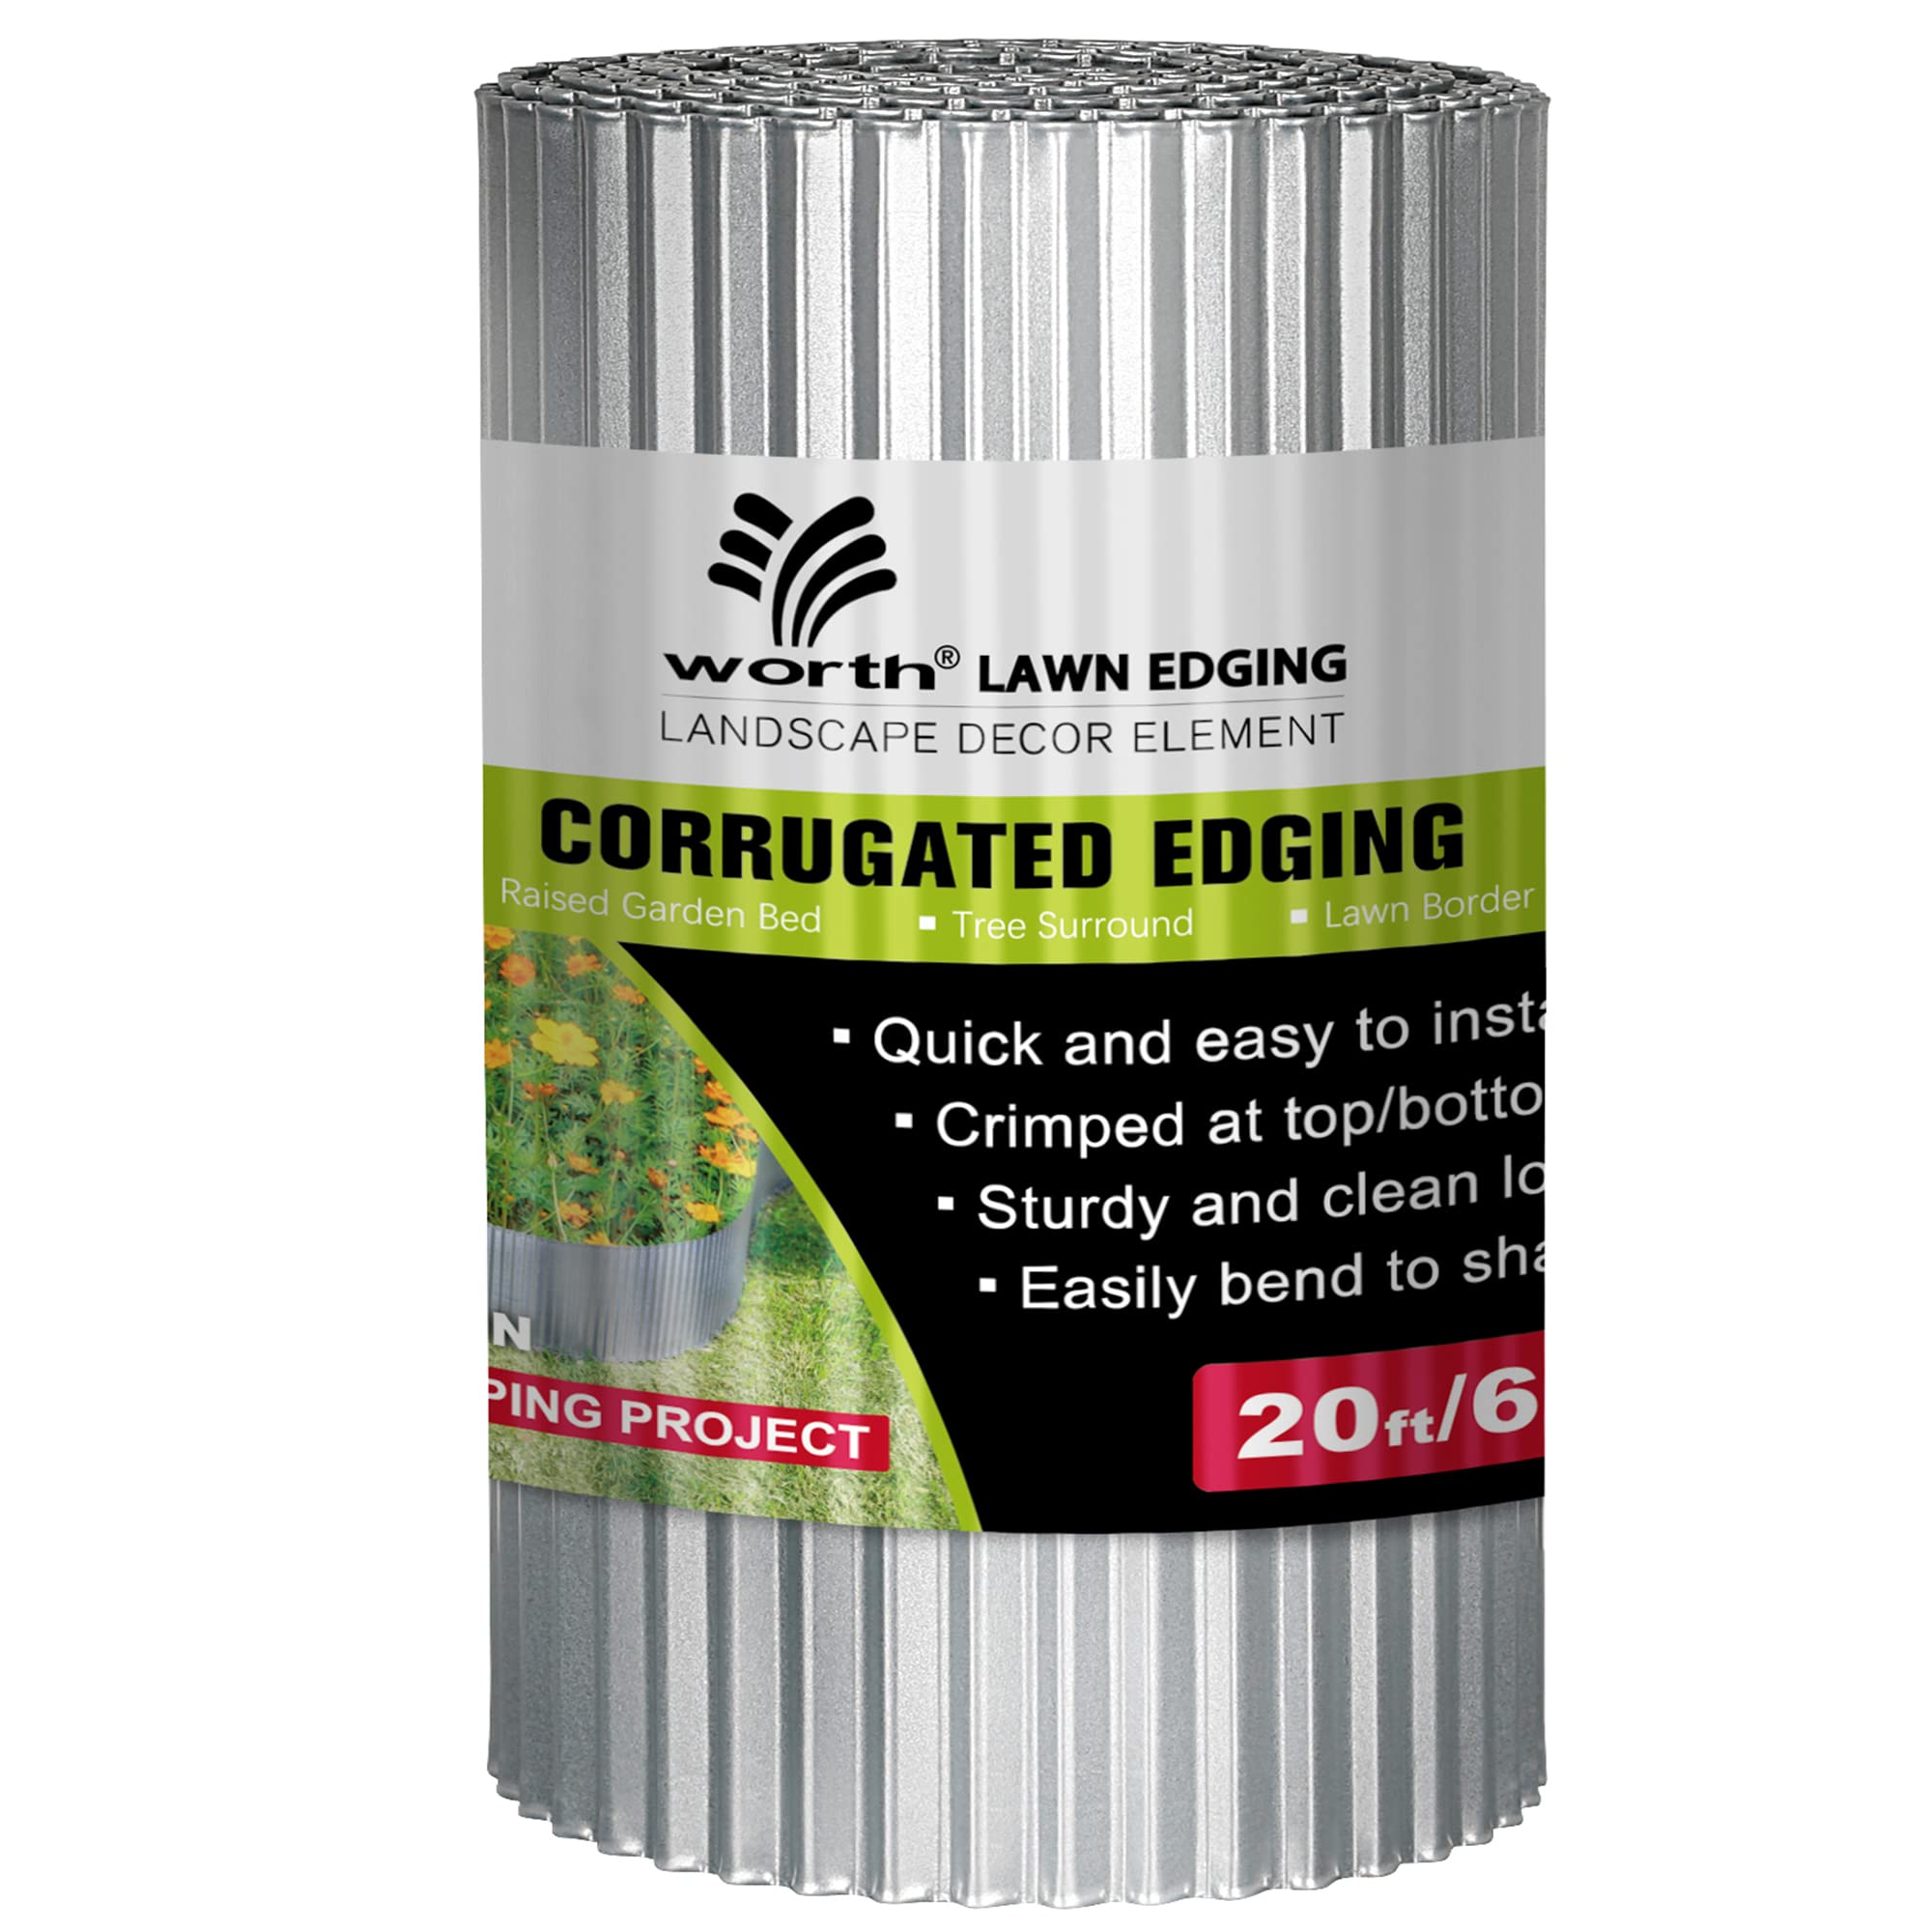
I used this corrugated galvanized edging where I wanted a country look and a taller profile to retain stone and mulch.
Why I picked it: Galvanized finish and rolled hemmed edges for safety and longevity.
Best for: Raised beds, rock borders, and rustic garden accents.
Affordable mid-range metal option with good durability.
Pros
- Hemmed safe edges
- Holds shape well
- Good corrosion resistance
- Easy to overlap for length
Cons
- Can be springy to unroll
- May require trenching in hard soil
My take
I installed a 10-foot section and found it very sturdy — the hemmed top and bottom edges made trimming and handling safer.
It unrolls with some force, so I took care cutting the binding, but once in place the corrugated profile held soil and decorative rock without bulging.
I used a hammer and a scrap board to seat it; in harder ground a shallow trench made for the straightest result.
If you want a taller, robust metal border with a handcrafted look, this one gives a lot of value for the material.
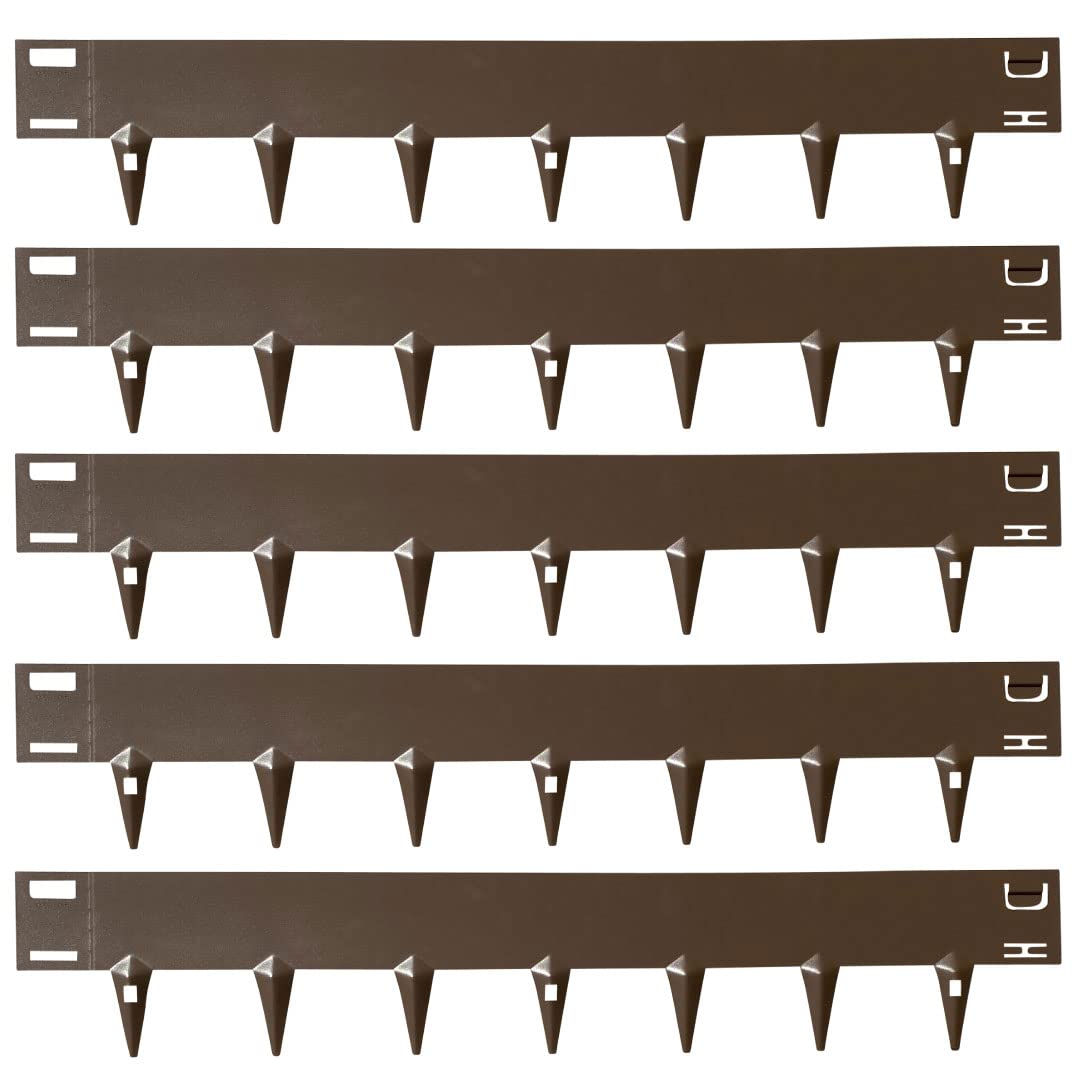
6. Edge Right Hammer-in COR-TEN Steel Edging 48" – Best Hammer-In COR-TEN
I picked COR-TEN because the hammer-in strips install flush and develop a handsome rust patina over time while standing up to heavy trimming abuse.
Why I picked it: 16-gauge COR-TEN steel for long-term durability and malleability for curves.
Best for: Permanent installs where you want a lasting, hammered-in metal edge.
Higher-end — built for longevity and heavy-duty use.
Pros
- Very sturdy 16-gauge steel
- Patinas nicely over time
- Handles weed eater abuse
- Easier to bend for curves
Cons
- Heavy to handle alone
- Trenching can be tiring in rocky soil
My take
I hammered several 48-inch strips into place and appreciated the substantial feel and the rolled top that won’t nick hands or tires.
The COR-TEN is surprisingly bendable under foot pressure for gentle curves, but in rocky soil I had to dig small trenches for a uniform fit.
The supplied joiner tabs work well, though I discarded a few weaker strips and used my own anchors in a couple of spots.
This is the kind of edging I’d buy when I want to do the job once and not think about replacing plastic in a few years.
7. Colorado Steel Corrugated Galvalume Edging 12" – Best Tall Corrugated
I used the 12-inch galvalume corrugated panels to build taller raised beds and to create a striking metal border that plays well with other garden metalwork.
Why I picked it: Tall profile and galvalume finish for extra corrosion resistance.
Best for: Raised beds and tall borders that need visual weight.
Good value for a taller, heavier corrugated metal option.
Pros
- Tall 12-inch profile
- Galvalume resists corrosion
- Stackable for height
- Attractive rustic look
Cons
- Requires care when unrolling
- Cutting and finishing takes tools
My take
I installed these on a slope and liked how the tall profile allowed me to retain more soil and redirect runoff.
The galvalume surface handled wet seasons without rusting, and the corrugation accepts stakes or overlaps easily when shaping corners.
Be careful when cutting and unrolling the roll — wear gloves — but once in place the pieces look professional and hold up well.
If you need a taller, statement border that won’t degrade quickly, this material gave me the performance I expected.
How I Choose Garden Edging
Material Matters
I start by matching material to the job: plastic for no-dig convenience, rubber for mower-safe borders, and steel for durability and a low-profile finish.
- Plastic/no-dig: easiest to install, best for light containment.
- Rubber: mower-safe, eco-friendly, attractive for small beds.
- Galvanized or COR-TEN steel: best for longevity and damage resistance.
- Corrugated panels: great when you need height or a rustic look.
Installation & Tools
I consider how much digging I want to do and which tools I have. No-dig coils and spiral spikes require a mallet, while hammer-in steel needs a sledge and sometimes a trench.
- No-dig kits: dead-blow mallet is ideal.
- Spiral spikes: quick drive-in with rubber mallet.
- Hammer-in steel: expect heavier lifting and occasional trenching.
- Corrugated panels: cutting wheel or metal snips and gloves required.
Anchors & Stability
I always plan anchor spacing to match use: closer anchors in high-traffic or soft soils, and heavier metal stakes in rocky ground.
- Use one spike every 1.5–3 feet depending on load.
- Add extra anchors near curves or transitions.
- Replace fragile plastic pins with dowels or metal stakes where needed.
Profile & Maintenance
I pick height based on what I’m containing — 1–2 inches keeps mulch tidy; 4–12 inches is better for rock beds and raised areas. Think long-term: steel will need less replacement but may patina.
- Low profile for mowing ease.
- Taller profiles for gravel or elevated beds.
- Expect steel to develop patina; seal if you want to preserve finish.
Frequently Asked Questions
How far apart should I place anchoring spikes?
I space spikes based on load: about every 2–3 feet for simple edging and closer, about 1.5 feet, where pavers or heavy rock press against the edge.
Can plastic no-dig edging be used on curves?
Yes — I bend heavier no-dig coils into gentle curves easily. For tight circles I use shorter sections and more anchors to keep the shape crisp.
Which edging holds up best against a weed eater?
I trust steel edging — especially thicker flexible or COR-TEN steel — to withstand repeated weed eater contact without deforming.
Are rubber edges worth the extra cost?
For me, the mower-safe profile and recycled material justify the higher cost when I want a clean, finished look and durability.
Final Take
I chose products here to match common yard needs: quick anchoring, full no-dig installs, durable metal borders, and taller corrugated solutions.
My final pick depends on your priorities: go with a kit if you want the easiest complete install, choose steel if you want longevity and low maintenance, or pick rubber for mower-safe, eco-friendly edging.
I’ve installed and lived with these options, and each one performed well when matched to the right use case — pick the one that fits your soil, tools, and the finish you want.
")