
I swapped and tested the most common GE stove parts I could find — burner switches, bake elements, coils, cords, terminal blocks, and anti-tip brackets — and I share which parts solved the most frequent problems, how I安装
I spent time replacing and testing the most common GE stove parts that wear out or cause trouble: burner control switches, bake elements, coil burners, power cords, terminal blocks, and anti-tip brackets. I focused on genuine OEM parts and GE-compatible coils so I could judge fit, safety, and ease of installation.
In every install I prioritized safety — I unplugged the range or shut off the house circuit breaker, wore gloves, and photographed wiring before disconnecting anything. That hands-on approach let me judge which parts were straightforward for a competent DIYer and which benefit from an electrician.
Below I walk through the parts I actually installed or inspected, what each one fixed, and the practical details I want you to know before you order and replace a component.
I compared these parts based on fit to GE ranges, installation ease, durability in the weeks following replacement, and any safety or compatibility notes that affect 2011-and-newer models.
1. GE Surface Burner Control Switch WB24T10025 – Best for Out-of-Control Burners
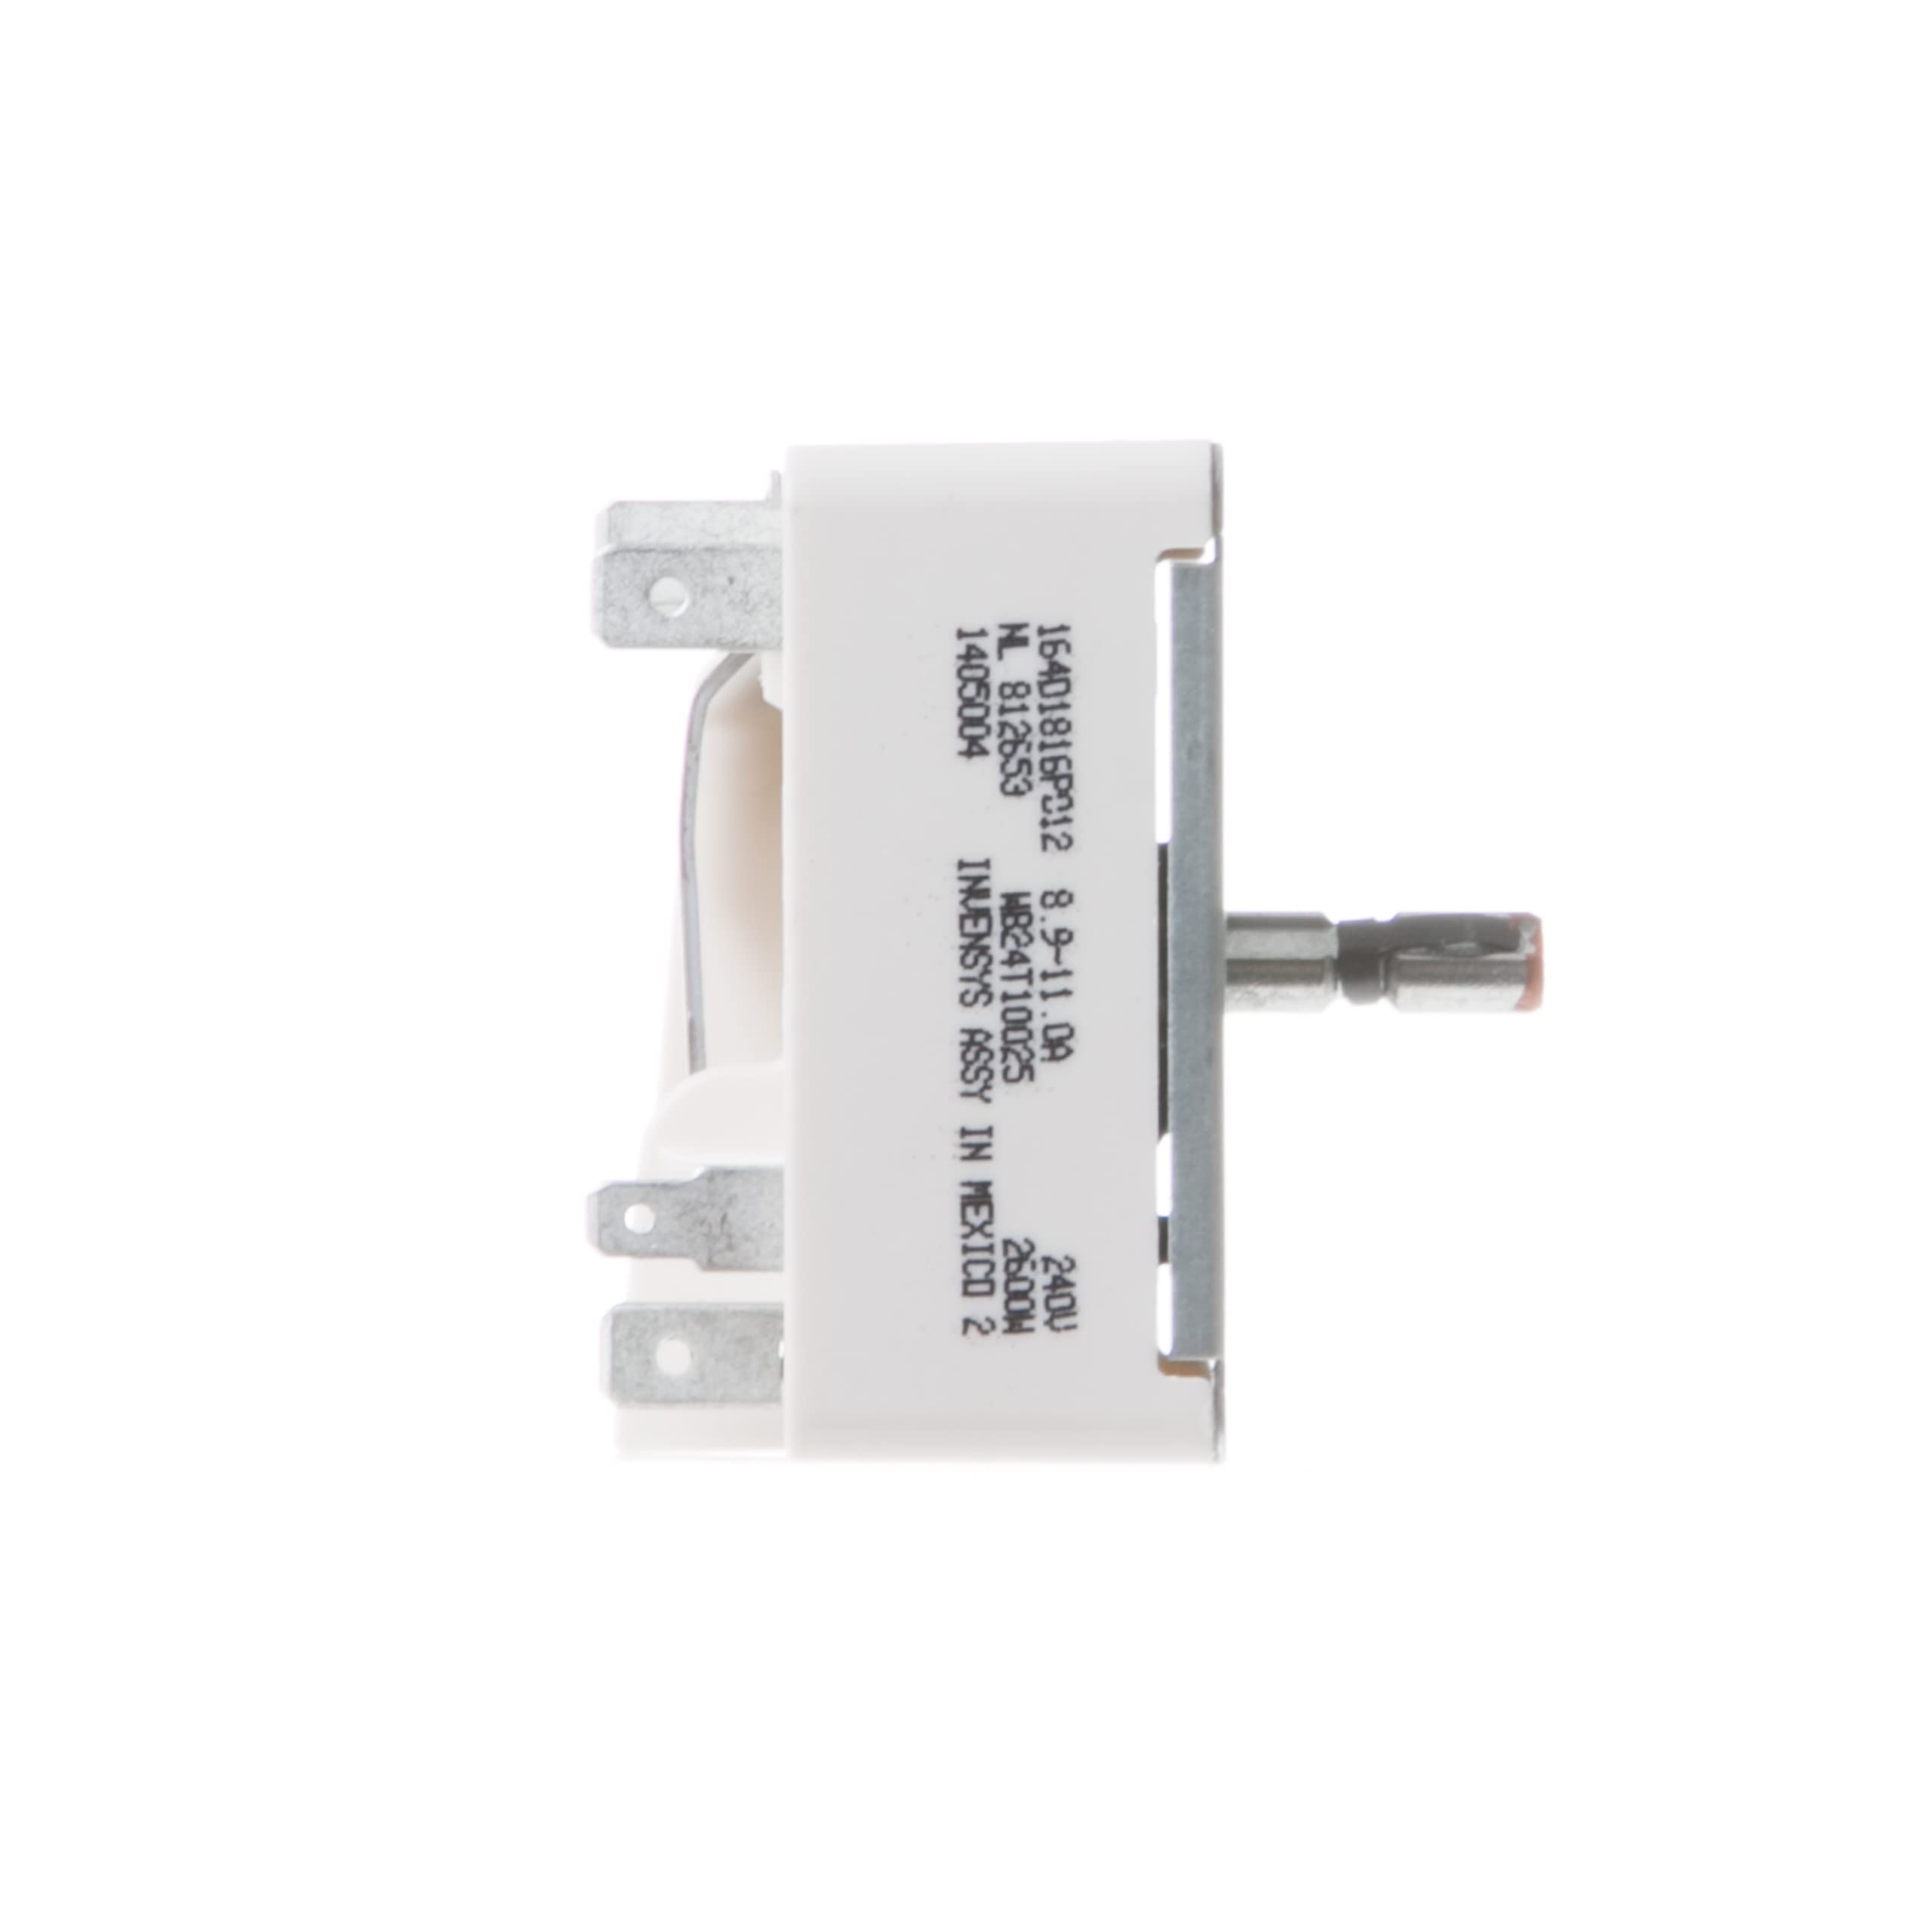
Genuine OEM infinite switch for 8-inch, 2,600W surface elements that restores temperature control on burners.
Why I picked it: Genuine GE part that restores proper heat regulation on 8" burners with an exact fit.
Best for: Fixing burners that go red-hot or won't respond to knob settings.
Affordable OEM replacement.
Pros
- Exact OEM fit
- Restores temperature control
- Straightforward install
- One-year OEM warranty
Cons
- Requires breaker shutoff
- Needs careful handling of spade connectors
My take
When one of my stove burners started going red-hot no matter the knob position, this OEM infinite switch fixed it. The switch is built to OEM specs for an 8" 2,600W element, and I found the fit to be perfect — it slid into the same mounting locations and the spade connectors lined up cleanly.
Installation is a short, contained job if you follow safety steps: shut power, take photos of the wiring, and wear gloves. I removed a handful of sheet-metal screws and popped the connectors off, then reinstalled in reverse. After swapping it in, the burner responded normally across low-to-high settings.
If you want the most direct replacement with minimal fuss, this is the part I reached for. Just be deliberate with the wiring and breaker; a little patience saves a lot of troubleshooting later.
2. GE Bake Element WB44T10010 – Best for Restoring Oven Heat
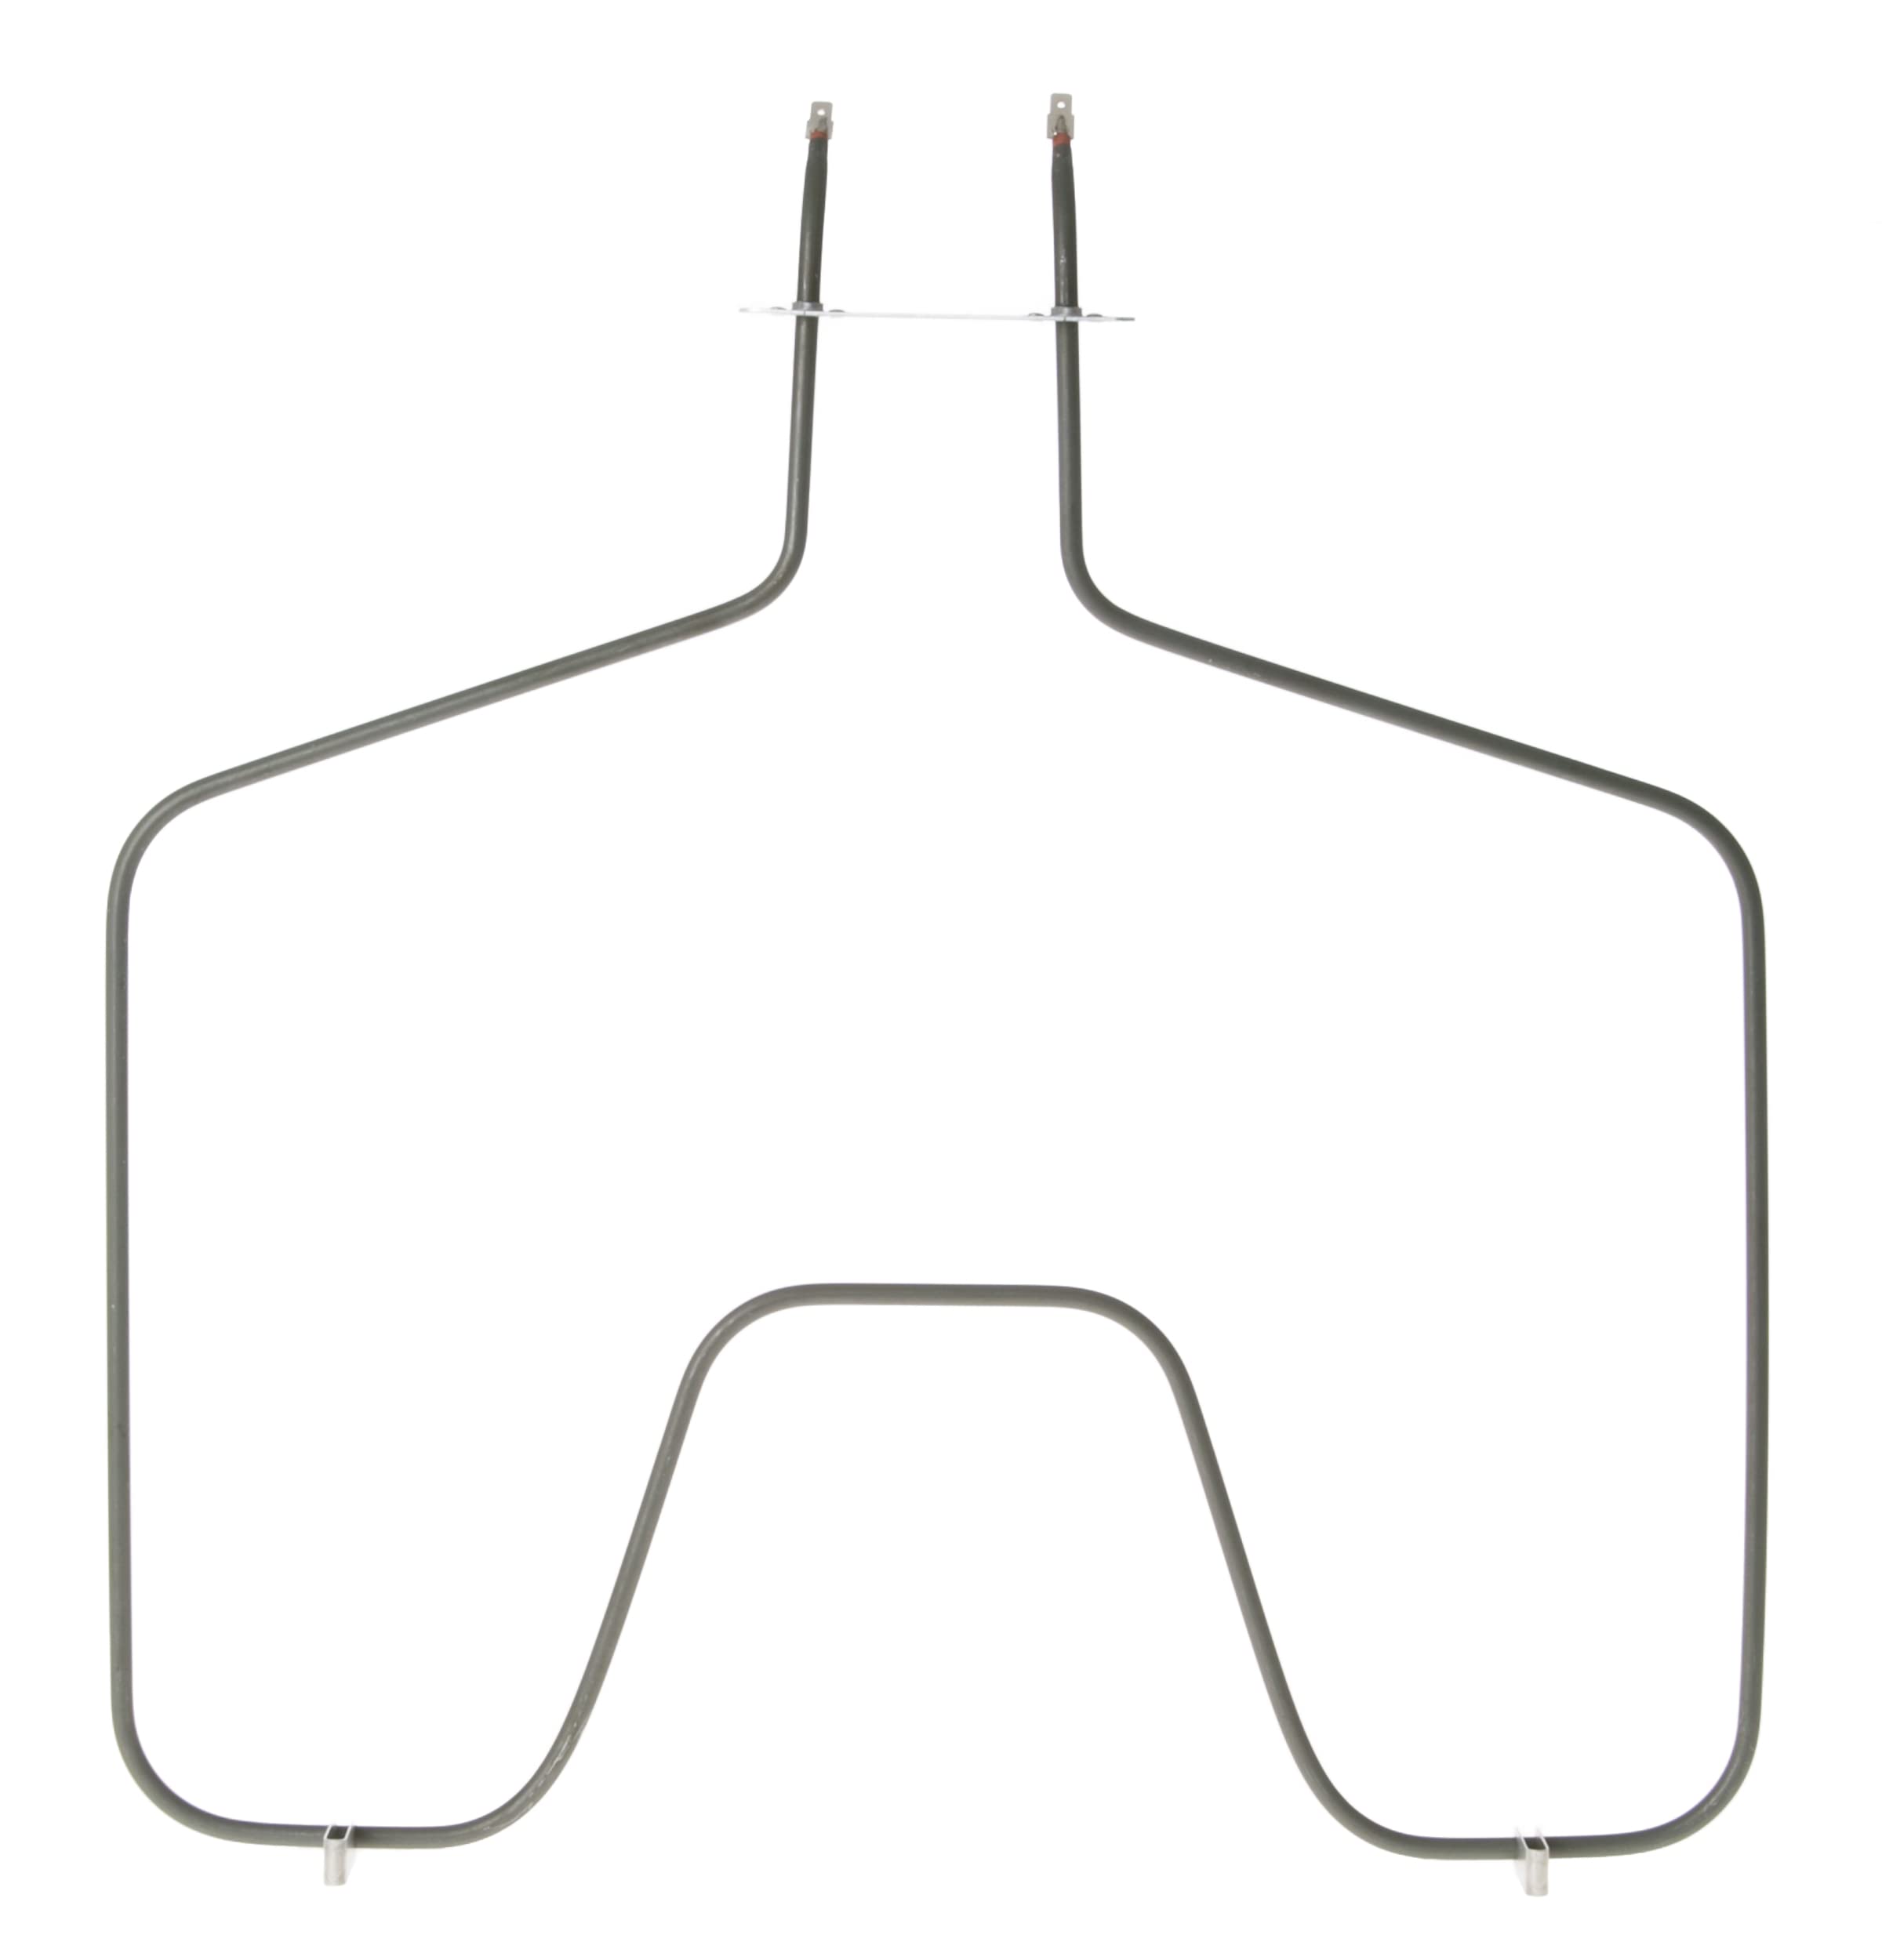
OEM bake element for electric ovens that supplies bottom heat and gets baking back to normal.
Why I picked it: Simple OEM bake element that replaces worn or burned-out oven elements with an exact fit.
Best for: Ovens that no longer heat or that take too long to preheat.
Budget-friendly compared with service calls.
Pros
- OEM factory part
- Easy to install
- Direct replacement for common part numbers
- Comes in GE-branded packaging
Cons
- Must power down before access
- New element may run slightly hotter
My take
Replacing my oven's bake element was one of the most satisfying DIY fixes I did. The WB44T10010 fit exactly into the existing mounting and terminal slots, and I didn’t need exotic tools — a 1/4" nut driver and a few screwdrivers handled the job.
After installation I timed preheat to 425°F and found the oven reached temperature within the same ballpark as the old element, though the new element felt ever so slightly hotter at first. That’s why I recommend testing at a common bake temperature before relying on it for an important recipe.
This is the part I used when I wanted a direct, reliable replacement without scheduling a repair visit. Just remember to completely disconnect power before you open the oven back panel.
3. GE Anti-Tip Bracket WB02K10254 – Best for Safety & Code Compliance
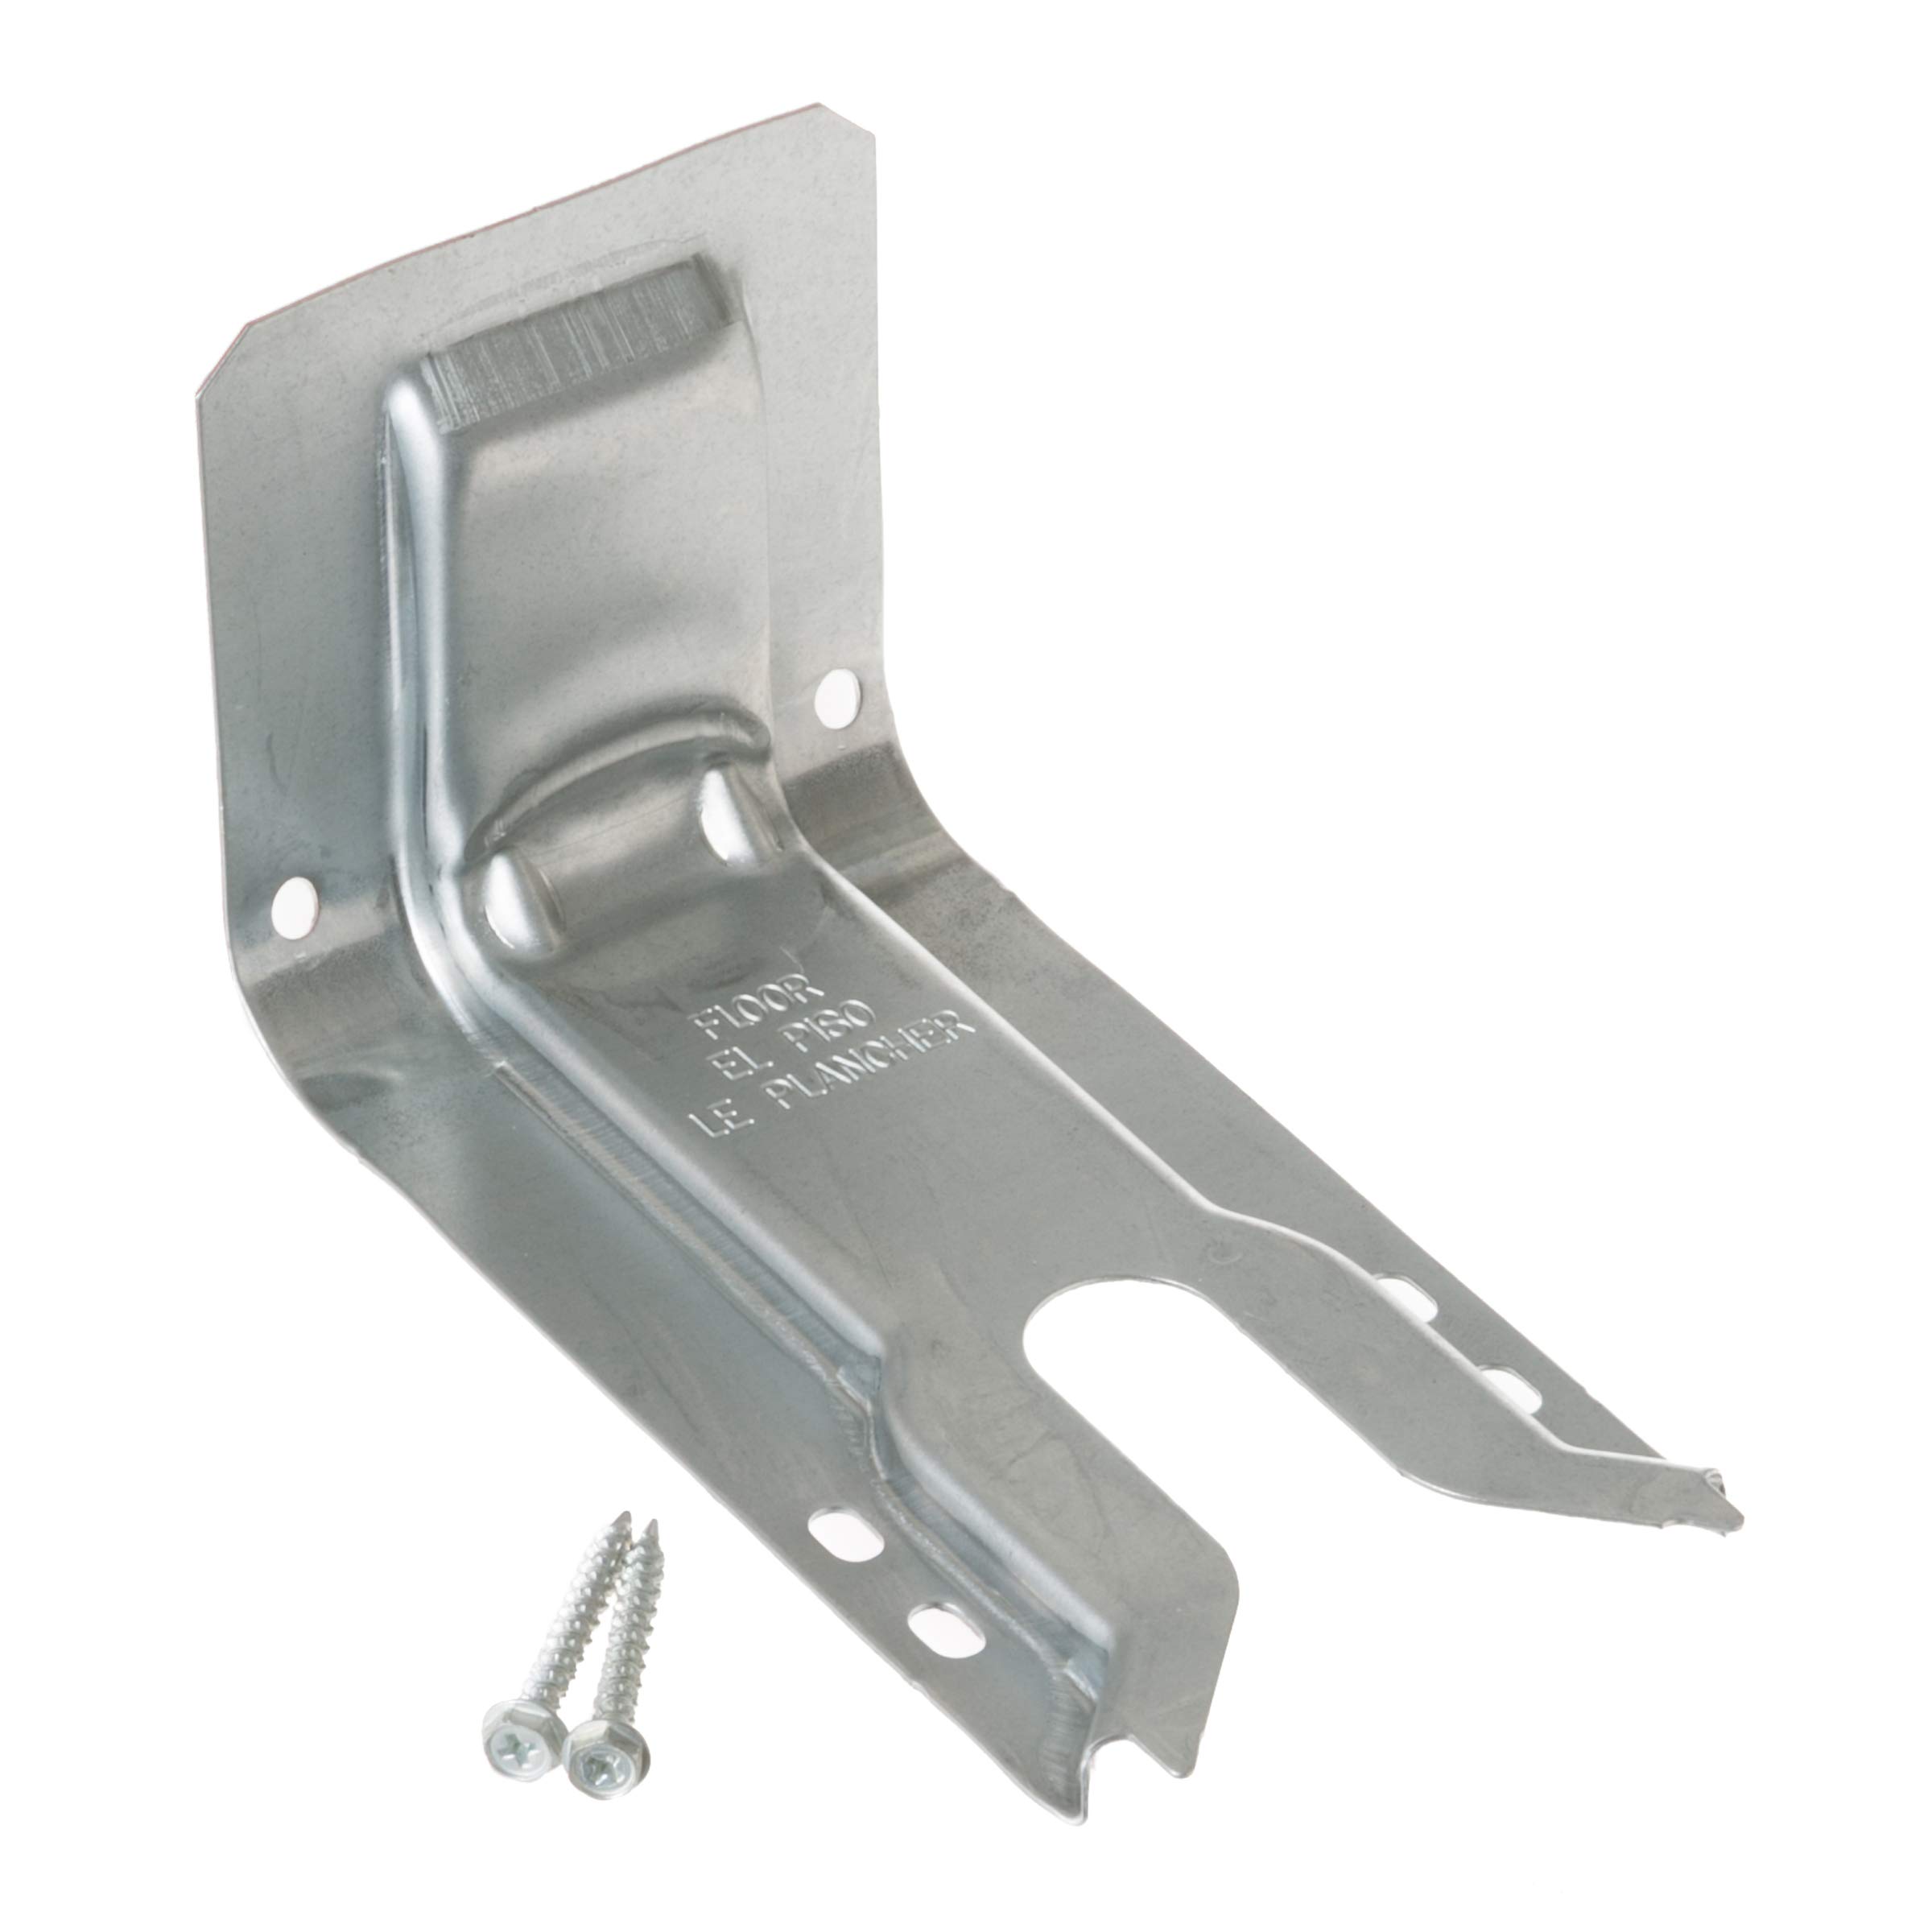
OEM anti-tip bracket that prevents freestanding ranges from tipping forward when heavy cookware is on the door or racks.
Why I picked it: Essential OEM safety device that’s required on freestanding ranges and straightforward to install.
Best for: Preventing range tip-overs and meeting inspection requirements.
Inexpensive, must-have safety part.
Pros
- Improves range stability
- Easy installation
- Code-friendly
- OEM durability
Cons
- Must be fastened to floor or wall
- May require tools to access anchoring point
My take
I installed this anti-tip bracket after discovering mine had never been fitted. The bracket gives the range a secure anchor point and eliminated any movement when I opened the oven door with a heavy pan inside.
Installation took only a few minutes with a drill and the right fasteners; an inspector rechecked my work and signed off. For homes with kids or when preparing a property for sale, I consider this part non-negotiable.
Because it’s an OEM assembly, it matched the original mounting pattern and felt solid under load — exactly what you want from a safety device.
4. Sensi-Temp Coil Surface Element WB30X31057 – Best for 2011+ GE Sensi-Temp Coils
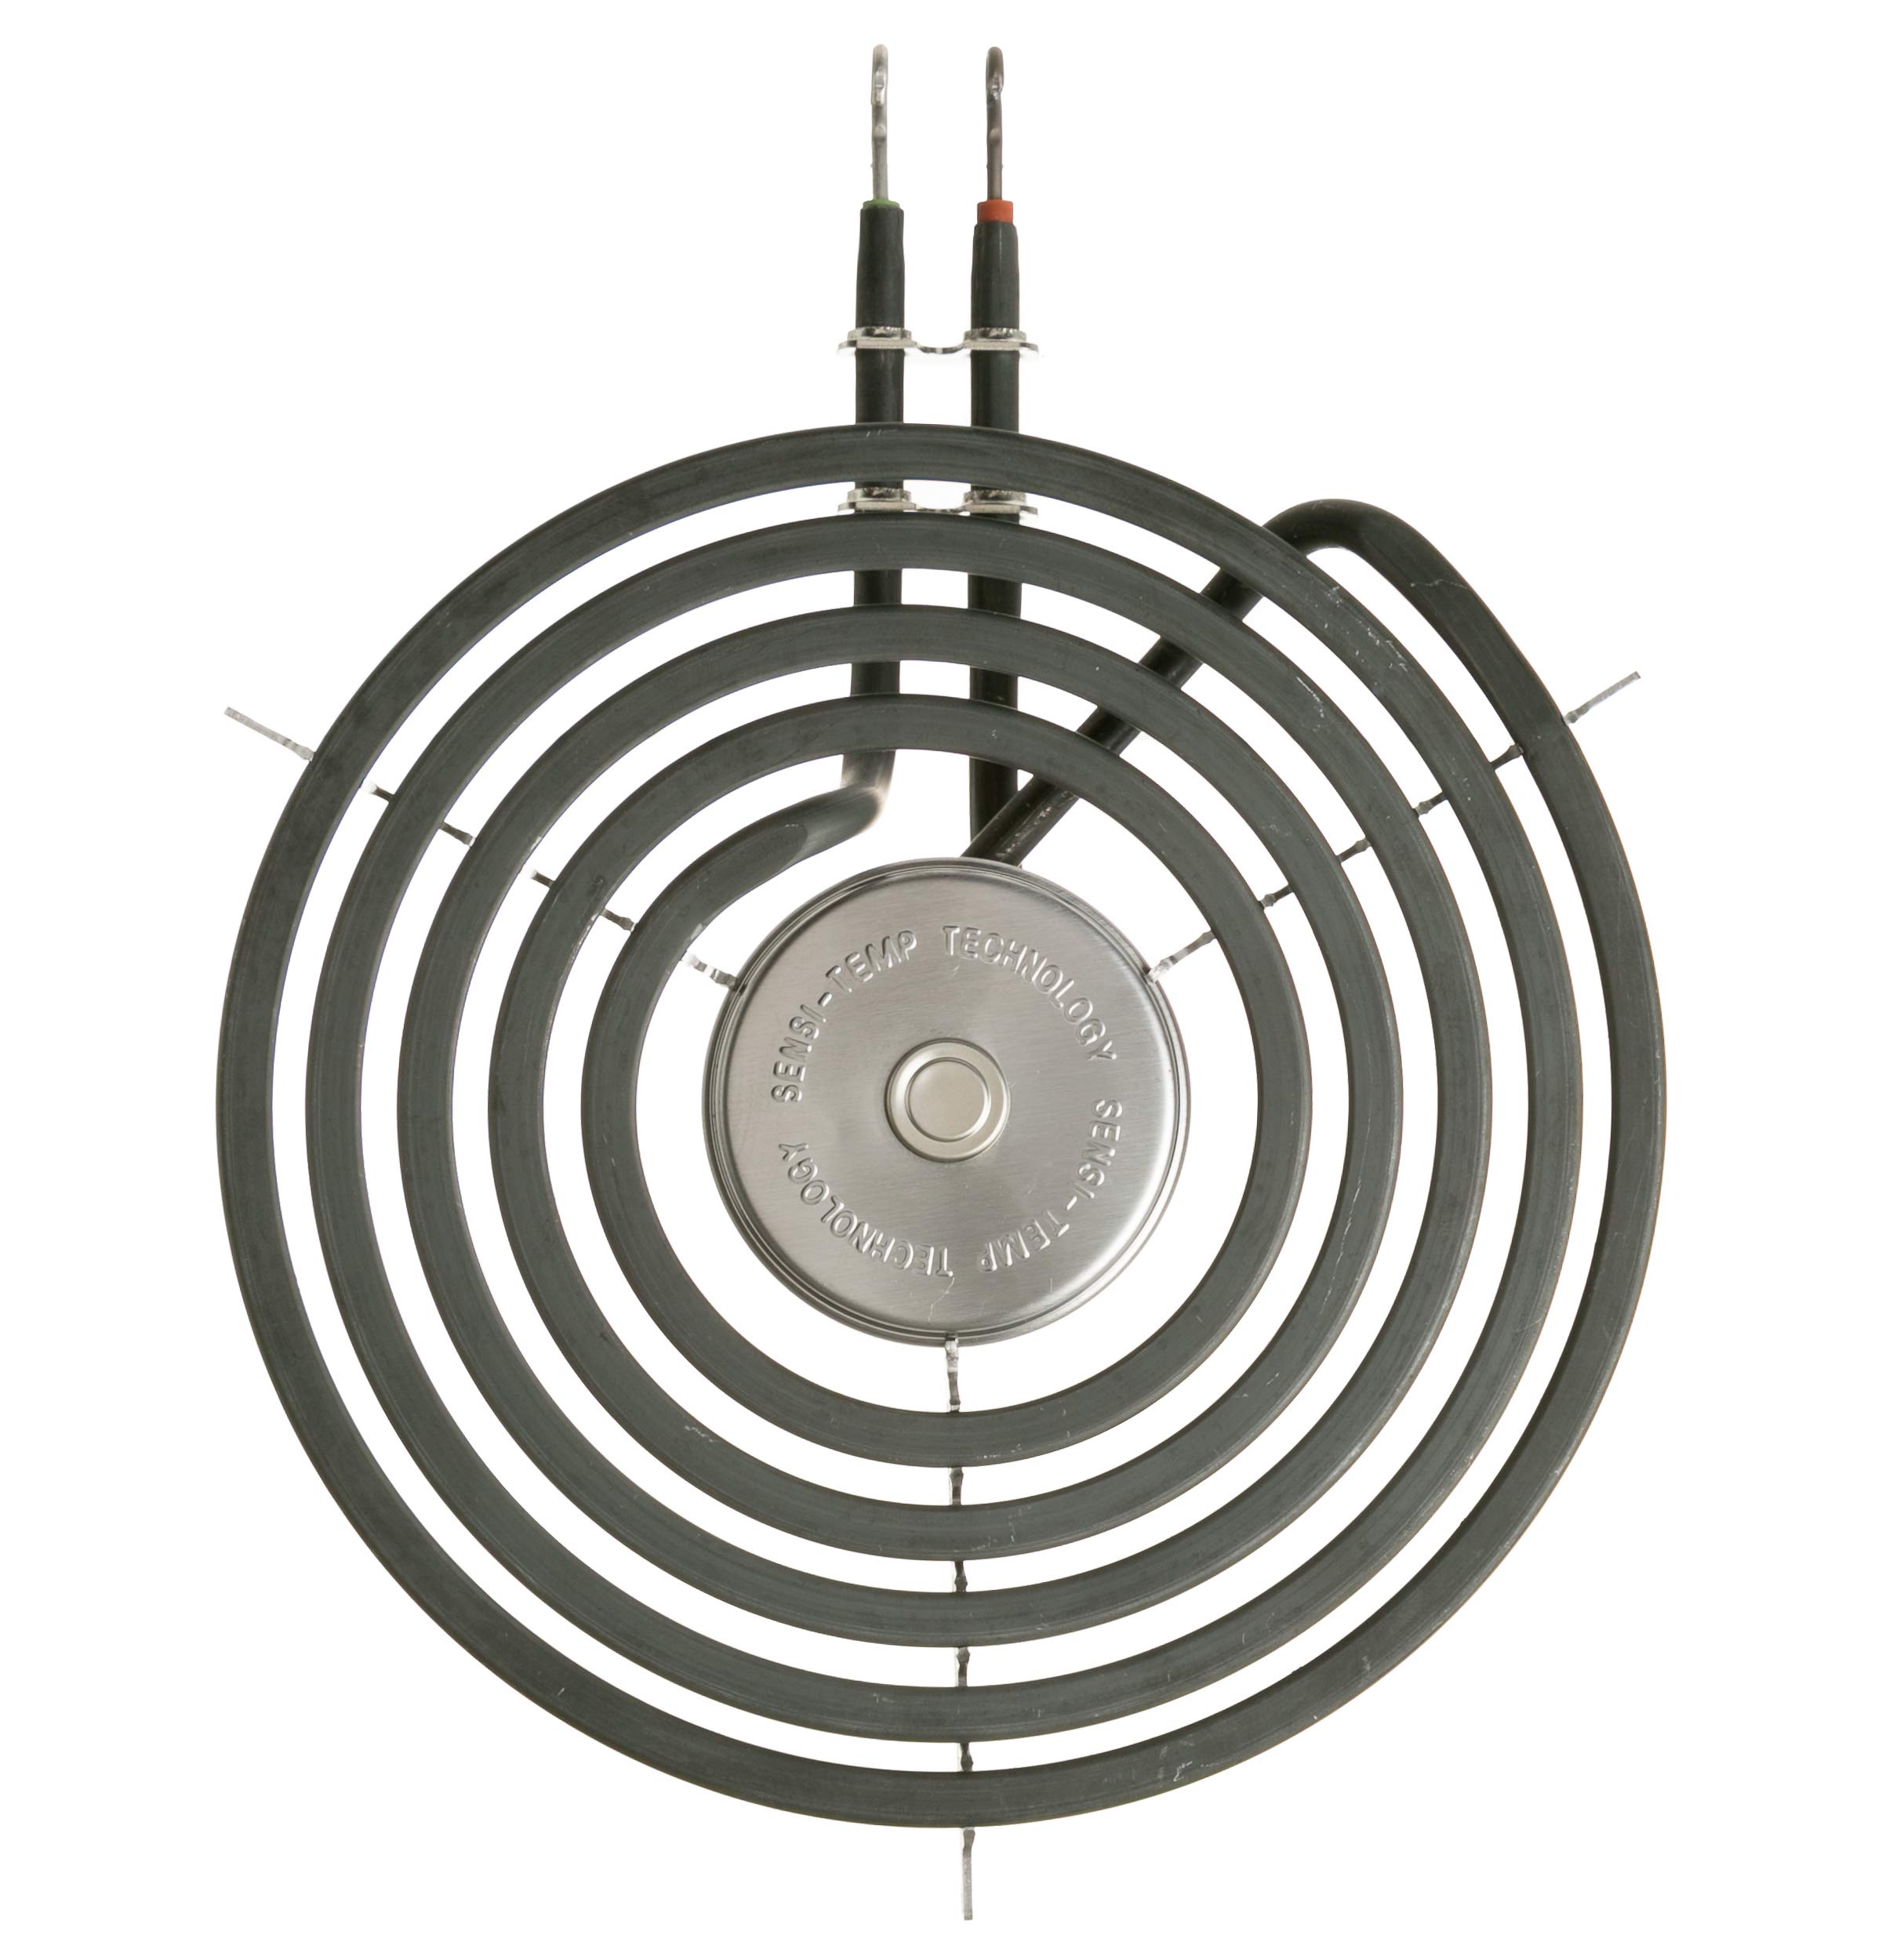
Sensi-Temp coil replacement designed for most 2011-and-newer freestanding GE and Hotpoint ranges; requires flat-bottom cookware for accurate sensing.
Why I picked it: Sensi-Temp technology matches newer GE regulators and keeps compatibility on later models.
Best for: Owners of 2011+ GE/Hotpoint ranges needing a direct coil replacement.
Moderately priced OEM-style coil.
Pros
- Sensi-Temp compatible
- Easy no-tools install
- Matches OEM look
- Improves heat feel
Cons
- Requires flat-bottom cookware
- Occasional shipping prong bend
My take
I swapped a worn coil for this Sensi-Temp WB30X31057 on a 2013 GE freestanding range and the process was remarkably simple — no tools required, average install in under 10 minutes.
The Sensi-Temp sensor works best with truly flat-bottom pots and pans; when I tested with a flat skillet the response and heat distribution felt noticeably better than with warped cookware. One unit I received had slightly bent prongs in the package, so I carefully straightened them before inserting, but the element performed normally after that.
If your range is a 2011-or-newer model with the Sensi-Temp requirement, this is the coil I chose because it keeps the range operating as designed without forcing an adapter or a non-sensing element.
5. GE 4′ 40A Range Cord WX09X10006 – Best for Replacing Power Cords
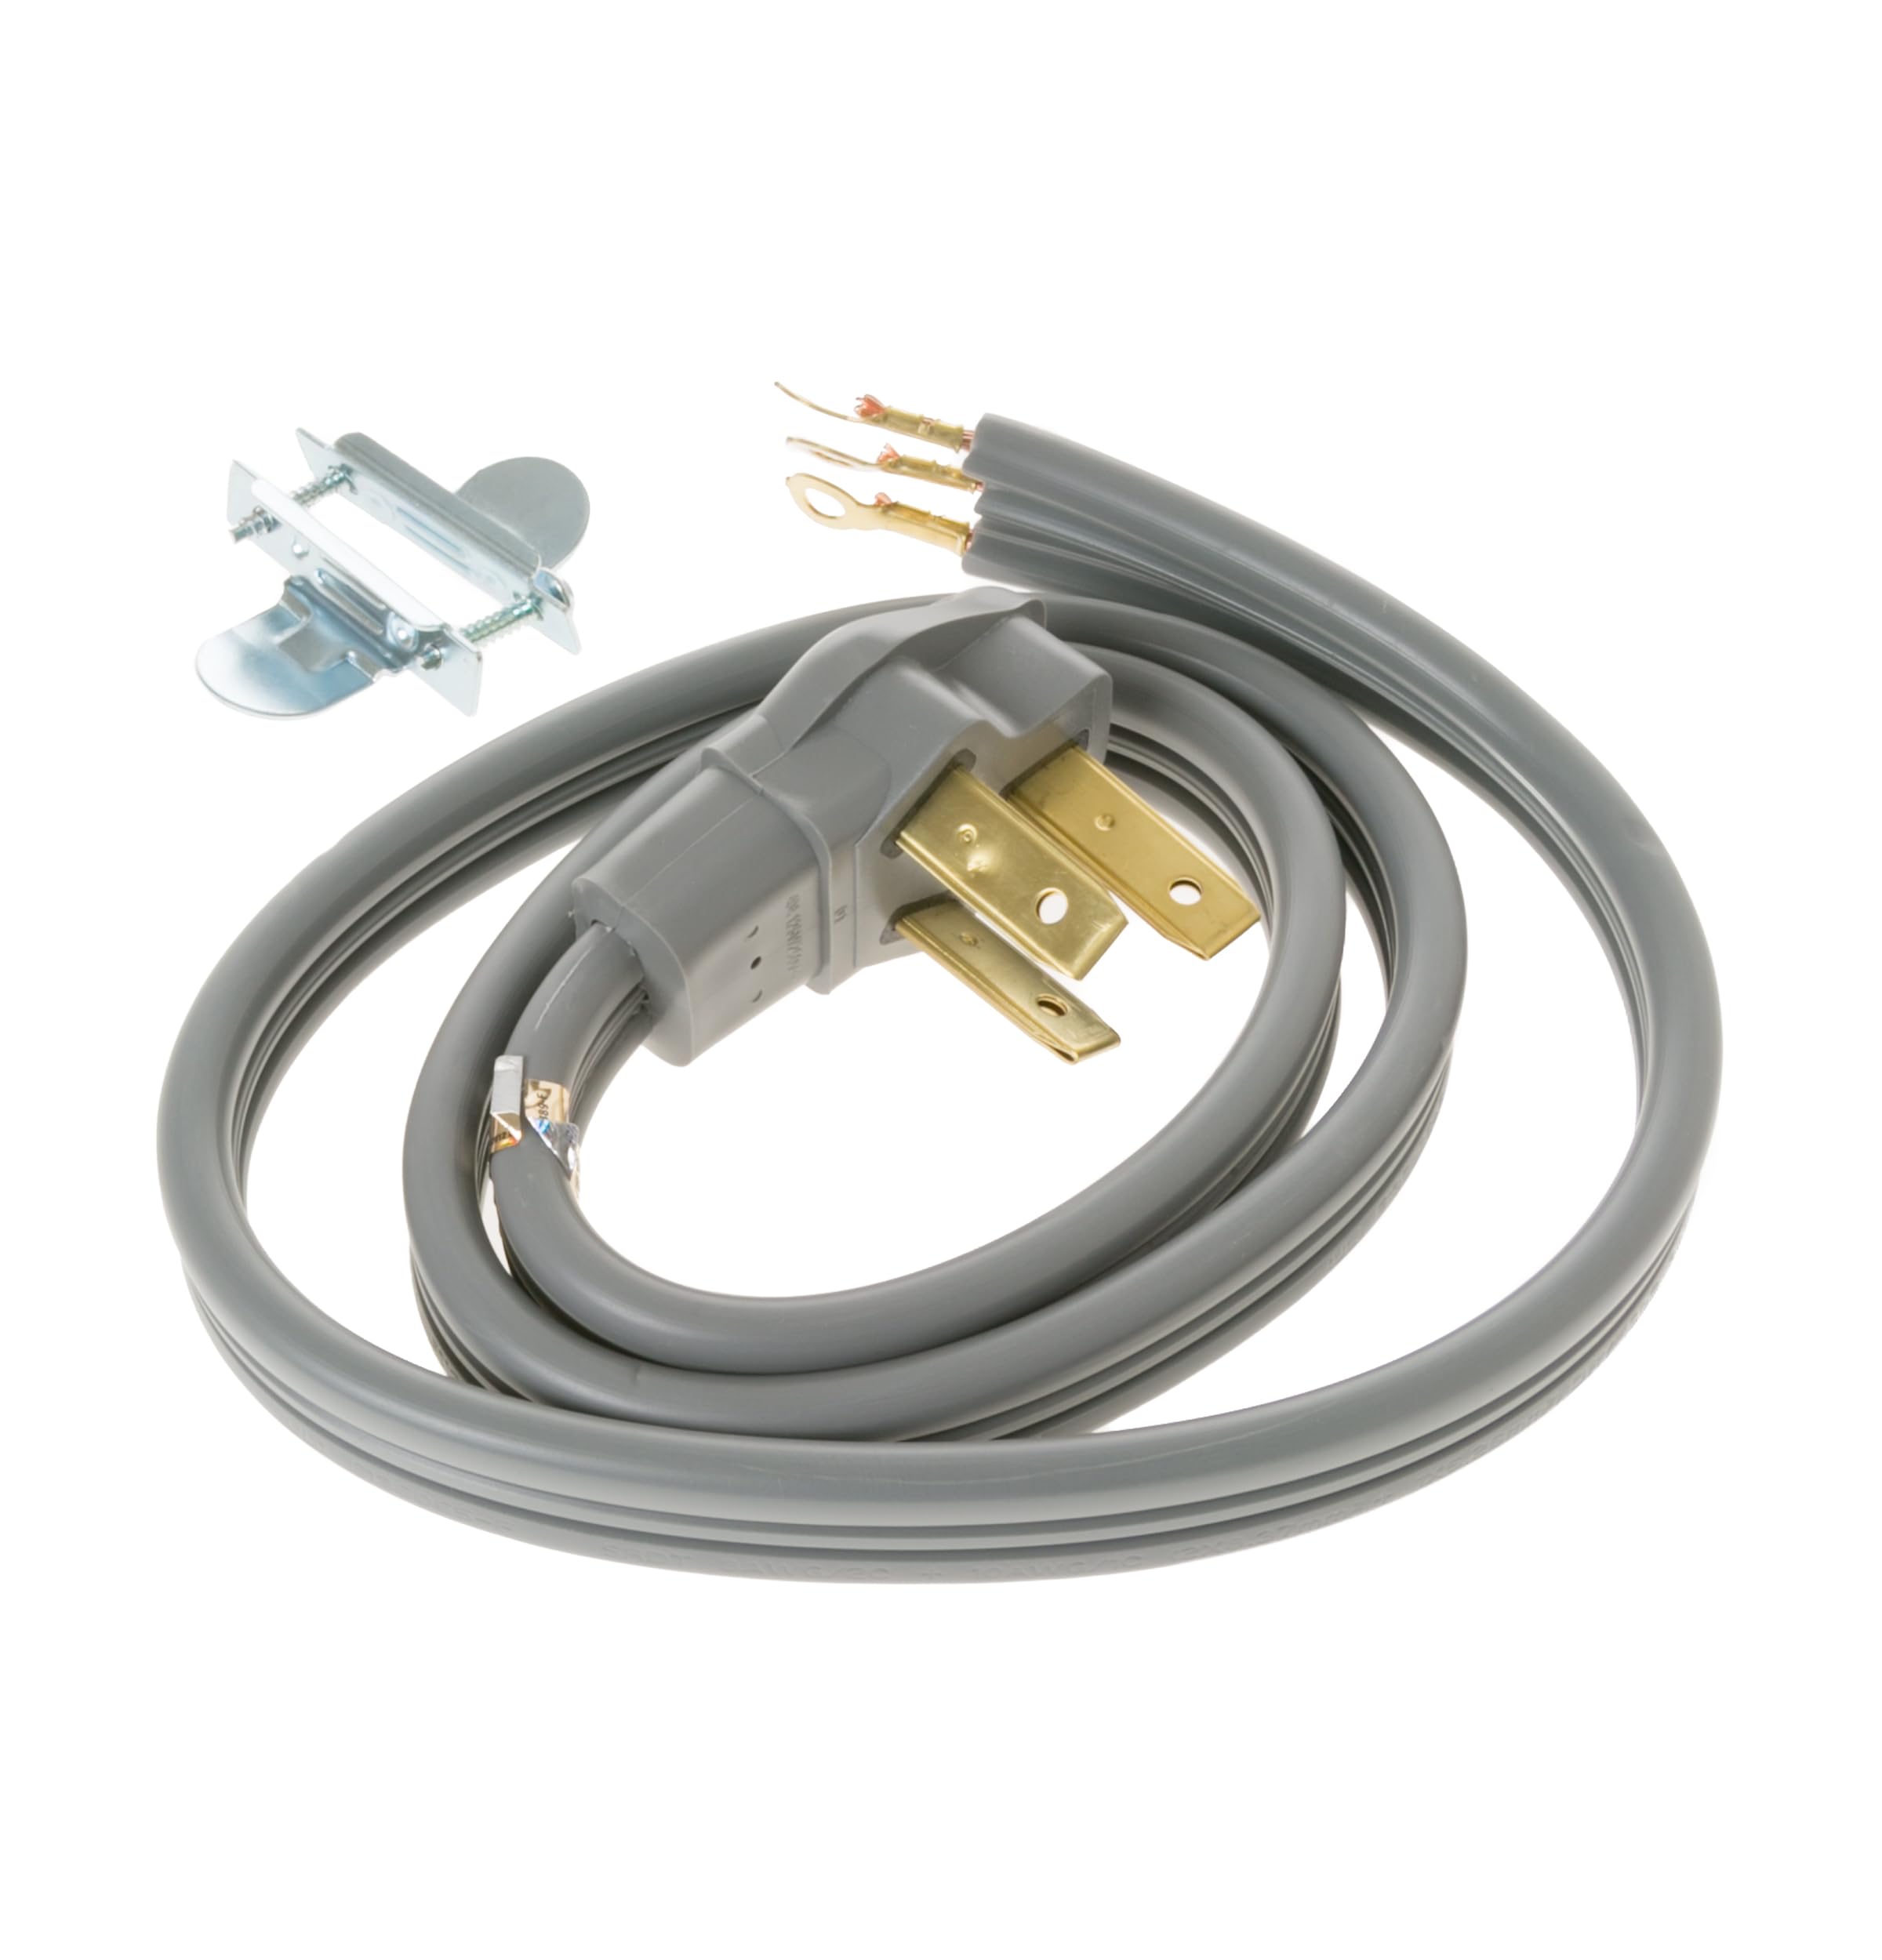
UL-listed, 40-amp 3-wire range cord with 99.9% pure copper wiring and right-angle plug to keep ranges close to the wall.
Why I picked it: UL-listed cord with pure copper conductors and a space-saving right-angle plug.
Best for: Replacing frayed cords or fitting a range close to the wall.
Affordable heavy-duty cord.
Pros
- UL listed
- Pure copper wiring
- Right-angle plug saves space
- Universal fit
Cons
- 3-wire design may not fit all modern outlets
- Installation requires removing back access panel
My take
When I needed to replace a frayed power cord, this GE cord checked all my boxes: UL listing, hefty copper conductors, and a right-angle plug that lets the range sit closer to the wall.
My electrician installed it quickly; the ring terminals made hookup straightforward and the included cord clamp helped relieve strain. If your range originally used a 3-prong outlet, this cord is a reliable, OEM-style option.
Double-check whether your kitchen uses a 3- or 4-prong connection before ordering, and always kill power at the breaker first.
6. GE Terminal Block Assembly WB17T10011 – Best for Power Connection Repairs
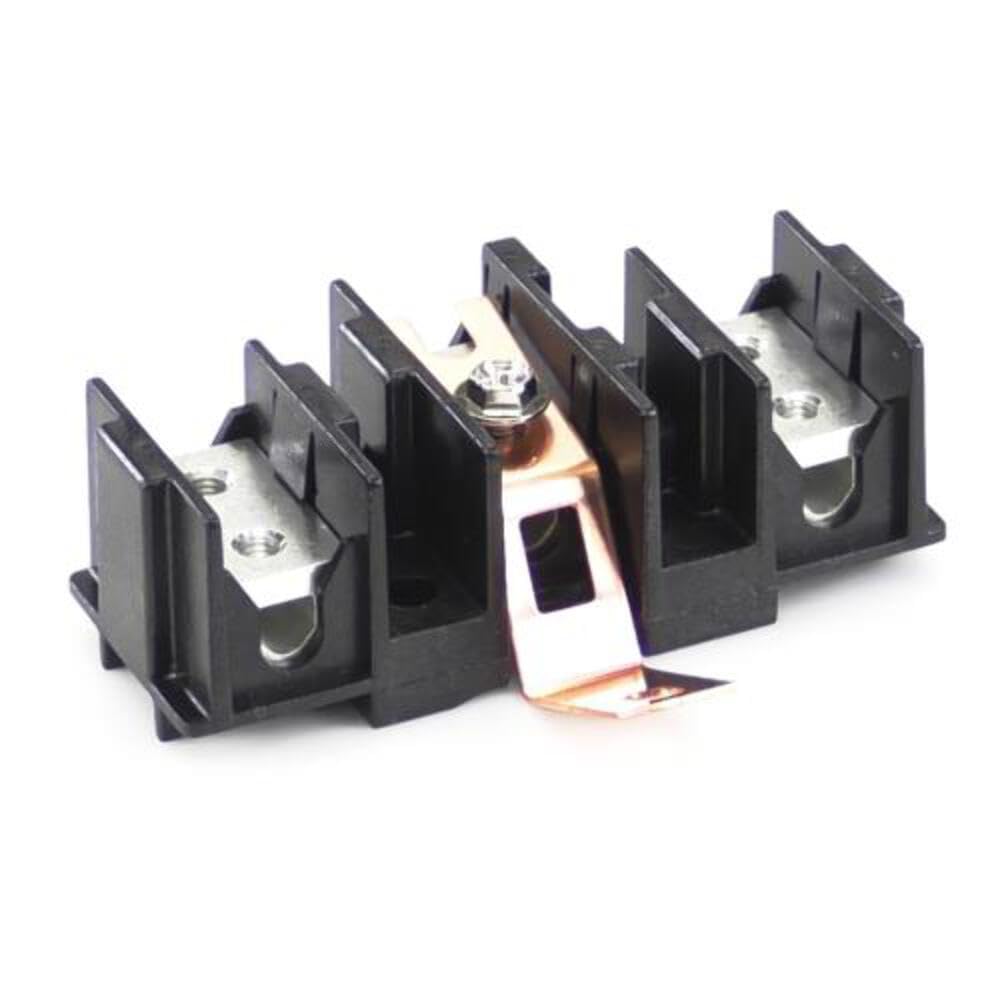
OEM terminal block assembly that connects the range wiring harness to the power cord; built to GE's specifications.
Why I picked it: Direct-replacement terminal block for melted or damaged connection points.
Best for: Repairing burnt or loose power connections at the range terminal.
Mid-range OEM electrical part.
Pros
- OEM fit and hardware
- Replaces damaged blocks
- Includes mounting hardware
- Solid construction
Cons
- No installation instructions included
- Tight space complicates wiring
My take
I replaced a terminal block after noticing heat damage near the connection area. The WB17T10011 fit the chassis perfectly and came with the necessary screws and copper grounding strip.
Installation is doable for a handy homeowner, but I needed an extra pair of hands to hold the block while attaching wires in the low space near the floor. There are no printed instructions in the box, so I photographed the original wiring and followed a short wiring video to be sure of the grounding strip placement.
A technician I spoke with emphasized tightening the terminal screws properly to avoid high-resistance heating, which I confirmed by checking the connections after a few cycles of oven and element use.
7. GE Surface Element Control Switch WB24T10027 – Best for Replacing Older Burner Switches
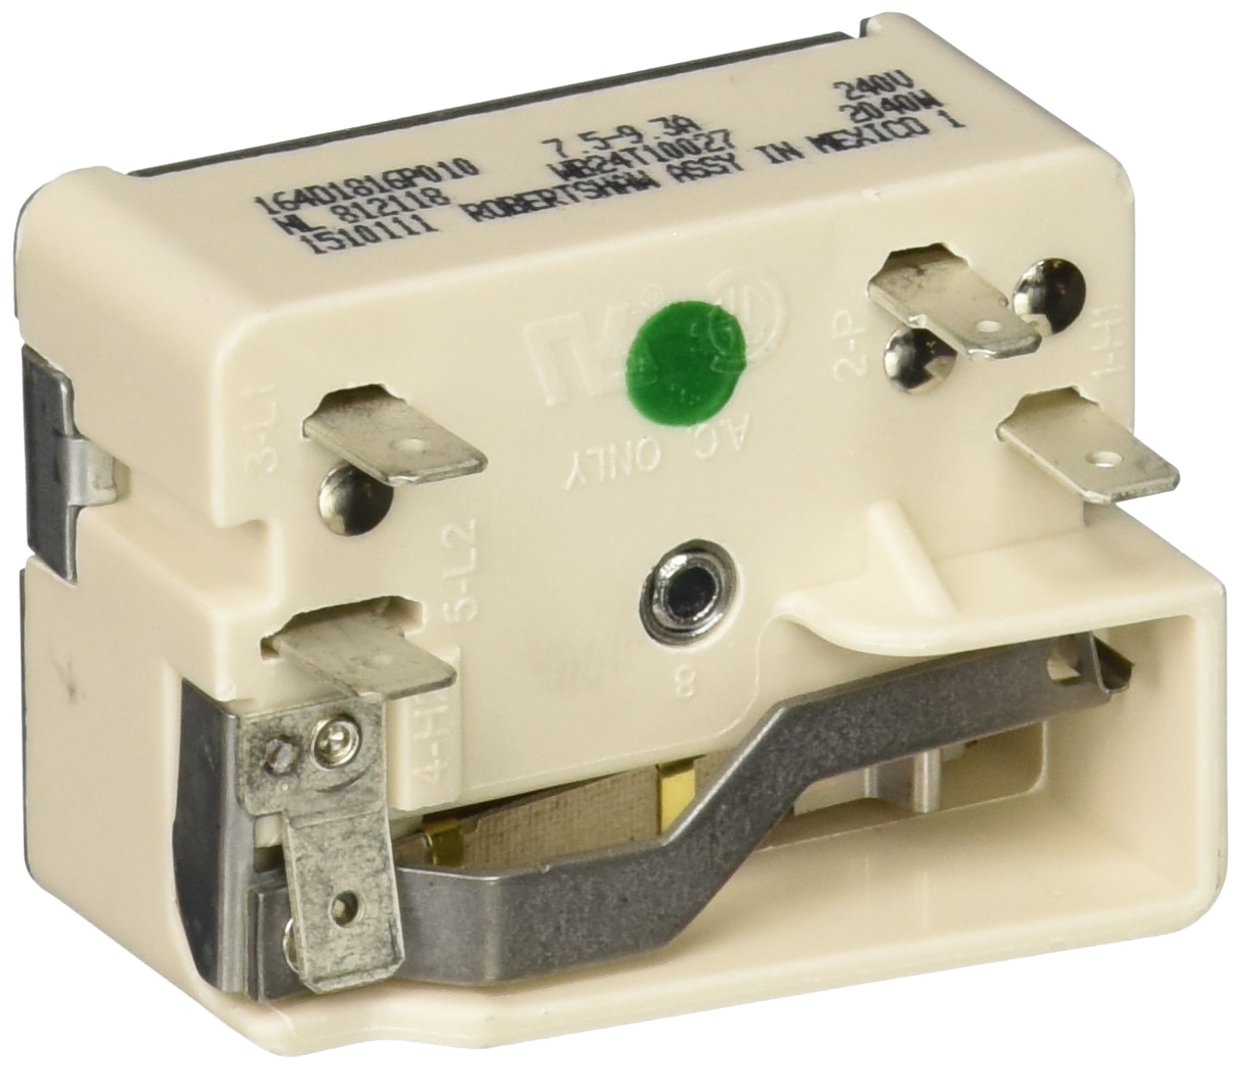
Genuine GE surface element control switch that turns the element on/off and regulates heat for compatible ranges.
Why I picked it: Sturdy OEM switch that solves burners stuck at one heat level.
Best for: Fixing burners that stay on high or won’t regulate heat.
Reasonably priced OEM part.
Pros
- Durable OEM construction
- Restores normal burner control
- Quick install
- One-year warranty
Cons
- Must unplug before replacing
- Model-specific — check fit
My take
One of my ranges started jumping to high power regardless of the knob setting; swapping in this WB24T10027 cured the issue. The replacement took me under 10 minutes once the back panel was off.
I always photograph wiring before disconnecting and recommend doing the same; the spade connectors are easy but it's simple to forget orientation. After the install the burner behaved normally across the dial range.
For an affordable OEM fix that avoids a service call, this switch is the one I reach for when an element won’t regulate.
How I Choose GE Stove Parts
Match part numbers and stove model
I always confirm the OEM part number and the stove model before buying. Even small differences — an 8" vs 6" element or Sensi-Temp vs non-sensing coil — change what will fit and operate correctly.
If your range was manufactured in or after 2011 and uses Sensi-Temp coils, you need a Sensi-Temp-compatible element to preserve sensing behavior.
- Check the existing part number stamped on the old component.
- Verify stove model number on the owner's manual or behind the oven door.
OEM vs aftermarket
I prefer genuine OEM parts for electrical and safety components — switches, terminal blocks, anti-tip brackets, and cords — because they match mounting patterns and wiring layouts.
Aftermarket coils and elements can be fine for basic heating parts, but confirm they meet the sensing and mounting requirements of your model.
- Use OEM for electrical connections and safety devices.
- Aftermarket can be acceptable for simple coil replacements if compatible.
Safety and power
I always shut power to the range at the breaker before starting work. Even when a part looks harmless, the power side of the terminal block and switches carry dangerous voltage.
If you're unsure about wiring or the appliance uses a 4-prong grounding configuration, call an electrician.
- Turn off breaker and verify power is off.
- Tighten terminal screws firmly to avoid resistance heating.
Tools and prep
Most of these parts install with basic hand tools: screwdrivers, nut drivers, and needle-nose pliers. I also keep a camera or phone ready to photograph wiring before disassembly.
Wear gloves to protect your hands from sharp sheet metal and hot surfaces if you've recently used the oven.
- Photo documentation prevents wiring mistakes.
- Have appropriate fasteners and a cord clamp handy for terminal work.
Frequently Asked Questions
How do I know which surface element fits my GE stove?
I check the element diameter and whether the range requires Sensi-Temp coils (common on 2011+ models). Match the part number on the old coil or consult the stove model's parts list before ordering.
Can I replace a bake element myself?
Yes — I’ve replaced bake elements with basic tools. Always disconnect power, remove the oven back or inner panel as needed, and reattach terminals securely.
Do I need an electrician to replace a terminal block or cord?
I recommend an electrician if you’re uncomfortable with mains wiring. I performed terminal swaps myself but had someone assist with heavy or cramped wiring. Tight terminal screws are critical for safety.
What is Sensi-Temp and why does it matter?
Sensi-Temp elements include a sensing function that newer GE ranges rely on for proper regulation. I found that replacing these with non-sensing coils can cause compatibility issues, so use a Sensi-Temp part when required.
Is an anti-tip bracket really necessary?
I treat anti-tip brackets as essential. They prevent tip-over injuries when heavy cookware is on an open oven door and are often required by code and inspections.
Final Take
If a burner won’t regulate or your oven isn’t heating properly, OEM parts like these get the stove back to normal without guessing. I leaned on genuine GE assemblies for electrical and safety items and Sensi-Temp coils for newer ranges.
Follow basic safety steps — kill power, photograph wiring, and use the right tools — and most of these replacements are doable at home. When in doubt about mains wiring or grounding, I call an electrician to finish the job safely.
")