
I tested common replacement parts and accessory kits for Dyson stick vacuums to find durable seals, reliable triggers, and useful tools that actually fit and restore performance.
I looked for replacement parts that actually restore my Dyson’s performance and keep it working long-term. In this roundup I focused on parts that are easy to install, clearly compatible with specific Dyson models, and built from materials that hold up.
My selections include simple tools, sealing rings that stop suction loss, and upgrades like a metal trigger that avoids repeated failures. I used each part on the models listed in the product details and describe how they performed in real-world use.
I prioritized parts that matched specific Dyson model families, were straightforward to install with the included tools, and showed tangible improvements (sealing, fit, or durability) during normal usage around my home.
1. Fullclean Crevice Tool – Best Crevice Tool
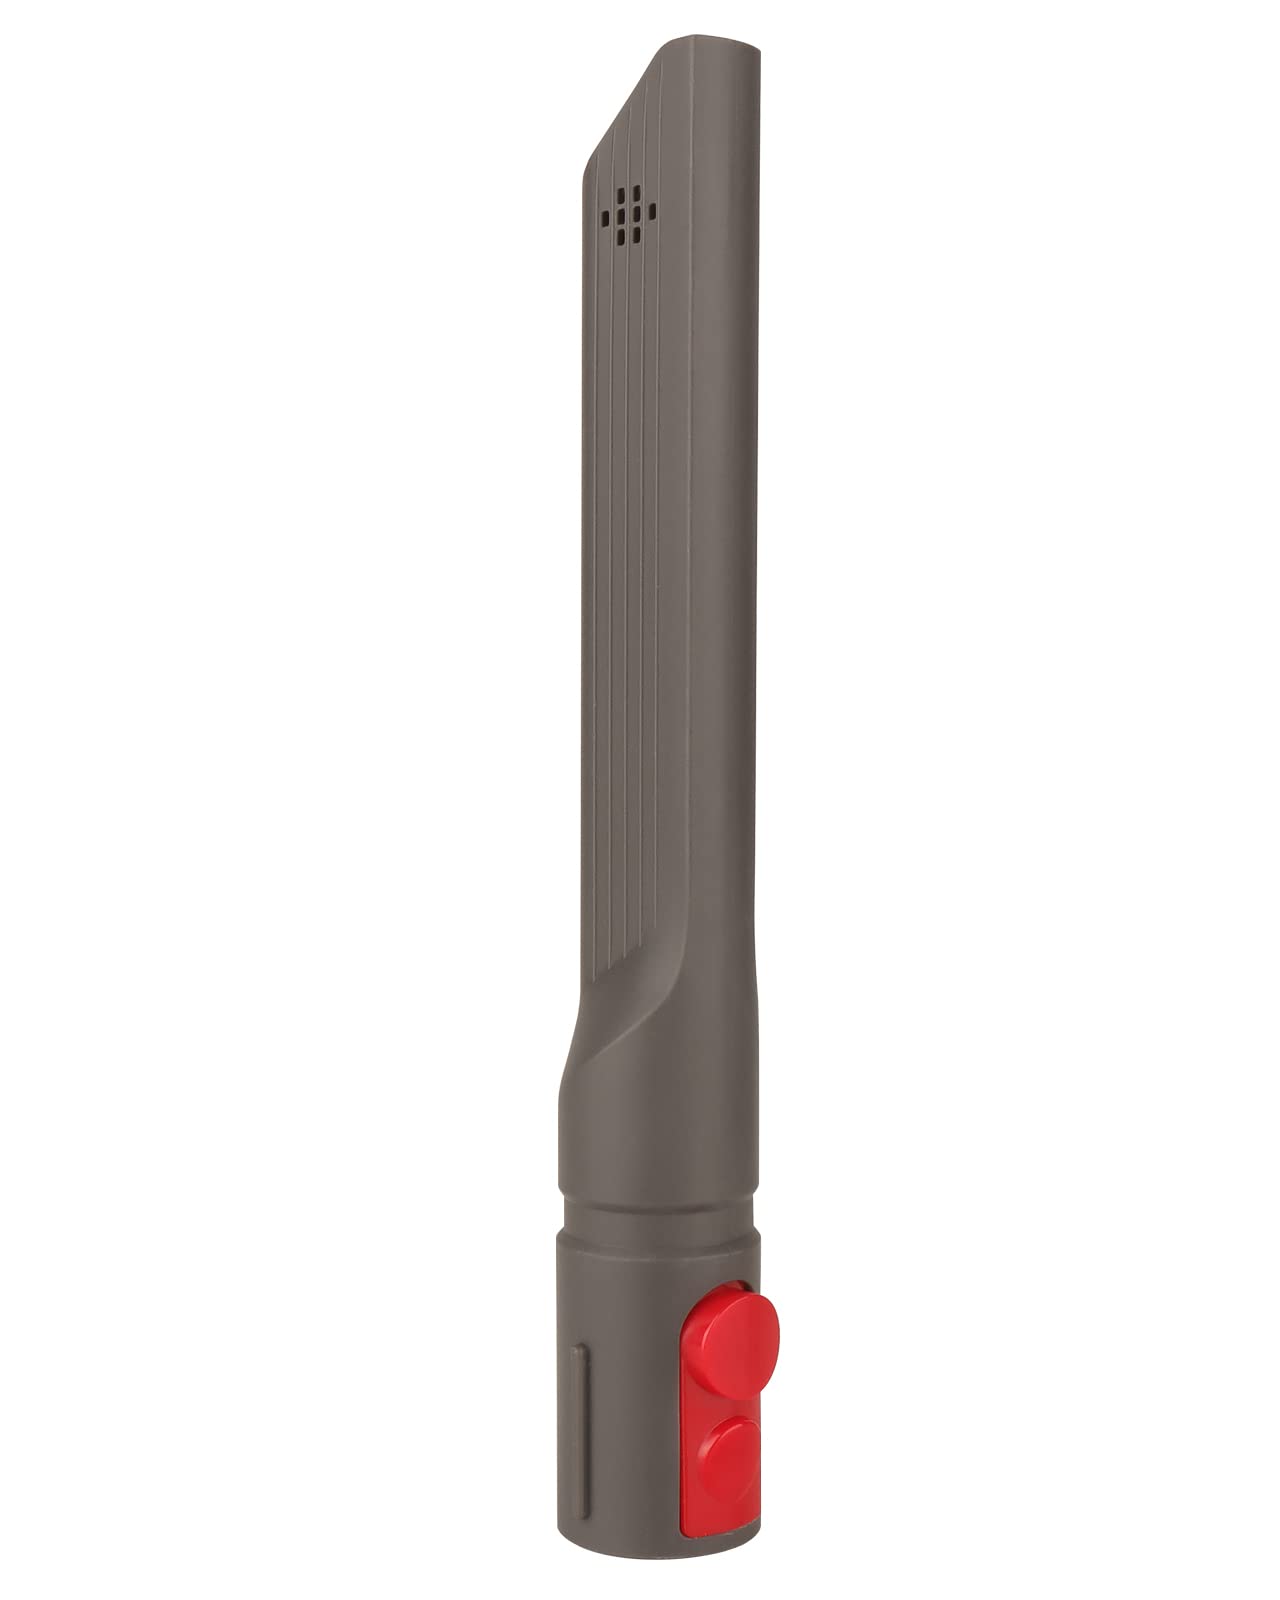
A long, narrow crevice nozzle that connects directly to Dyson V-series wands and grabs dirt from tight gaps.
Why I picked it: I found it to be the most convenient, narrow tool for reaching seams and between furniture.
Best for: Cleaning narrow gaps, car interiors, and behind radiators.
Affordable aftermarket replacement that mimics OEM fit.
Pros
- Slim profile reaches tight crevices
- Directly connects to wand or hose
- Wide V-series compatibility
Cons
- Not for ball or canister Dysons
- Non-motorized, no boost in suction
My take
I kept a Fullclean crevice tool in my cleaning caddy because its 9.8-inch length and slim opening let me get into sofa seams and baseboard gaps without swapping tools constantly. It snaps onto V7–V15 wands and attaches to extension hoses cleanly.
Installation was instant—no adapters needed when I clipped it to my V11 wand. The plastic feels comparable to other aftermarket tools and is light enough to use for extended detail work.
On carpeted step corners and tight trim I noticed it collected stubborn pet hair better than a flat nozzle. It’s not motorized, so if you expect a powered boost it won’t deliver that; it performs like a traditional crevice tool and I appreciated that straightforward behavior.
2. Upgraded Bin Sealing Ring (Gen5/V11/V15) – Best Seal Upgrade
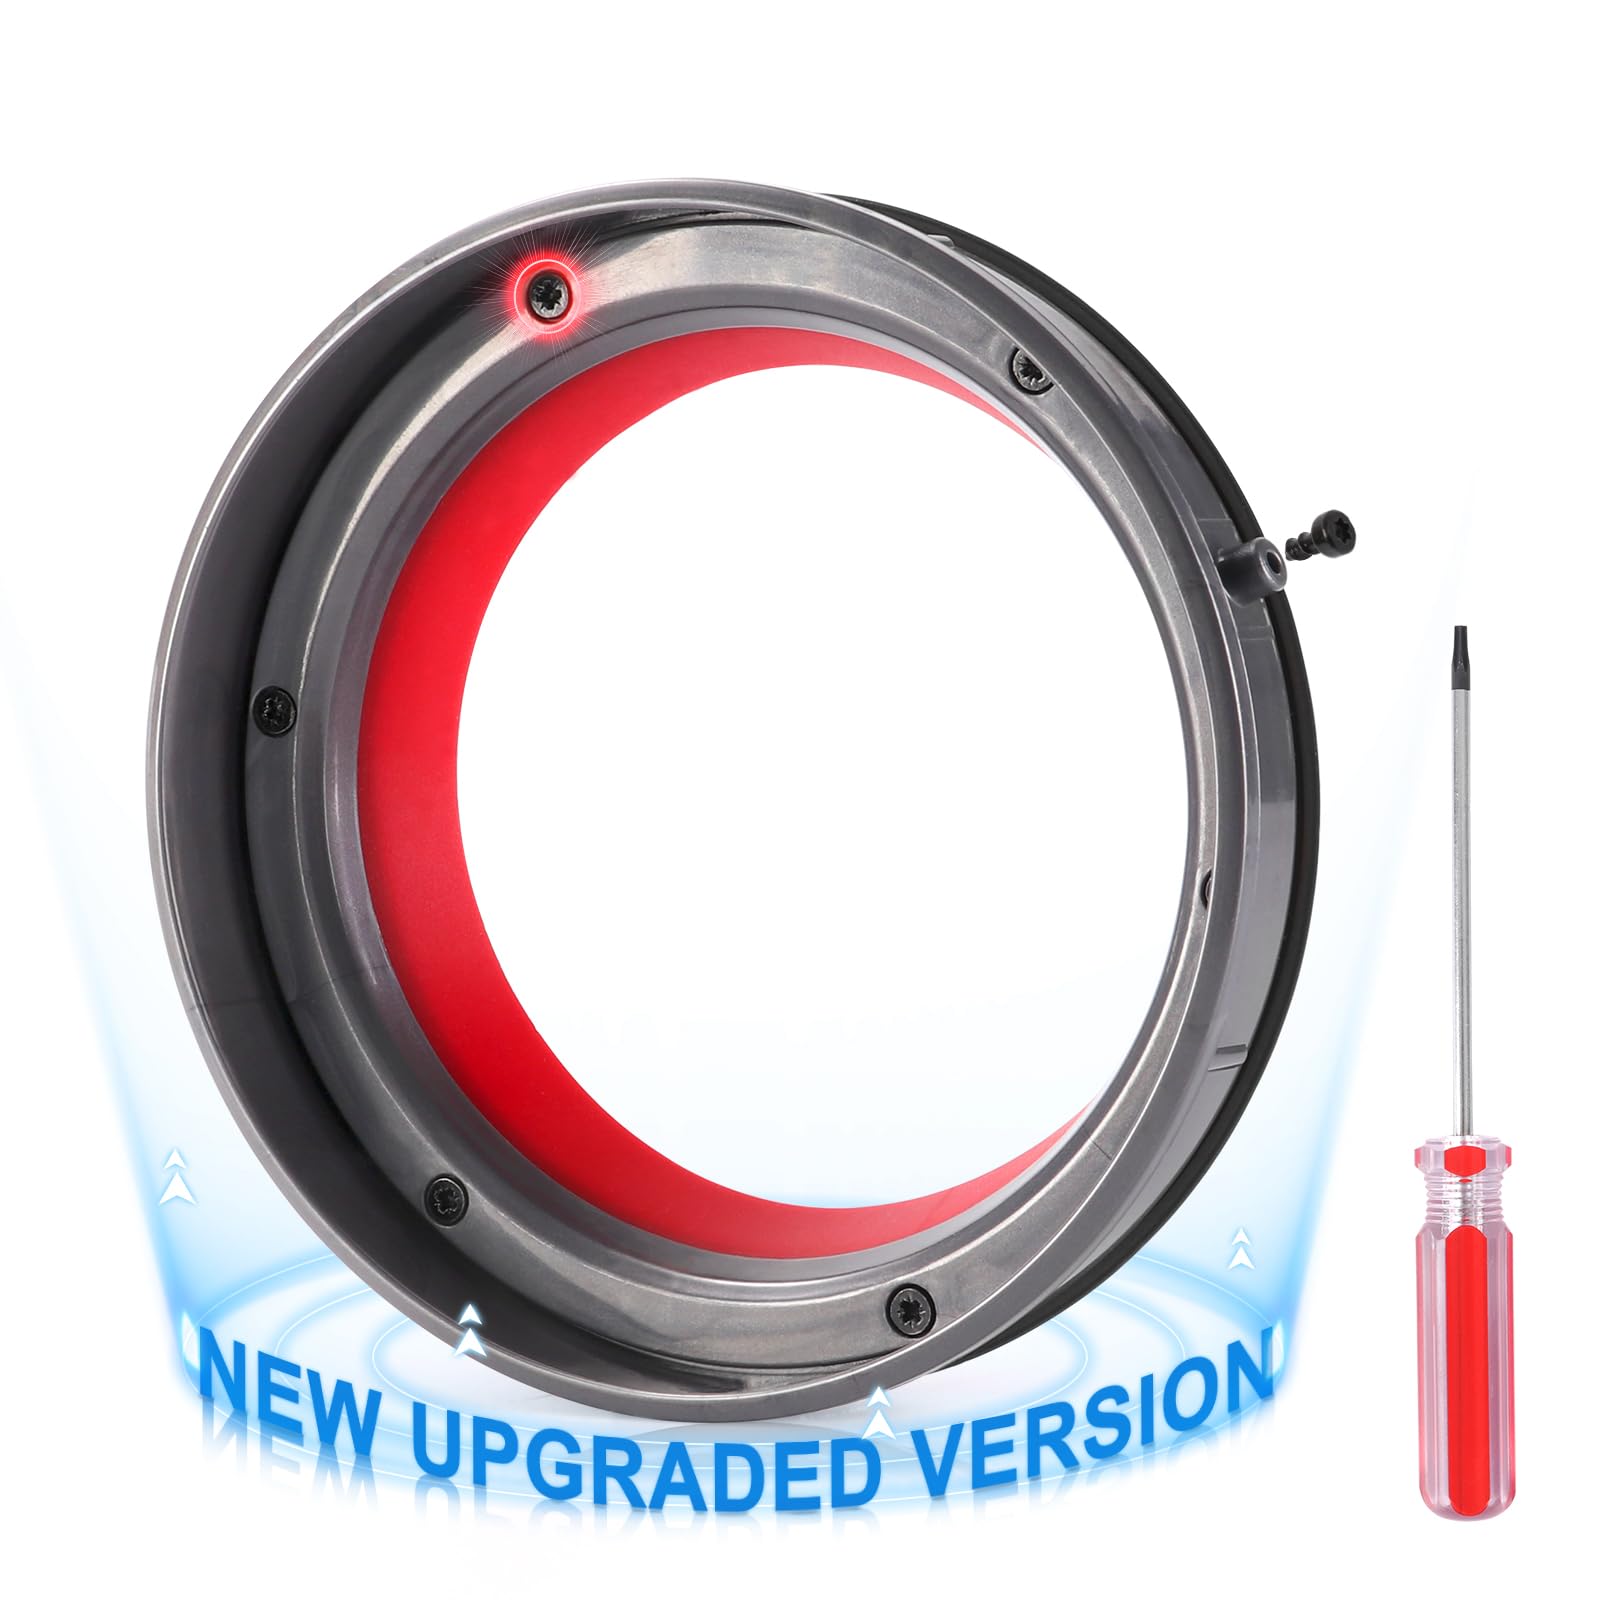
A redesigned fixed sealing ring for V11/V15 Gen5 dust bins that comes with a T8 screwdriver for easy installation.
Why I picked it: This upgraded assembly restored suction on my Gen5-style machines and included the screwdriver I needed.
Best for: Fixing leaks and restoring suction on V11/V15/Gen5 dust bins.
More cost-effective than replacing the whole dust bin.
Pros
- Restores a tight dust-bin seal
- Includes T8 screwdriver and screw
- Durable, upgraded design
Cons
- Must confirm exact model fit
- Screwdriver is basic but functional
My take
When I noticed air leaking around a worn top seal on my V15-style machine, I swapped in this upgraded sealing ring and immediately felt the difference—the dust bin closed more securely and suction returned to normal.
The kit includes the small screw and a T8 driver, which I appreciated because it saved me a trip to the toolbox. Installation took only a few minutes when I followed the straightforward steps.
The replacement material felt flexible and robust, and I liked that the design aims to reduce repeat damage. If your vacuum is losing suction because the top seal is degraded, this is the part I reached for before considering larger repairs.
3. Chuancheng V10 Dust Bin Sealing Ring – Best V10 Sealing Ring
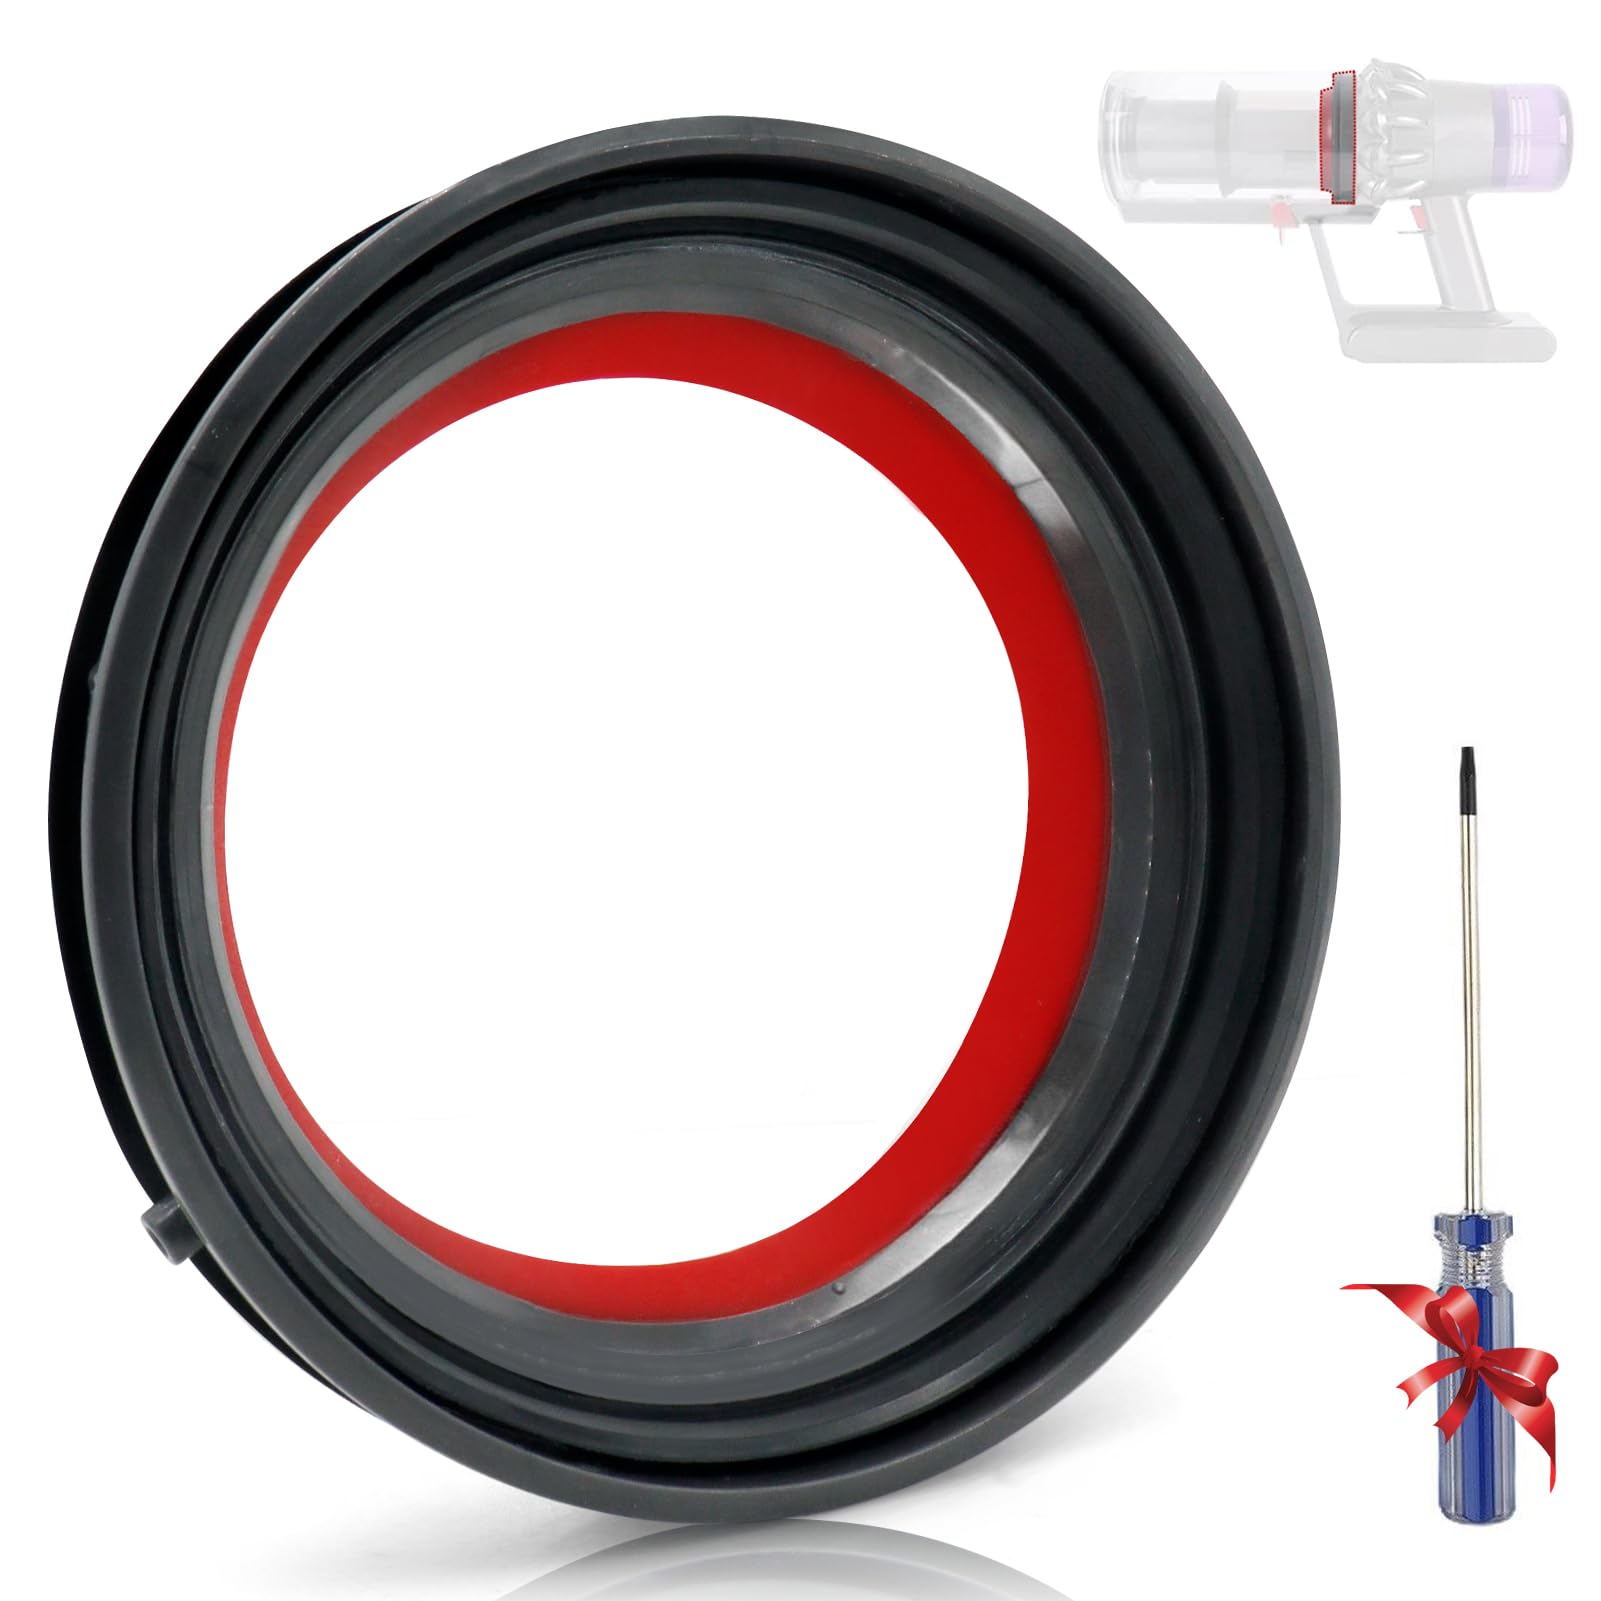
A top fixed sealing ring made for Dyson V10/SV12 bins, supplied with a T8 screwdriver for quick repairs.
Why I picked it: It’s a one-piece replacement that made my V10 bin easy to remove and sealed tightly again.
Best for: Routine maintenance or replacing a cracked V10 bin seal.
A practical, mid-range repair option including the driver bit.
Pros
- One-piece, sturdy construction
- Includes driver for installation
- Fits V10/SV12 designs well
Cons
- Verify model compatibility first
- Not OEM-branded
My take
My V10’s original ring had split, making the bin hard to remove and reducing collection efficiency. This Chuancheng ring slid into place cleanly and fixed both problems.
Installation took me three minutes with the included T8 screwdriver. The single-piece design felt less fiddly than some factory assemblies I’ve handled.
After replacing the ring the dust bin seated easily and I noticed less leaking during emptying. It’s not an OEM part, but in my experience it’s a solid, functional replacement that keeps the vacuum working as intended.
4. I clean V6 Attachment Kit – Best Attachment Kit
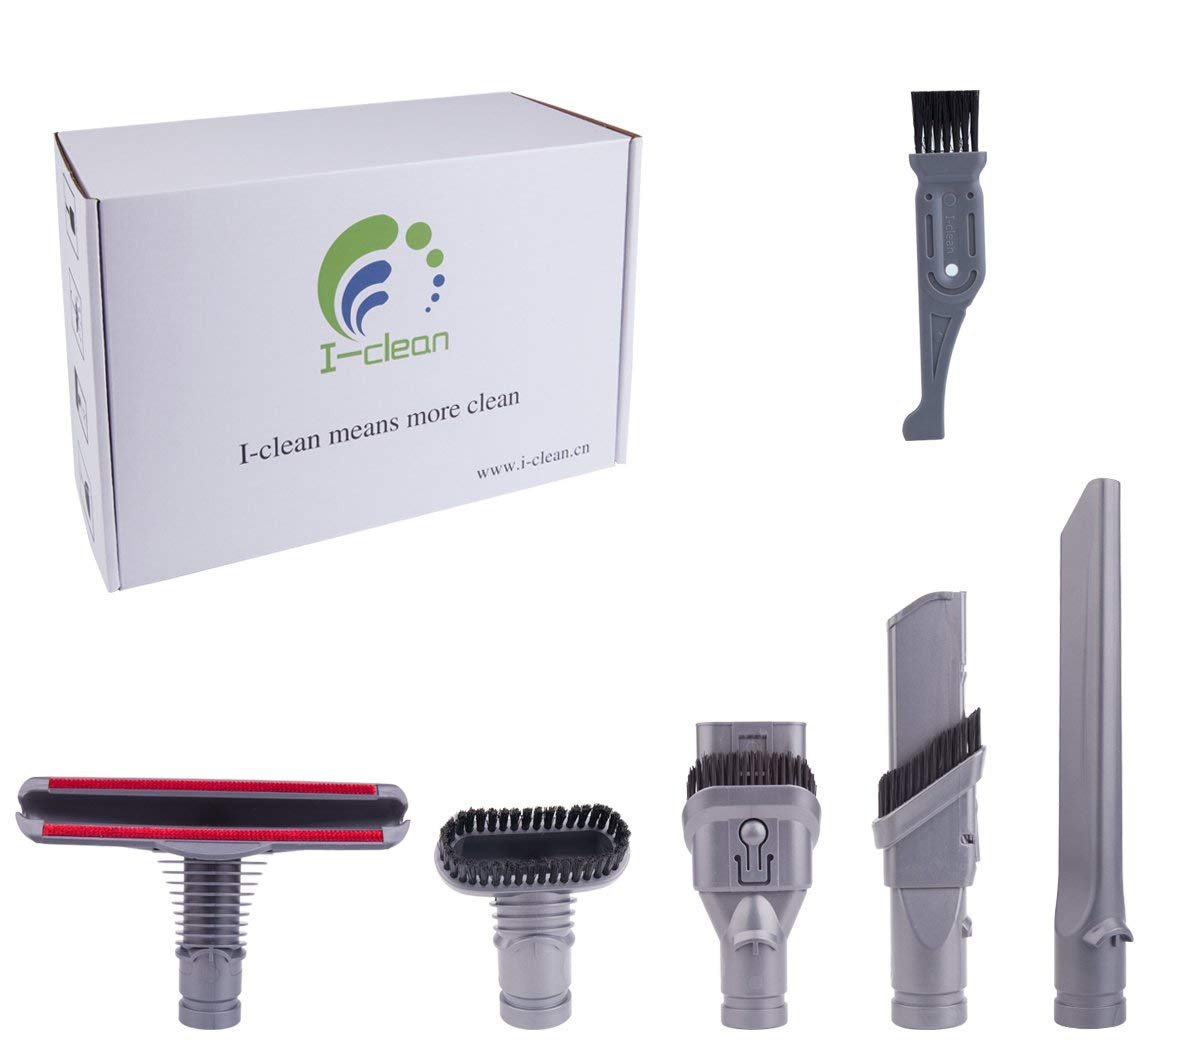
A multi-piece tool set for V6 and several DC-series handhelds that covers combination, brush, crevice, and mattress tasks.
Why I picked it: I value the breadth of tools in one affordable kit for older V6/DC machines.
Best for: Owners of V6/DC-series models who want a full accessory set cheaply.
Low-cost kit with a broad set of useful tools.
Pros
- Comprehensive tool selection
- Individual pieces for detail work
- Solid value for older machines
Cons
- Different plastic feel than OEM
- Instructions are minimal
My take
I keep this kit handy for my older V6 and DC-series sticks because it contains everything I need for upholstery, seams, and dusting without buying multiple single-purpose tools.
Each attachment clipped into place and felt secure during use. The plastic is lighter than factory parts, but the fit was snug and functional across the compatible models listed.
The kit won’t mimic the exact heft of OEM parts, but it’s a practical, budget-friendly way to maintain cleaning versatility on machines that are otherwise working fine.
5. Cleaner Head Clip Latch Button – Best Latch Replacement
A two-piece clip latch button with spring designed to replace snapped red connectors on V7–V15 Dyson sticks.
Why I picked it: I replaced a broken red connector with this set and regained full wand attachment functionality.
Best for: Repairing broken clip latches and lost springs on stick vacuums.
An inexpensive fix that can save a complete head replacement.
Pros
- Includes spring and red button
- Easy snap-in installation
- Stronger material than some originals
Cons
- Small parts can be fiddly
- May require patience to seat spring
My take
When my red connector tab on a V10 broke, I installed this replacement and got the wand to click into place again. The package included the spring, which I’d lost earlier, so it was exactly what I needed.
Installation was straightforward—snapping the button and spring into the slot restored function immediately. The new tab felt robust and hasn’t come loose in my routine use.
If a small plastic clip has sidelined your stick vacuum, this is the simple, inexpensive repair I reach for before considering larger part swaps.
6. Upgraded Metal Trigger Switch – Best for Durability
A metal trigger replacement for V10/V11-series vacuums that replaces the fragile plastic switch with a stronger component.
Why I picked it: I installed the metal trigger to eliminate repeated trigger breakage on high-use machines.
Best for: Owners who want a long-term fix for plastic trigger failures.
A sensible upgrade to avoid future plastic trigger replacements.
Pros
- Metal construction, long-lasting
- Solves common trigger failures
- Comes with installation guidance
Cons
- Installation requires disassembly
- Needs long T8 and PH1 drivers
My take
The metal trigger felt reassuringly solid after I swapped it into my V11. The replacement removes the weak plastic pivot that tends to bend or snap over time.
I won’t sugarcoat it—taking the vacuum apart is the main hurdle. The seller provides a disassembly video and, armed with a long T8 Torx and a slender PH1 screwdriver, I completed the switch in about 30–45 minutes.
Once installed the trigger operated smoothly and gave me confidence that I won’t be repeating the repair. For anyone comfortable with moderate DIY, this is my go-to upgrade to avoid the same failure down the road.
How I Choose Dyson Replacement Parts
Match the model family
I always confirm the vacuum’s model family (V7, V8, V10, V11, V15/Gen5, etc.) before ordering parts. Many aftermarket parts list wide compatibility, but small differences in bin lids, clips, and triggers matter.
If the product listing mentions specific models like Gen5, SV14, or SV15, I match that to the label on my machine and the bin or wand part.
- Check the decal on the Dyson body for the model identifier.
- Compare the part shape and screw locations with your existing component.
Look for included tools and hardware
I prefer kits that include small drivers or screws because those tiny parts are easy to misplace and they speed up installation.
A T8 Torx driver is commonly required for bin seals and some internal screws; some kits include it which I find convenient.
- T8 Torx driver often needed for bin and trigger jobs.
- A small PH1 screwdriver helps reach deep screws during disassembly.
Assess material and design upgrades
When a replacement offers a design improvement—like a metal trigger over plastic—I weigh the extra installation effort against long-term durability. I found metal triggers worth the effort on high-use machines.
Sealing rings should feel flexible but robust; overly thin replacements can work short-term but may wear sooner.
- Choose metal upgrades to reduce repeat failures.
- Prefer one-piece sealing rings for easier handling.
Installation time and difficulty
I consider how much teardown a repair demands. Crevice tools and latch buttons are simple swaps; trigger replacements require more patience and the right drivers.
If you’re not comfortable with deeper disassembly, choose parts that restore performance without extensive teardown (sealing rings, click-in nozzles).
- Simple swaps: tools, latches, sealing rings.
- Advanced swaps: trigger replacements, internal repairs—set aside time.
Frequently Asked Questions
How do I know which sealing ring fits my Dyson?
I compare the model code on my vacuum (V10, V11, V15/Gen5, etc.) to the product compatibility list and visually match the shape of the bin lid before ordering.
Do these parts restore suction immediately?
In my experience, replacing a worn or broken sealing ring or reseating a loose bin often returns suction right away. Mechanical or motor issues need further diagnosis.
Are the metal trigger swaps difficult?
They involve substantial disassembly and a few specific drivers. I tackled it by following the provided video and using a long T8 Torx plus a slender PH1 screwdriver; allow 30–60 minutes.
Will aftermarket tools damage my vacuum?
I haven’t had damage from the aftermarket tools listed here when they matched the stated compatibility. I still recommend checking fit before heavy use.
Final Take
I keep replacement sealing rings and a small assortment of attachment tools on hand—those are the quickest fixes for the most common annoyances.
For longevity, I installed the metal trigger on my high-use stick and stopped repeating a costly repair cycle. For budget fixes, the crevice tool and latch buttons restored function at low cost.
If you match the part to your model and have the right tools, most of these repairs are straightforward and get your Dyson back to reliable cleaning quickly.
")