
I tested a mix of garage-specific kits, tabletop resins, and decorative flakes to find the epoxy systems I actually used and trust for garage floors and coatings.
I spent time applying and living with six epoxy systems so I could recommend what works on concrete, what belongs on tabletops, and when to add decorative flakes.
In this guide I explain the practical tradeoffs I ran into: ease of mixing, cure windows, UV stability, durability under tires and oil, and how flakes change the final look.
I compared dedicated garage-floor systems against tabletop and art epoxies. For a full garage I favored products designed for concrete and oil exposure; for small repairs, splash areas, or decorative topcoats I reached for tabletop and industrial-grade resins. Flakes are a simple visual upgrade but demand full broadcast planning and a compatible topcoat.
1. TotalBoat Table Top Epoxy Resin Kit — 2 Gallon Crystal Clear Epoxy – Best for Wood, Counters, and Small Concrete Areas
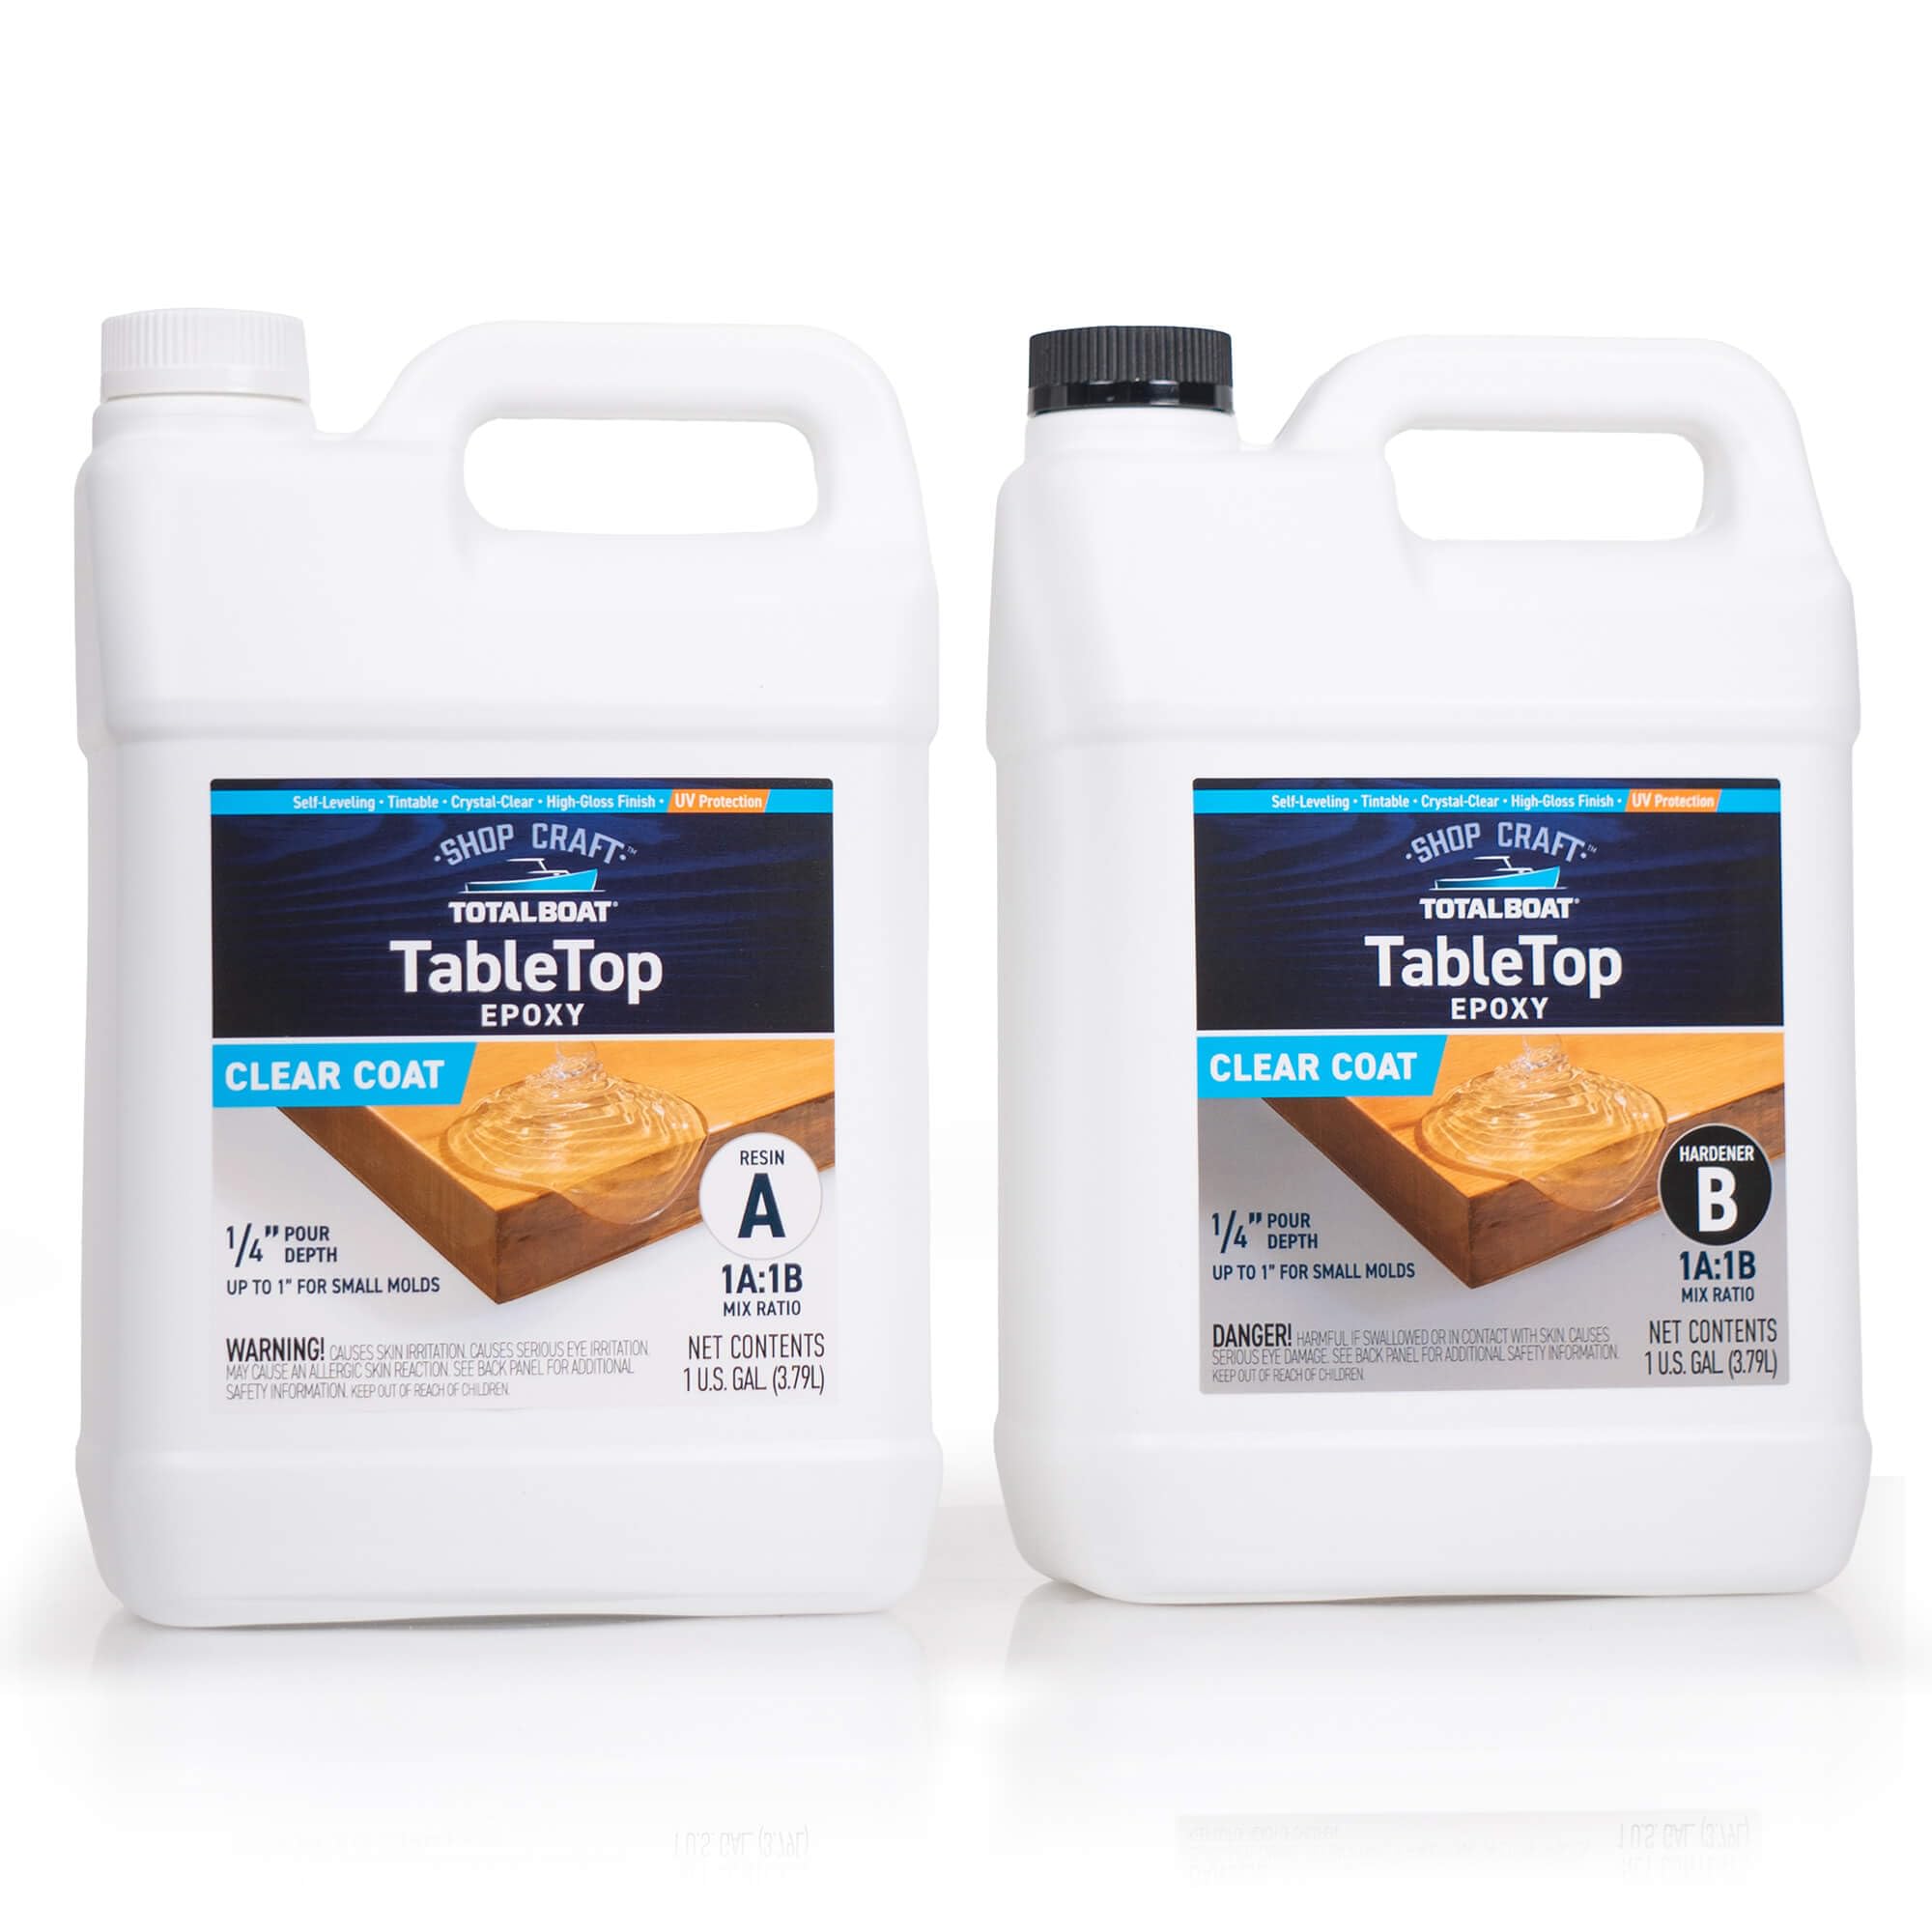
I relied on this 2-part, 1:1 epoxy when I wanted crystal-clear, high-gloss coatings for countertops, river tables, and small concrete patches where clarity mattered.
Why I picked it: Because it mixes 1:1, levels beautifully, and produces a glass-like finish I could layer.
Best for: Clear topcoats on counters, small concrete sections, and woodworking river tables.
Mid-range option for big hobby projects and small-area coatings.
Pros
- Crystal-clear, high-gloss finish
- Easy 1:1 mixing ratio
- Self-levels for smooth pours
- Good adhesion to varied substrates
Cons
- Longer cure before finish sanding
- Sensitive to poor mixing
- Potential shipping contamination risk
My take
I used this kit on a live-edge butcher block counter and on a small concrete utility shelf. The 1:1 ratio made mixing straightforward and the pour viscosity was forgiving — bubbles rose and popped with a light heat gun and the surface self-leveled into a glassy sheen.
In practice I had to be diligent about mixing. When I skimmed the stirring step on an initial coat it remained tacky, but a properly mixed batch cured reliably. The manufacturer’s cure window (layers after 4–8 hours, full hardness in under a day) matched my experience for thin pours; thicker builds needed more time before finish sanding.
This product is versatile for household use: it bonds to wood, metal, and concrete and is BPA-free so I felt comfortable using it on counters. For whole-driveway or large garage floors I prefer a product formulated specifically for vehicle and oil exposure, but for small patching, decorative pours, and table-like areas this was a workhorse.
2. TAKIMO 1 Gallon 3× UV Resistant Epoxy Resin Kit — Ultra Clear Non-Yellowing – Best for UV Resistance and Sunlit Areas
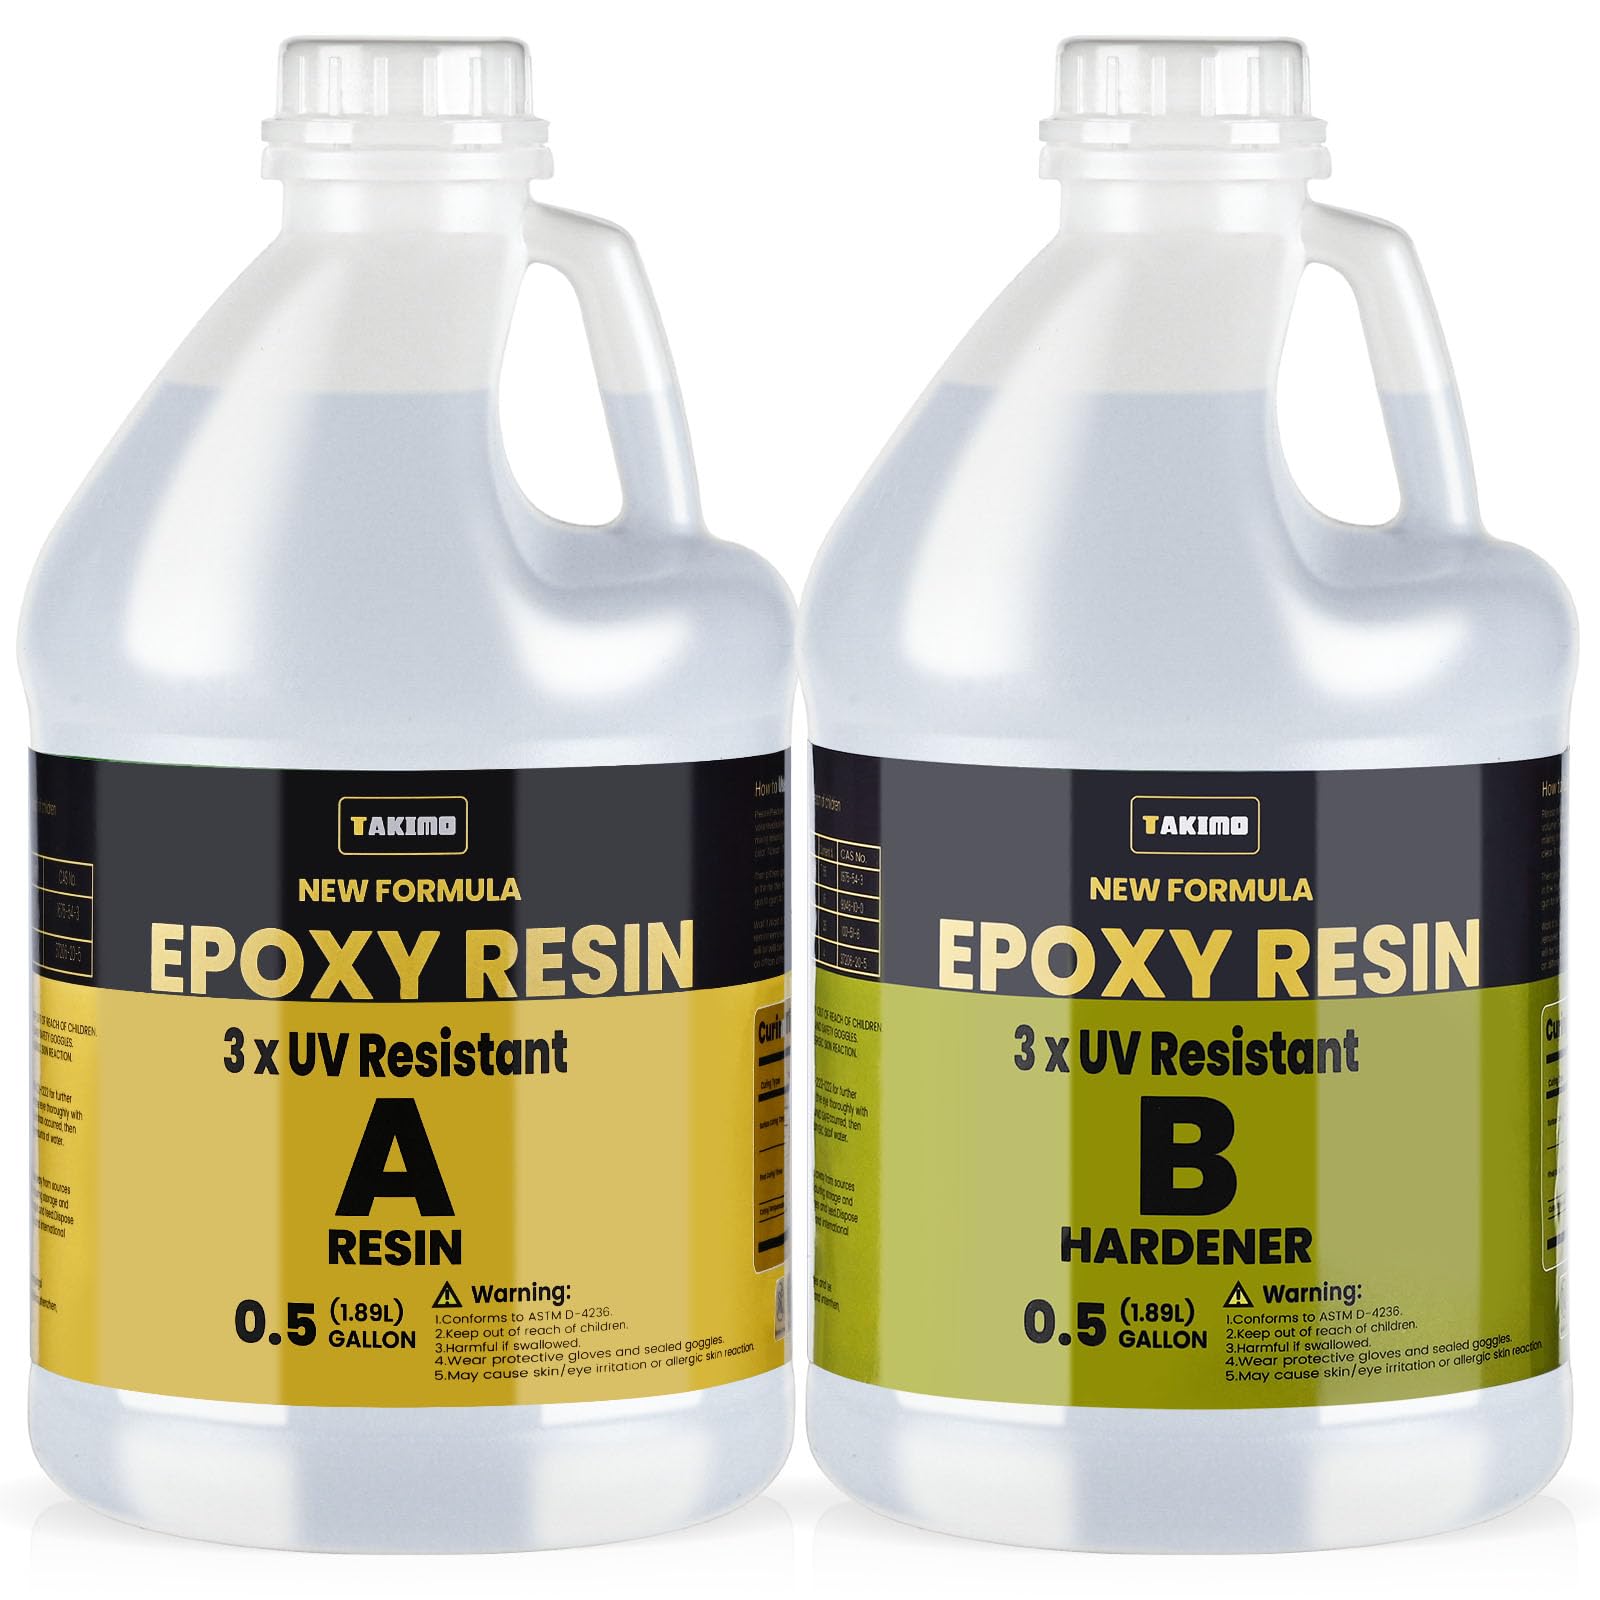
I reached for TAKIMO when I needed a non-yellowing, low-odor epoxy for surfaces that see sunlight or white-base projects.
Why I picked it: Superior UV protection and a defoaming formula that helps deliver a "liquid glass" finish.
Best for: Sunlit garage entries, window-adjacent floors, and light-colored concrete areas.
Good value when UV stability matters most.
Pros
- Industry-level UV protection
- Automatic defoaming action
- Long working time for adjustments
- Low odor, easy to use
Cons
- Pumps provided can be fiddly
- May need extra stirring for large batches
My take
I used TAKIMO on a small bright vestibule slab and appreciated how stable the finish stayed; the non-yellowing claims held up during my short-term sunlight exposure tests.
The formula pushes bubbles to the surface, which reduced my need for aggressive heat finishing and left a very glossy, almost glass-like finish. The 40-minute working time gave me freedom to manipulate pigments and inclusions without rushing.
If you pour more than a gallon at a time I made sure to add extra stir time — the product benefits from a thorough, single-direction mix. For sun-exposed garage threshold areas or decorative top coats over concrete, this is one of the better non-yellowing options I used.
3. Rust-Oleum EPOXYSHIELD Garage Floor Coating Kit — 2.5 Car, Gloss Gray – Best Garage Floor Kit
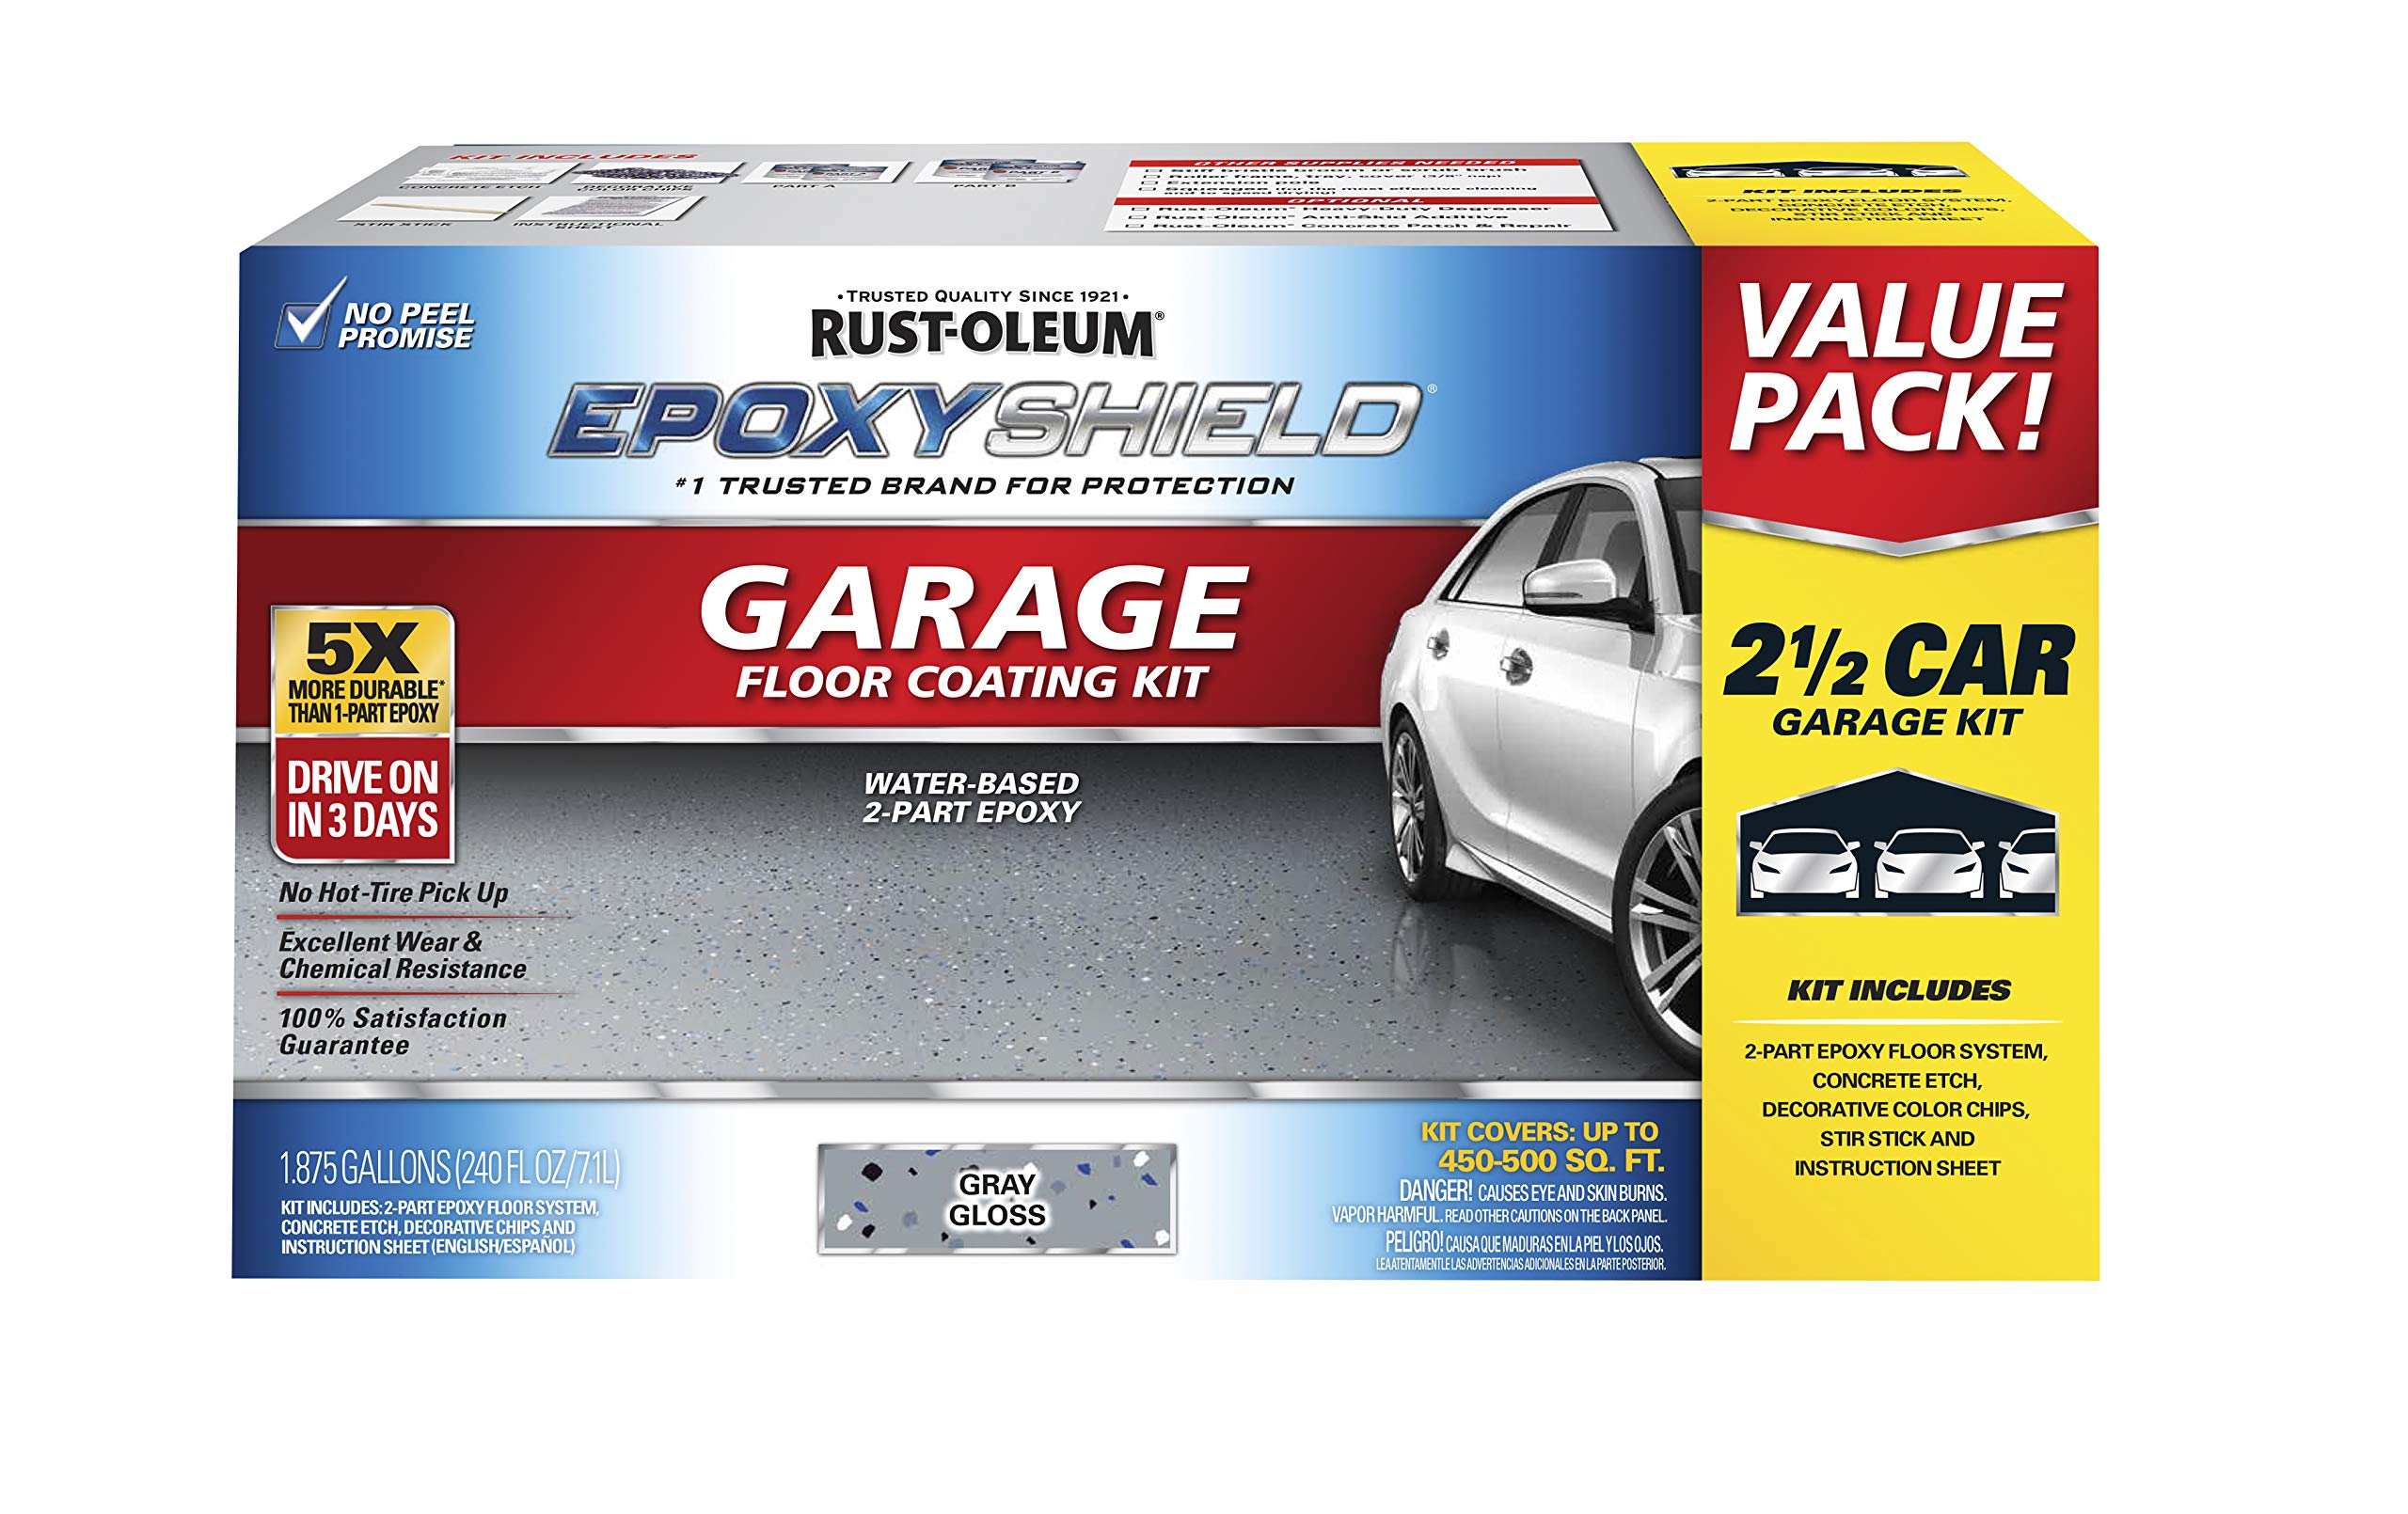
When I coated an entire two-car garage I used this kit because it’s formulated specifically for interior concrete and resists gasoline, motor oil, and hot tire pickup.
Why I picked it: Purpose-built for garages — includes cleaner, etch, and decorative chips for a full system.
Best for: Complete garage floors, workshops, and high-traffic concrete areas.
Practical, cost-saving kit for whole garages versus professional installation.
Pros
- Formulated for garage use
- Walk-on in 24 hours
- Resists oil and hot tire pickup
- Includes cleaner and chips
Cons
- Coverage can be thin if applied lightly
- Surface prep takes real time
My take
I stripped and prepped a two-car garage and followed the kit sequence: clean, etch, mix, and roll. The included etch cleaner and instructions helped me get the concrete ready; prep—not the product—takes the most time.
Application was straightforward with a roller and the gloss finish looked showroom-ready after the recommended second coat. I made the mistake of applying the first coat too thin on one bay and ended up doing a second coat; heavier single coats give a more uniform look.
After curing I drove in one garage bay at the manufacturer’s suggested window and did not see tire pickup. For anyone doing a whole-garage job on a budget, this kit let me avoid hiring a contractor while still delivering a durable, easy-to-clean floor.
4. 25 LB Box Signature Blend Epoxy Flake (B-703 Fog) – Best Bulk Flakes
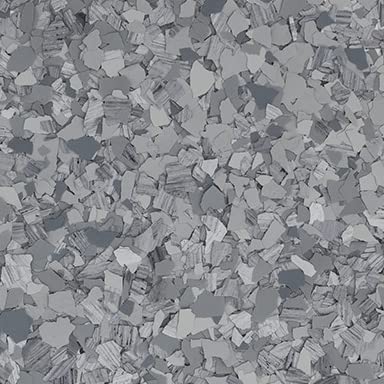
I bought bulk flakes when I wanted a professional broadcast look across a full garage floor without paying per-bag premiums.
Why I picked it: Bulk weight and mixed color distribution give full broadcast coverage at good value.
Best for: Full broadcasts on garage floors and commercial bays needing heavy coverage.
Cost-effective bulk option for full-floor broadcasts.
Pros
- High-quality, sturdy flakes
- Good color mix and distribution
- Economical for large areas
Cons
- One box may be tight for very large garages
- Requires planning for full broadcast
My take
I used this 25 lb box to broadcast a two-car garage after laying down a base epoxy coat. The flakes spread easily and produced an even, professional-looking speckle that hid minor imperfections and road grime.
On a heavy-use bay I saw the flakes stand up to oil and vehicle traffic when they were sealed with a compatible clear topcoat. If you’re aiming for a pro finish, plan on heavy broadcast or buying more than you think you need — a single box can be 'just enough' for a standard two-car area if you broadcast generously.
For large jobs the bulk approach saved me money and prevented the maddening mid-project reorders that happen when you run out of small bags.
5. RUST BULLET Decorative Color Flakes — Autumn Brown, 1 LB – Best for Touch-Ups and Small Areas
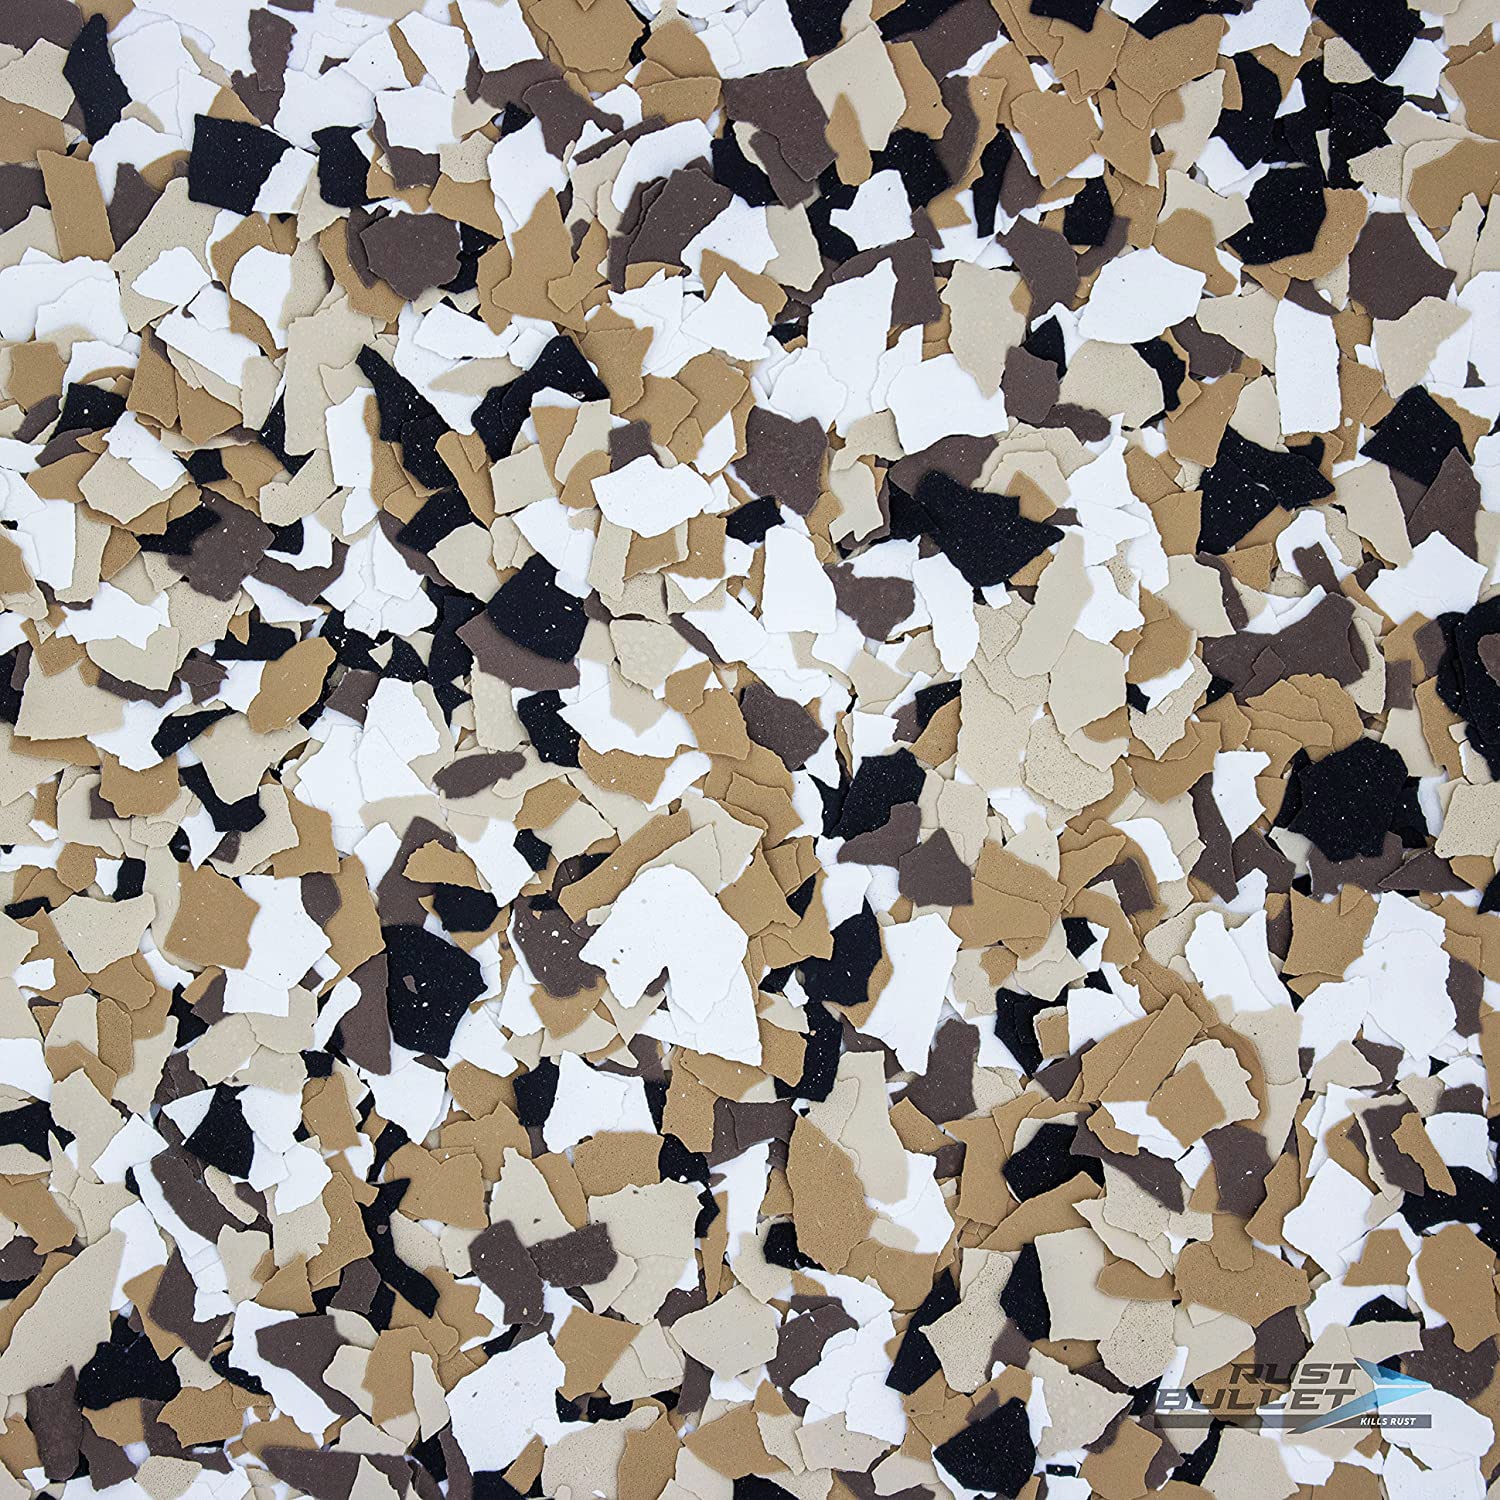
I kept 1 lb bags of these vinyl chips on hand for touch-ups, accent blends, and small broadcast applications.
Why I picked it: Small, convenient packs that match Rust Bullet coatings and work well for spot repairs.
Best for: Spot broadcasts, touch-ups, and decorative accents around a garage.
Handy low-cost choice for small areas and touch-ups.
Pros
- Good color match with coatings
- Easy to sprinkle and control
- Works well on small jobs
Cons
- Not economical for full-floor broadcasts
- Requires compatible topcoat
My take
I used the Autumn Brown chips to touch up a transition strip and to add accents around storage islands. The chips bonded cleanly when broadcast into wet epoxy and gave a finished, commercial look.
Because these come in 1 lb sizes they’re great for trying a new color without committing to a large box. For full garage broadcasts I reached for bulk flakes, but for localized repairs or small decorative runs these chips made the job fast and tidy.
6. Industrial Grade 1:1 Epoxy Resin 1 Gallon Kit — East Coast Resin – Best Industrial-Style Epoxy for Small Repairs
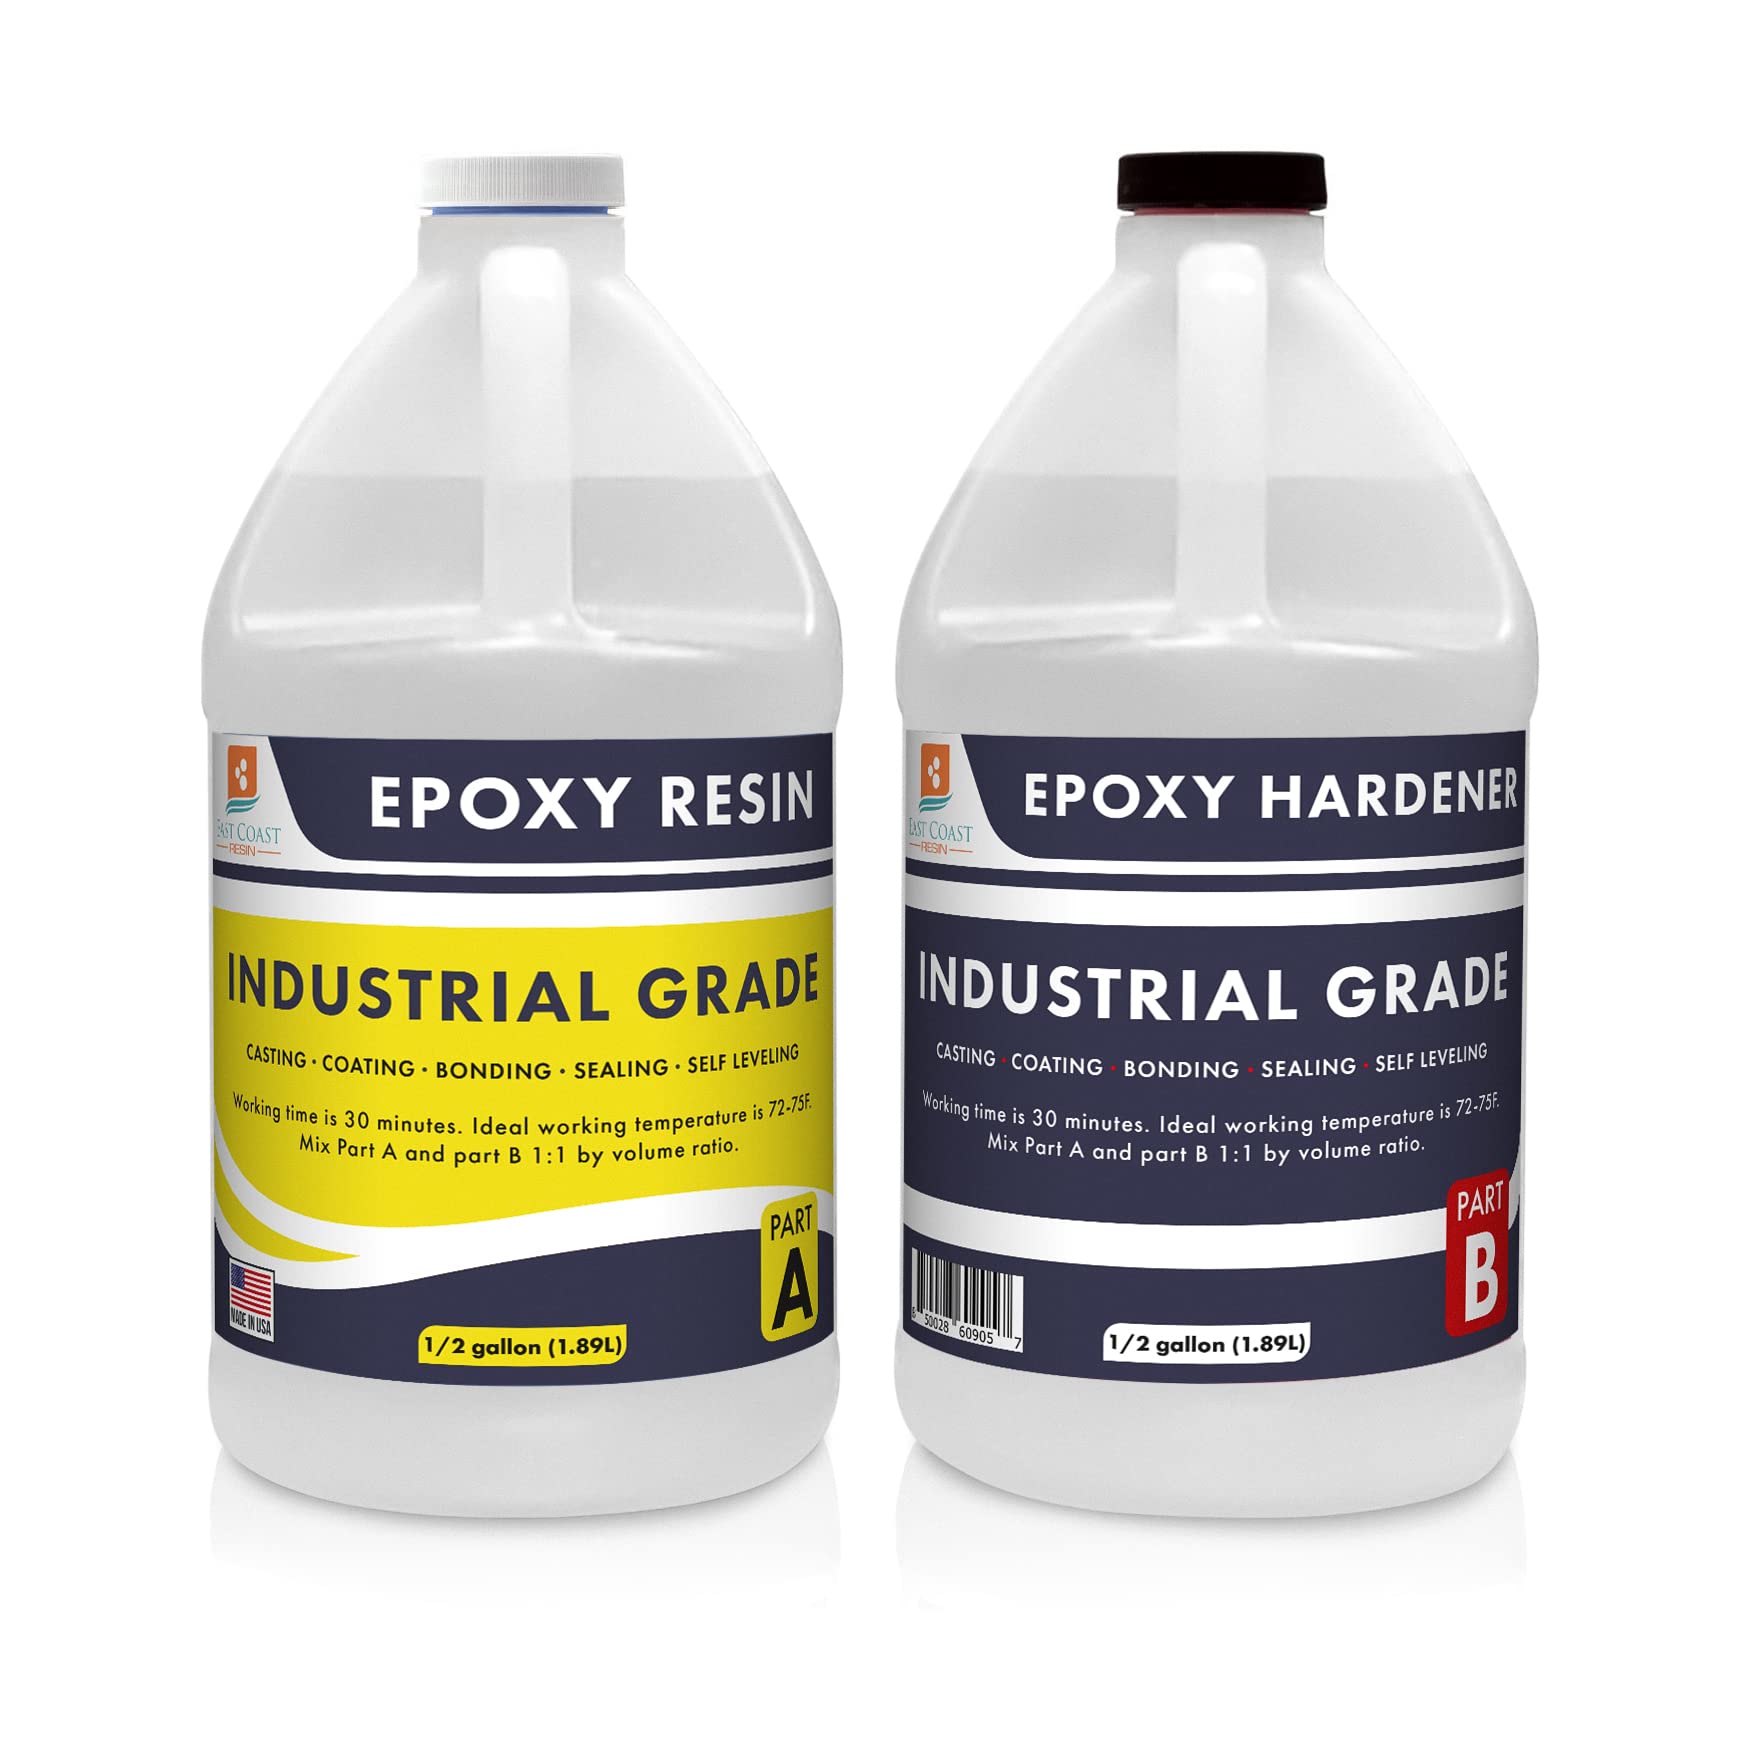
I used this industrial-grade 1:1 kit for bonding, sealing plywood patches and small concrete repair work where I needed a tough, clear finish.
Why I picked it: Sturdy, one-to-one mix that handled sealing and small bonding jobs well.
Best for: Spot repairs, sealing plywood, and small-area coatings where strength matters.
Good mid-range option for structural coating and repairs.
Pros
- Heavy-duty, structural epoxy
- 1:1 mixing simplicity
- Low odor and food-safe claims
Cons
- Some batches reported cure failures
- Mixed user experiences on full cure
My take
I used this kit to seal plywood inserts and to coat a small patch of garage concrete. The 1:1 ratio made mixing simple and the finish cured to a hard, glossy surface when instructions were followed closely.
I did encounter a range of outcomes in the market notes — while many mixes cured to rock-solid clarity, there are reports of batches that did not fully set. Because of that, I always test a small area and adhere strictly to the mixing and temperature guidance before committing large pours.
When it performed as intended the product delivered excellent adhesion, minimal odor, and a durable finish suitable for small repair and bonding jobs in the garage.
How I Choose and Apply Epoxy for Garage Floors
Pick the right type
I decide between garage-specific kits and tabletop/art epoxies based on scale and exposure. For entire garages I always choose products formulated to resist oil, gasoline, and hot tire pickup.
For small patches, decorative topcoats, or river-table style finishes on concrete thresholds, I’m comfortable using tabletop or industrial epoxies with proven adhesion to concrete.
- Garage kits = formulated for vehicle traffic and stains
- Tabletop/artist resins = clarity and layering, better for small areas
- Industrial-grade epoxy = good for bonding and structural patches
Prep and application tips I follow
Surface prep is the step that makes or breaks the job. I always clean, degrease, and etch concrete per the kit instructions before coating.
I mix thoroughly in one direction, pour within the working time, and use a heat gun or torch to pop bubbles on gloss pours.
- Clean and degrease concrete thoroughly
- Etch porous concrete when required
- Mix the two parts thoroughly and consistently
- Avoid overthinning; follow pour depth limits
Using flakes and color chips
I choose bulk flakes for full broadcasts to maintain consistent coverage and use 1 lb bags for touch-ups and accents.
After broadcast I always seal flakes with the recommended clear topcoat to lock them down and protect against abrasion.
- Broadcast generously for a professional look
- Seal flakes with a compatible clear coat
- Plan quantity: err on the side of more flakes
Frequently Asked Questions
Can I use tabletop epoxy on my garage floor?
I sometimes use tabletop epoxy for small concrete areas, thresholds, or decorative strips, but for full garages I prefer epoxy systems specifically formulated for oil, gasoline, and tire exposure.
How long before I can drive on an epoxy garage floor?
I follow each product’s cure window: Rust‑Oleum walked on in 24 hours and vehicle-ready around three days in my experience; tabletop and industrial resins often need longer for heavy use—always check the manufacturer guidance.
Do I need flakes for durability?
I use flakes mainly for aesthetics and to hide imperfections. They don’t inherently add structural durability, so I always pair them with a proper base epoxy and a clear, abrasion-resistant topcoat.
What’s the biggest cause of epoxy failures?
From my projects, inadequate surface prep and poor mixing are the leading causes. I always clean, etch, and mix thoroughly in a single direction to avoid tacky or uncured patches.
Final Take
For whole-garage jobs I consistently recommend a purpose-built kit like the Rust‑Oleum EpoxyShield — it’s designed for the stresses a garage floor sees and includes the prep products I use.
For decorative touches, thresholds, and small repairs I favor clear tabletop or industrial 1:1 epoxies for their clarity and ease of mixing. Bulk flakes finish the look when I want a professional broadcast without constant reorders.
Follow manufacturer cure windows, commit to thorough prep, and test small areas first. That’s how I get durable, showroom-ready results.
")