
I tested a range of small-batch cider kits, full 5-gallon starter sets, siphons, fillers, filters, and carboy handles to find the most useful gear for home brewers. Here are the tools I reach for when I brew at home.
I brewed cider, beer, wine, and mead across one- and five-gallon setups to see which tools actually make the process easier and more reliable.
My testing focused on completeness, durability, ease of use, and how each item fits into a typical bottling or racking day.
If you’re just getting started I point out what you can skip and what it’s worth investing in; if you brew regularly I highlight upgrades that save time and reduce breakage.
I grouped gear by role: starter kits for full systems, siphons and fillers for transfers and bottling, a powered filter for clarity, and handles for safe lifting — size and batch yield are the quickest way I separate these tools in use.
1. Craft A Brew Hard Cider Kit (1 Gallon) – Best Cider Starter
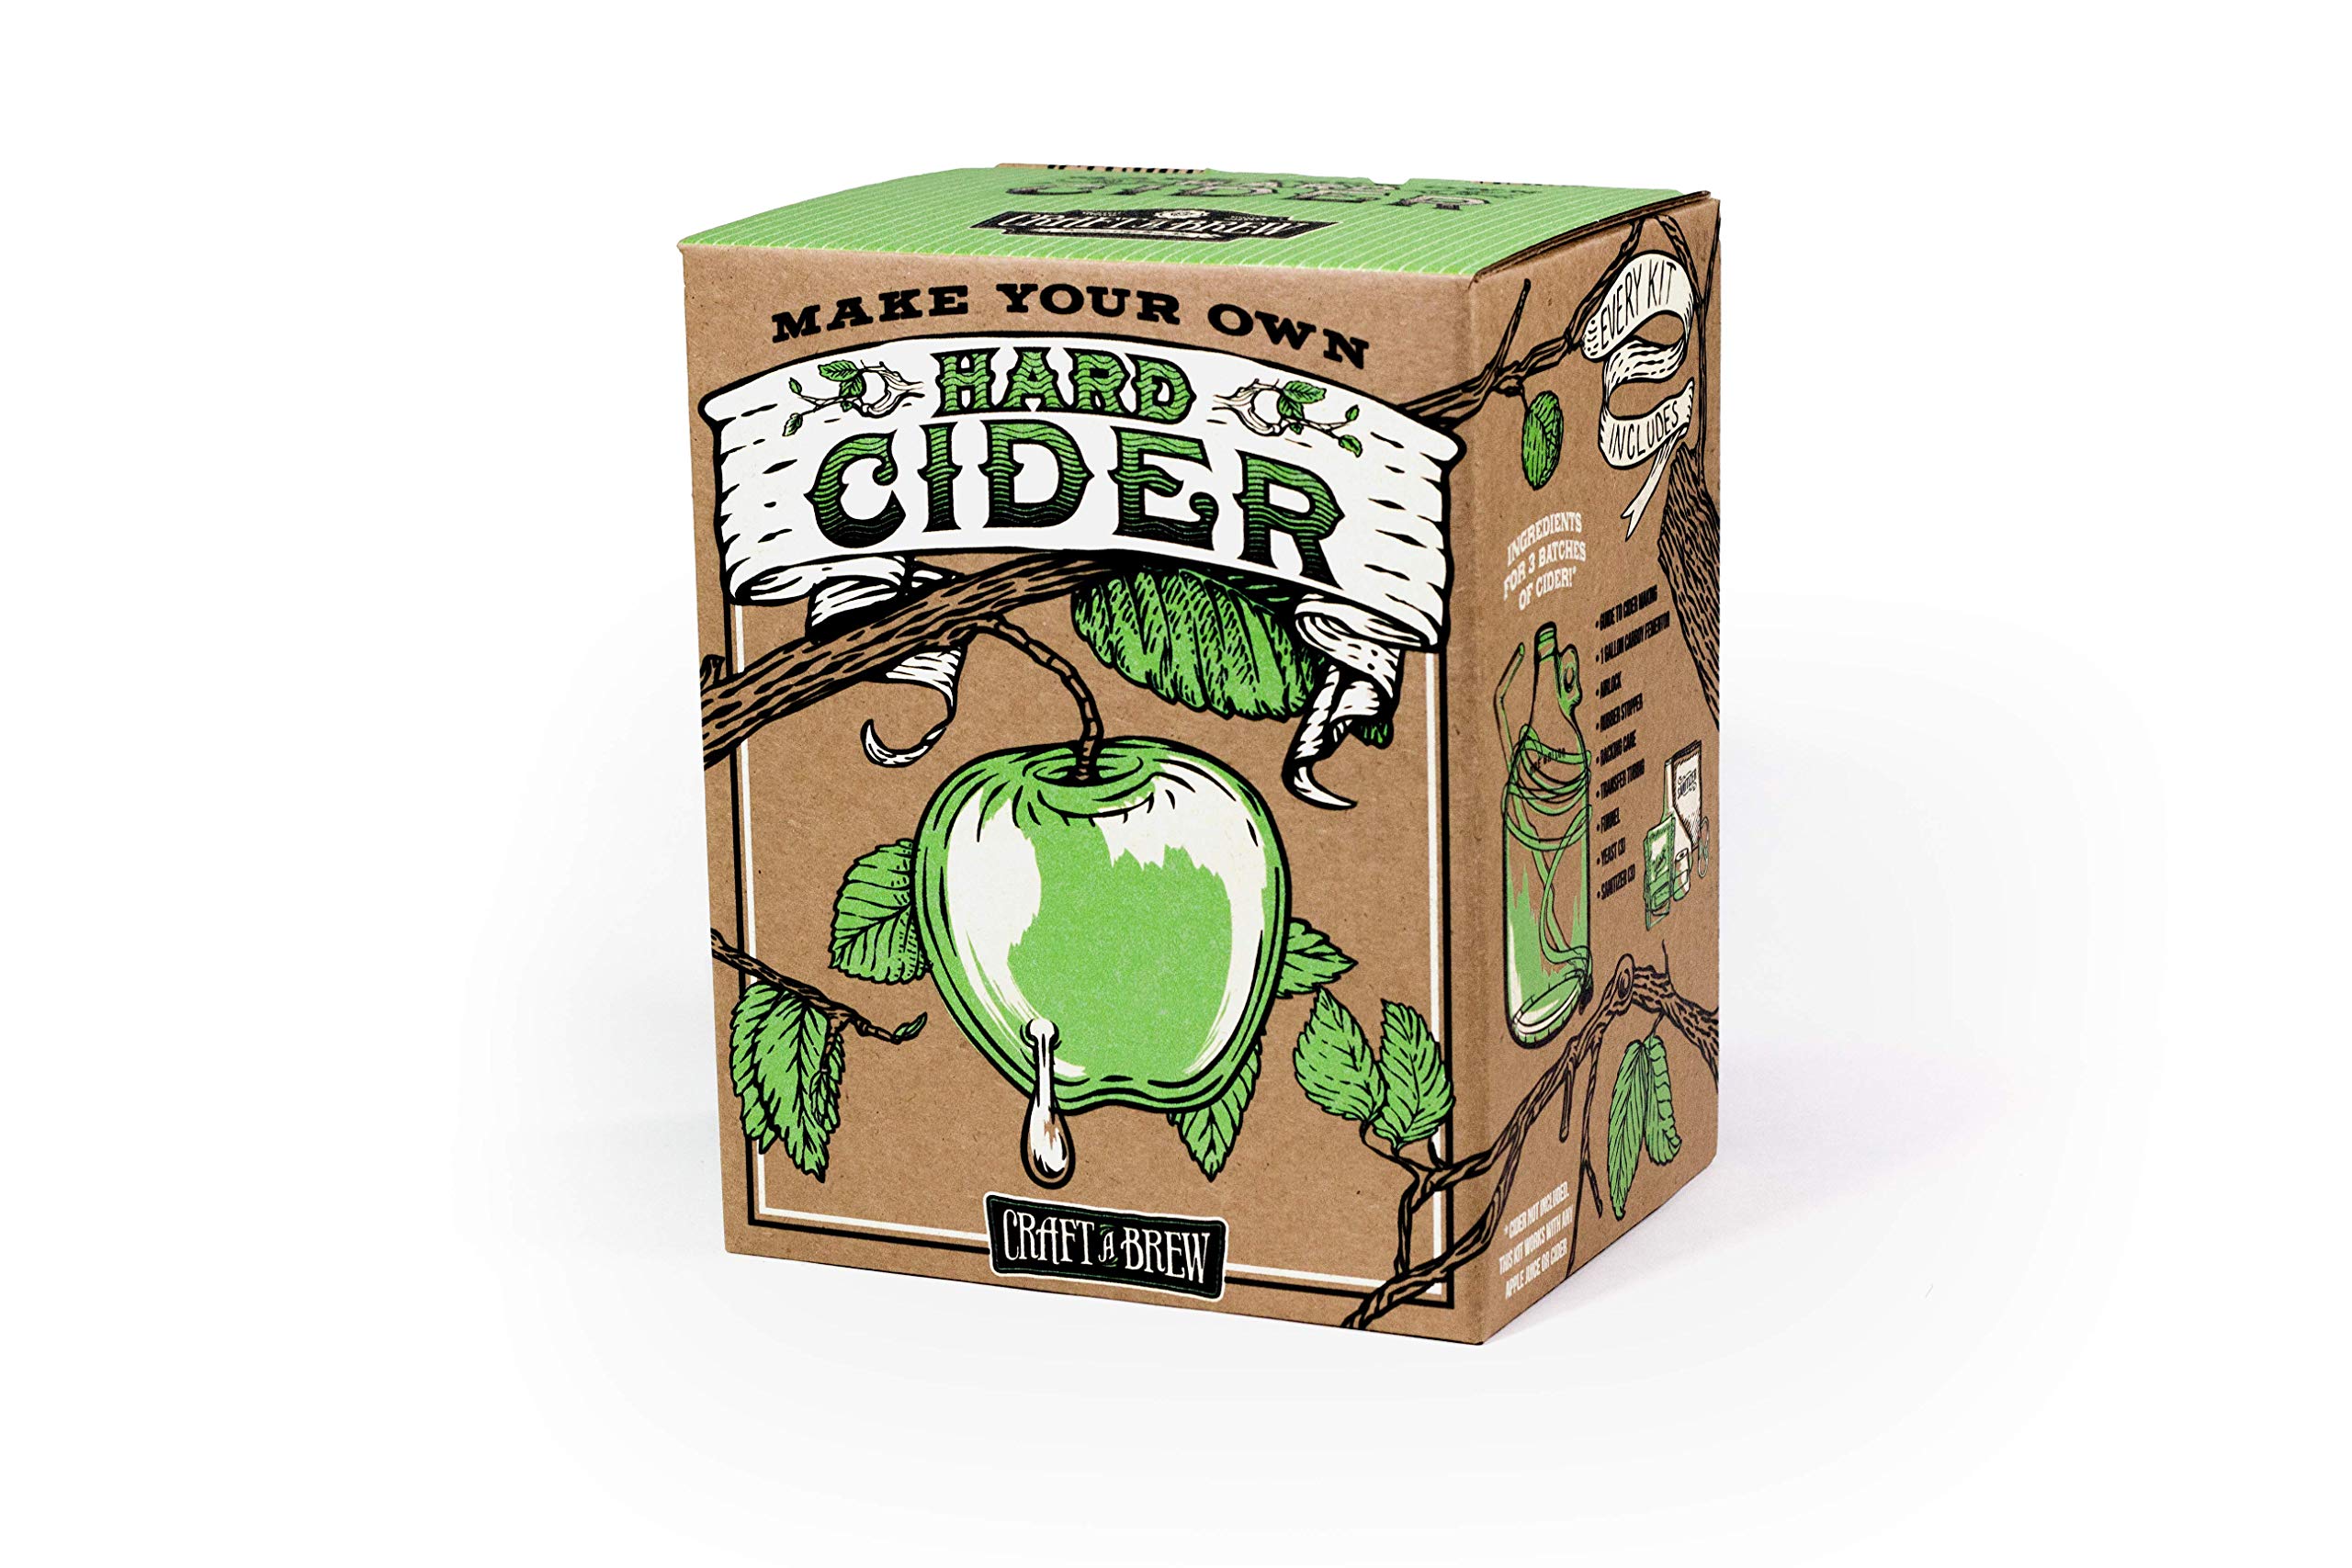
I grabbed this as a compact, all-in-one way to make small batches of hard cider; it supplies everything except the juice and bottles.
Why I picked it: Complete 1-gallon starter set with clear instructions and recipe variations.
Best for: Absolute beginners and cider hobbyists making one-gallon batches.
Affordable entry-level cider kit; add bottles and caps separately.
Pros
- Everything included except juice
- Glass carboy instead of plastic
- Clear step-by-step guide and recipes
Cons
- Glass carboy can be fragile in transit
- Does not include bottles or caps
- Limited to one-gallon batches
My take
I liked that the kit shows up ready to brew: carboy, racking cane, tubing, airlock, sanitizer, and a guide with several recipes. That made my first cider run surprisingly quick to set up.
The guide and recipe sheets are straightforward; my first brew took under three hours to prepare (not counting fermentation), and the included recipes covered a few tasty variations so I could experiment.
I did experience a cracked carboy once in transit, so I pack an extra plan if you’re on a tight schedule. When intact, the glass carboy feels nicer to work with than cheap plastic fermenters and I prefer it for flavor clarity.
Plan ahead for bottling: bottles and caps aren’t included, and you’ll want them on hand before the bottling day around three to four weeks. Overall, this is the easiest way I’ve found to jump into hard cider without buying a bunch of single-use items.
2. Northern Brewer 5 Gallon Starter Set — Hank’s Hefeweizen – Best 5-Gallon Kit
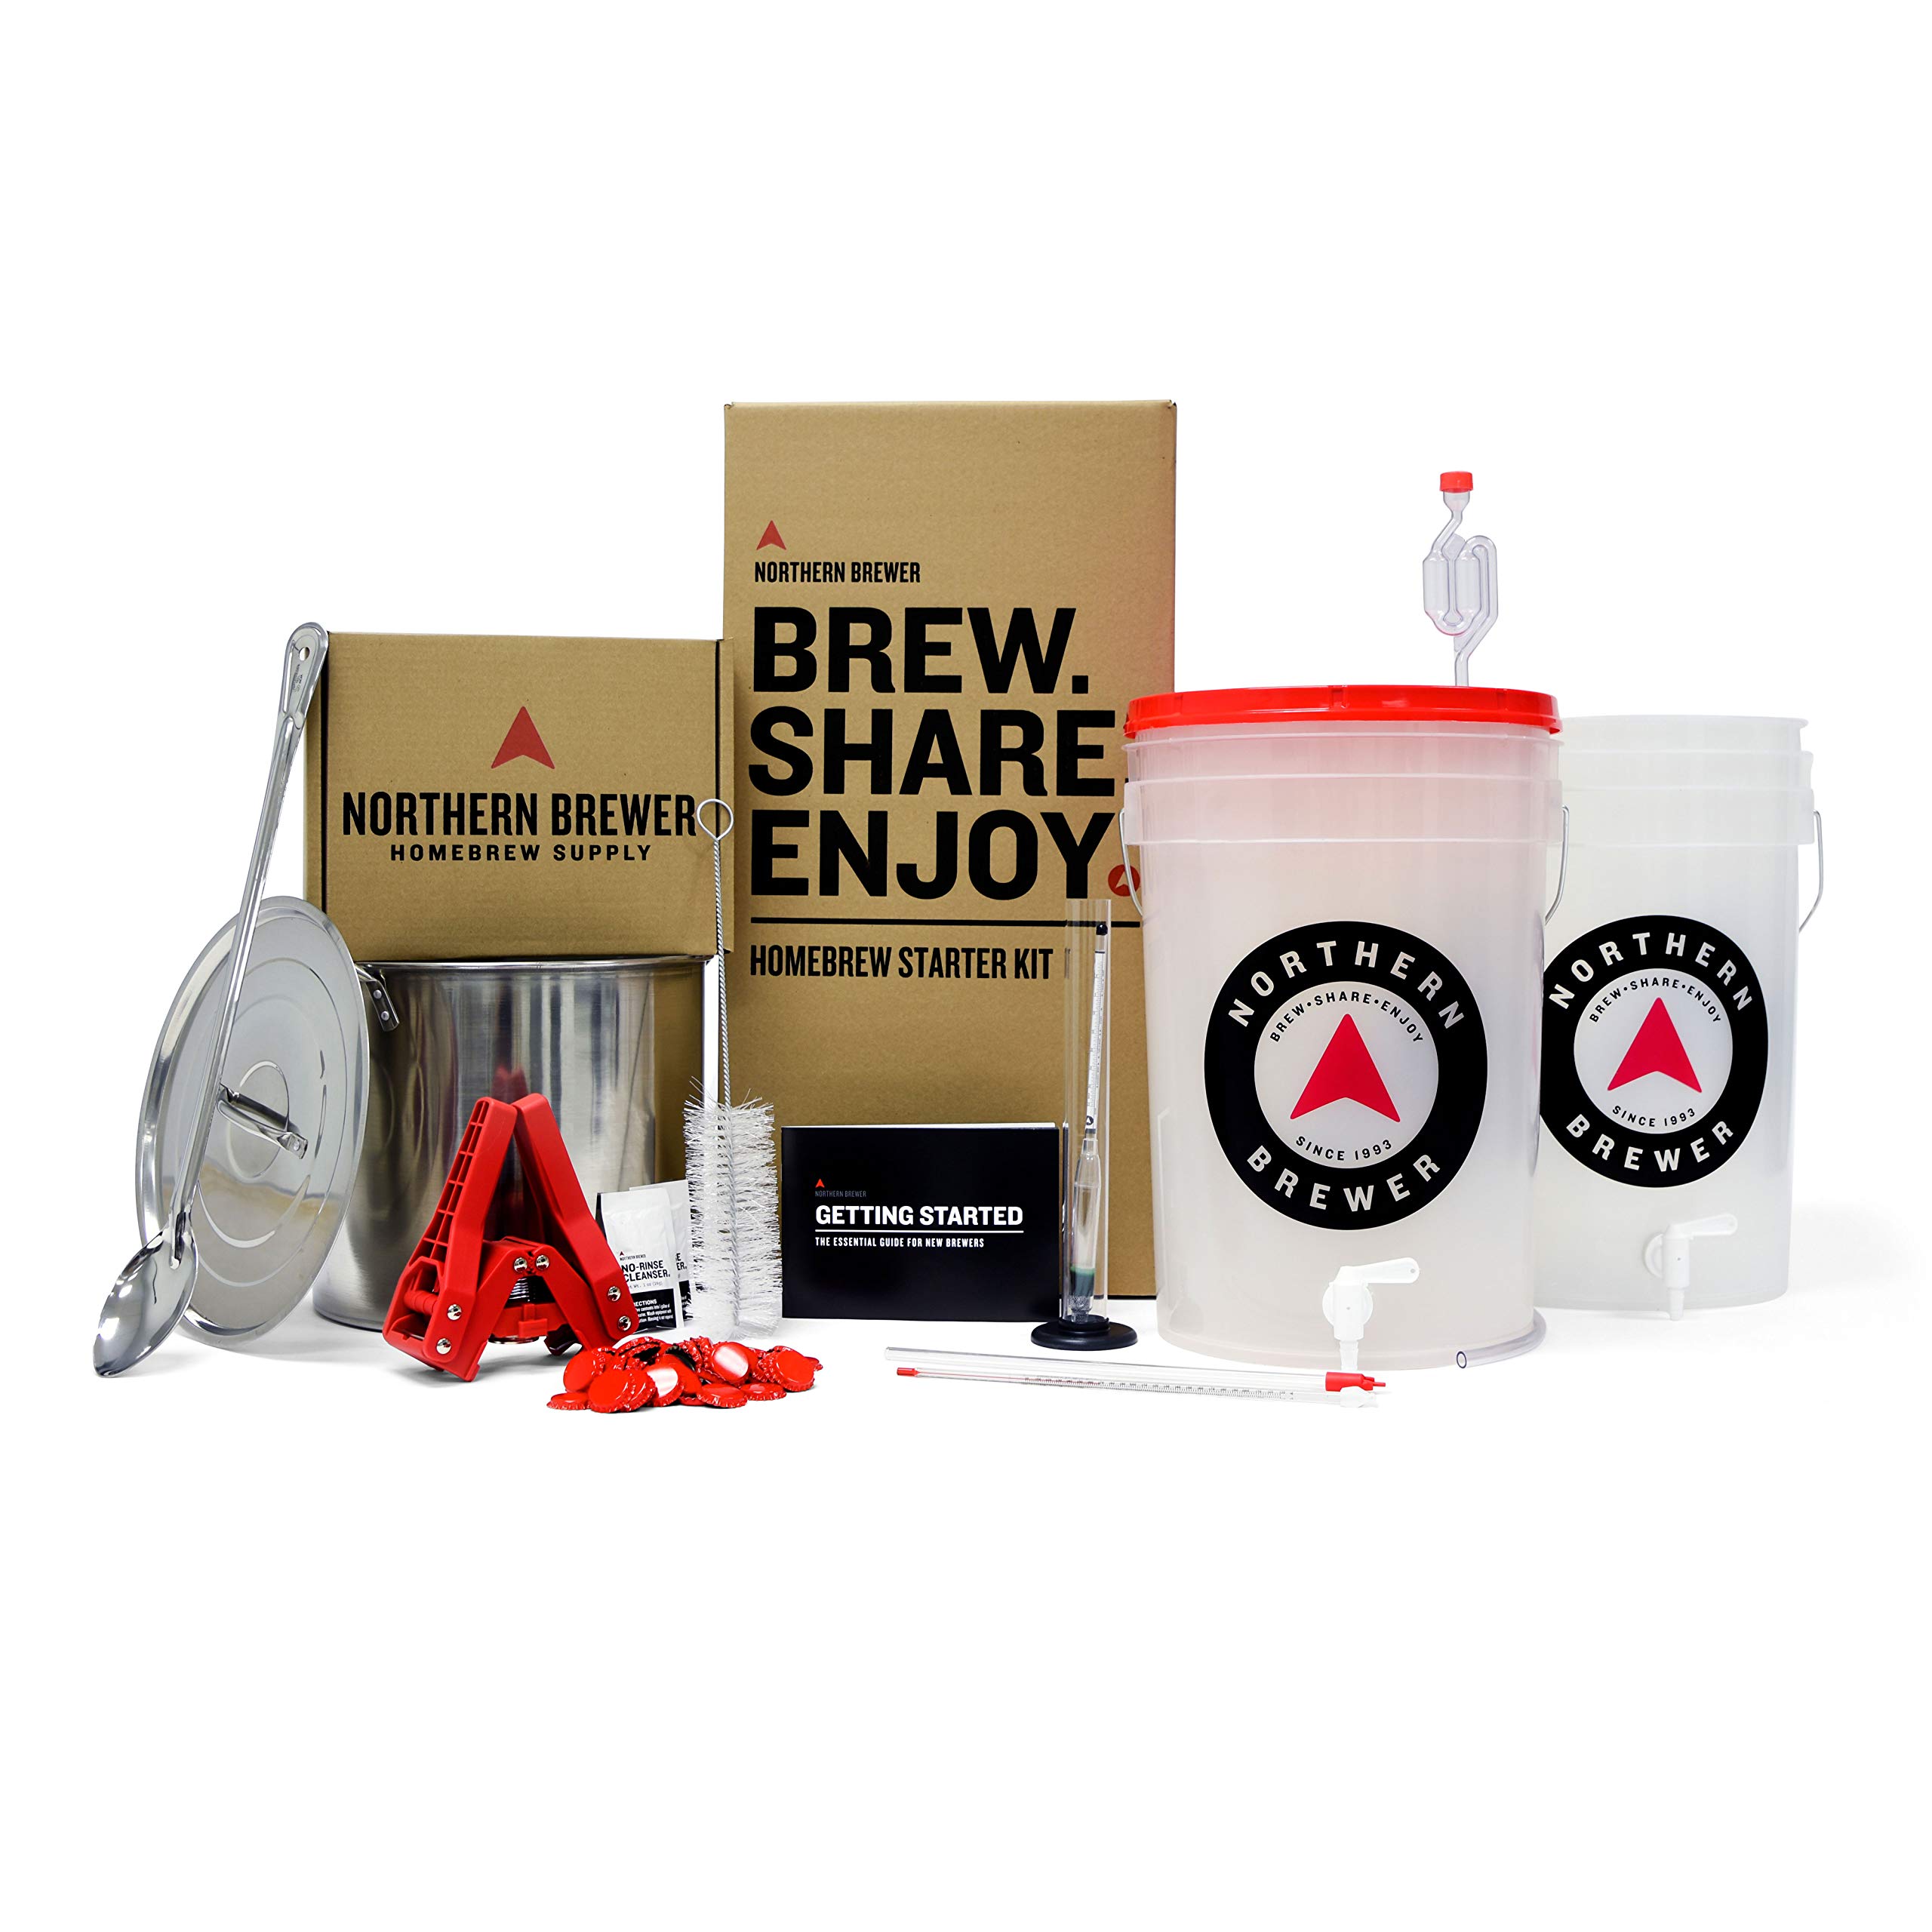
I used this when I wanted a full 5-gallon system that includes a brew kettle, fermentor, and testing tools all in one box.
Why I picked it: All-in-one 5-gallon kit with stainless brew kettle and testing gear.
Best for: Brewers who want to produce full 5-gallon batches at home.
A more complete, premium starter set that replaces many single purchases.
Pros
- Includes 5-gallon stainless brew kettle
- Comes with hydrometer and thermometer
- Everything needed for five-gallon batches
Cons
- Bucket lids can be difficult to remove
- Still requires bottles — not included
- Instructions could be more detailed in spots
My take
I appreciated that this kit bundles practical, durable pieces: a 5-gallon kettle, a spigot-equipped fermentor, bottling bucket, capper, and the Hank’s Hefeweizen recipe that makes a classic wheat beer.
Brewing a five-gallon batch with this kit felt economical compared with sourcing each item separately. The kit gives me room to learn whole-brewday procedures like boiling, chilling, and pitching without constantly improvising equipment.
Two things stood out in regular use: the included instrumentation (hydrometer and thermometer) makes fermentation tracking simple, and the bucket lids are very tight — I struggled to reopen them the first time. I keep a lid opener handy now.
If you want a near-complete brewery setup for extract brewing and 5-gallon batches, this set saves time and is the package I reach for when I want a larger yield.
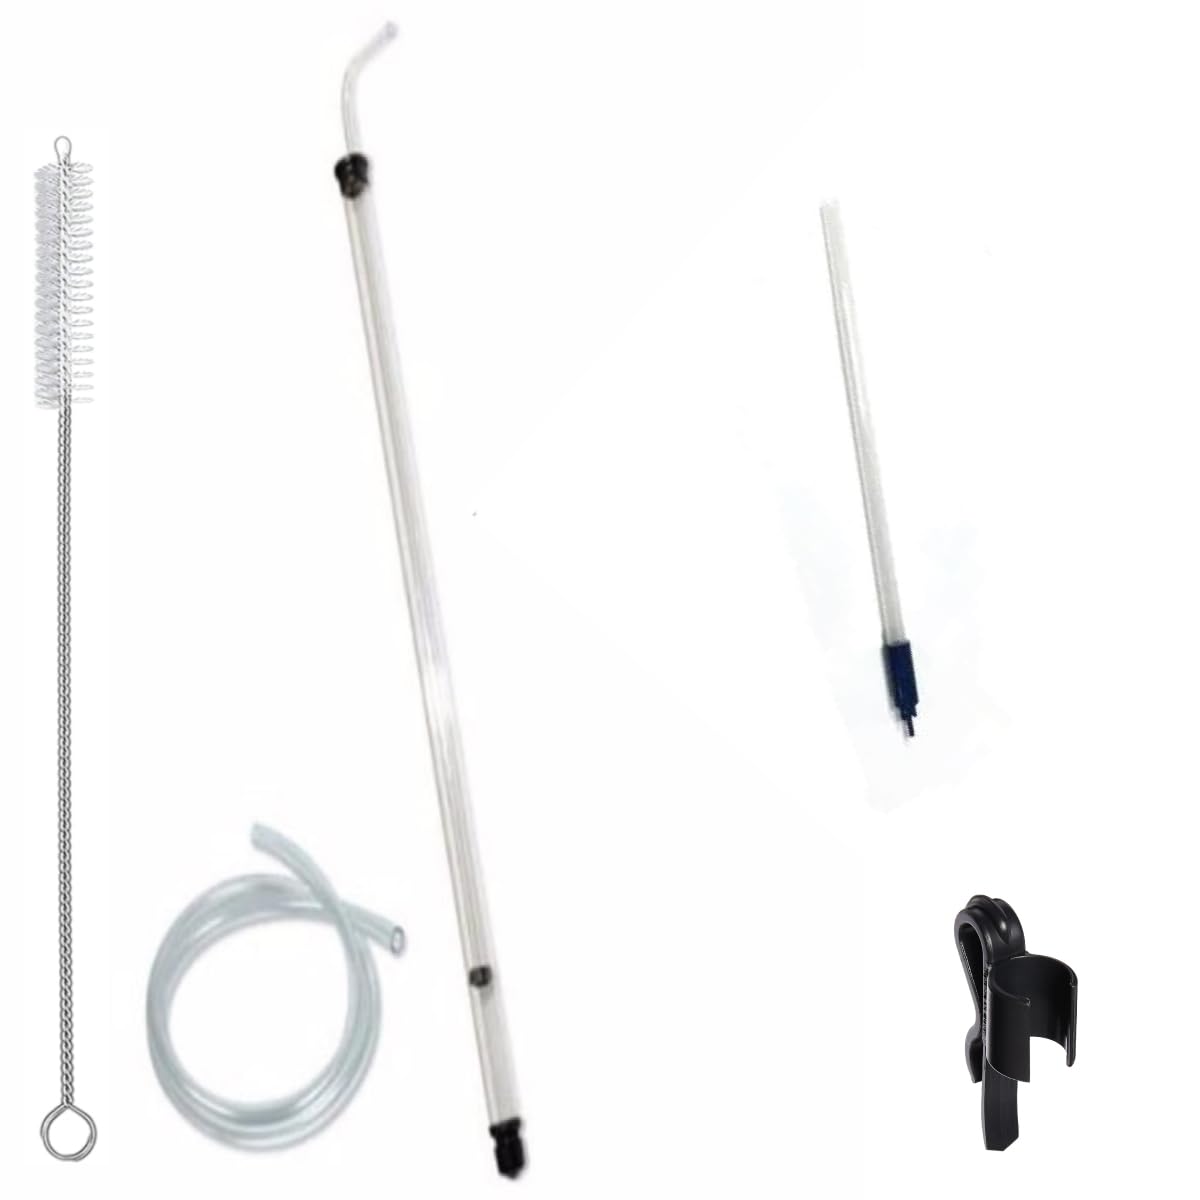
3. Fermtech Mini 14″ Auto Siphon Kit – Best Mini Siphon
I use this small auto-siphon for tidy transfers from one-gallon carboys and for bottling without mouth-suction.
Why I picked it: Compact auto-siphon that starts with a single stroke for small carboys.
Best for: Small-batch brewers and one-gallon carboy transfers.
Very affordable, handy transfer tool.
Pros
- Auto-siphon starts with one stroke
- Food-grade hose prevents contamination
- 14" length fits small carboys well
Cons
- Plastic parts can be delicate
- May need length adjustment for some setups
My take
This is my go-to when I’m moving small batches between carboys or into bottles. The auto-siphon ignites flow with a single pump and eliminates the gross mouth-suction technique.
I trimmed the tubing a bit to fit between my fermenter and bottling bucket; once shortened it was clean and nearly waste-free. The clamp holds it steady and I rarely get sediment stirred up.
The kit is lightweight and packs easily with other small-batch gear. Handle the plastic components with care, but for the price it’s an indispensable item on bottling day.
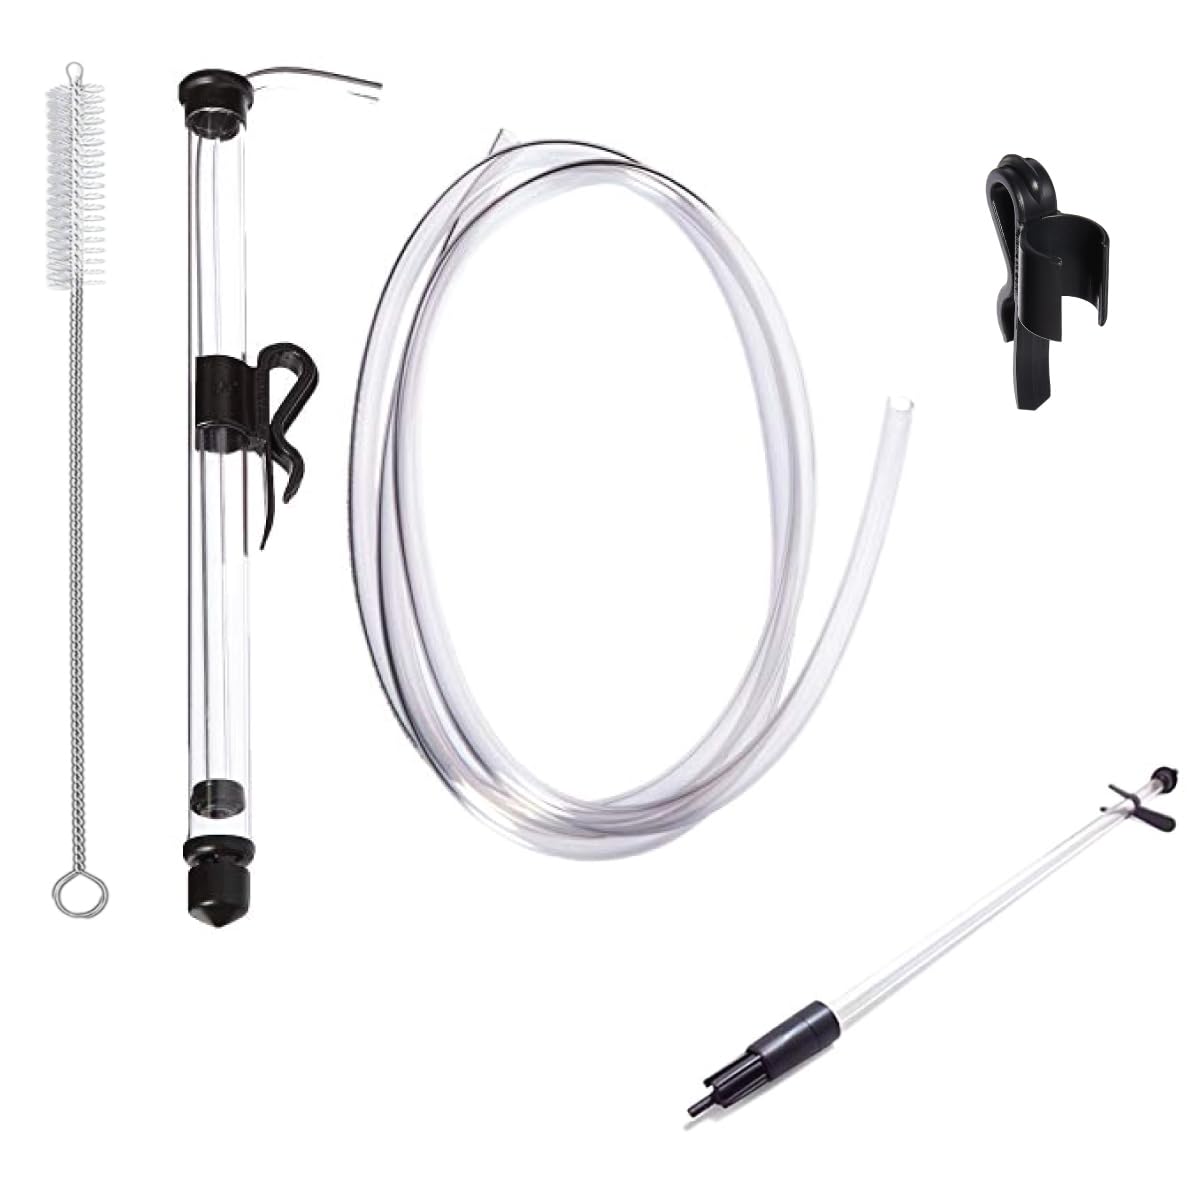
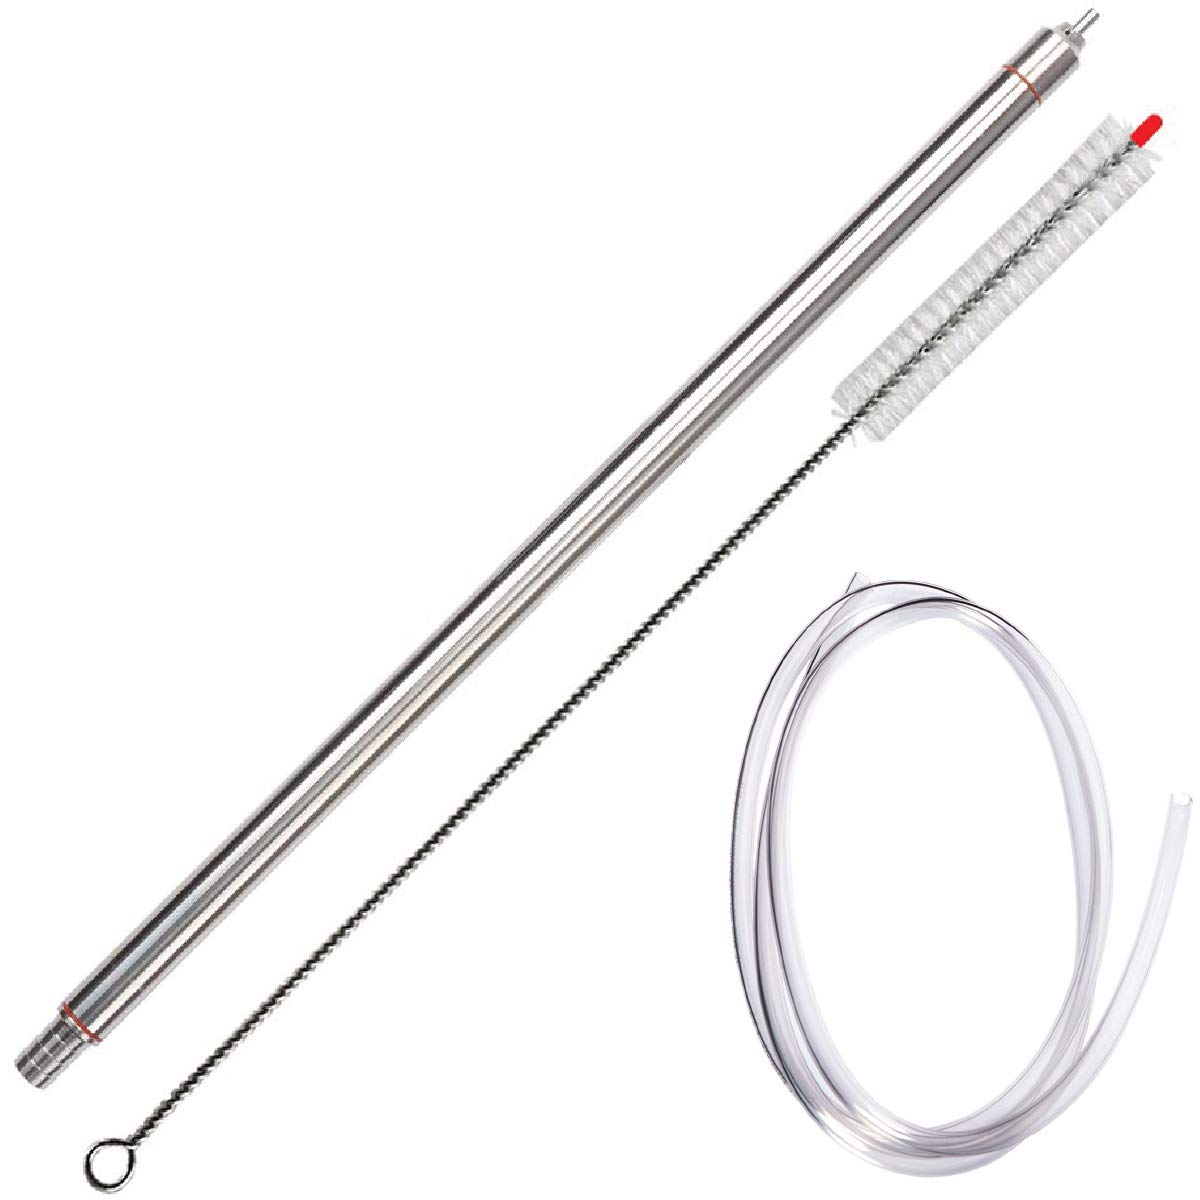
4. Fermtech Regular Deluxe Siphon Kit – Best Regular Siphon Kit
I rely on this longer auto-siphon and bottling wand when I’m re-racking larger volumes or moving multiple gallons at once.
Why I picked it: Longer reach and included accessories speed re-racking and bottling.
Best for: Racking multi-gallon batches and filling bottles efficiently.
Solid mid-priced upgrade with useful extras.
Pros
- Longer 24" reach for large fermenters
- Includes clamp and cleaning brush
- Makes re-racking much easier
Cons
- Occasional small defects in parts
- Some kits ship without the clamp
My take
When I had to re-rack several gallons of mead and cider, this kit saved me a lot of time. The regular auto-siphon starts reliably and the bottling wand reduces spills.
A few users — including me once — find a small sealing ring or part can come loose; cleaning and checking components before use fixed that, and the company replaced a defective piece quickly when I contacted them.
Overall, this kit balances reach and convenience. If you handle larger carboys frequently, the longer wand and included brush make cleanup and transfers far less fussy than improvised setups.
5. Buon Vino Mini Jet Wine Filter – Best Filter
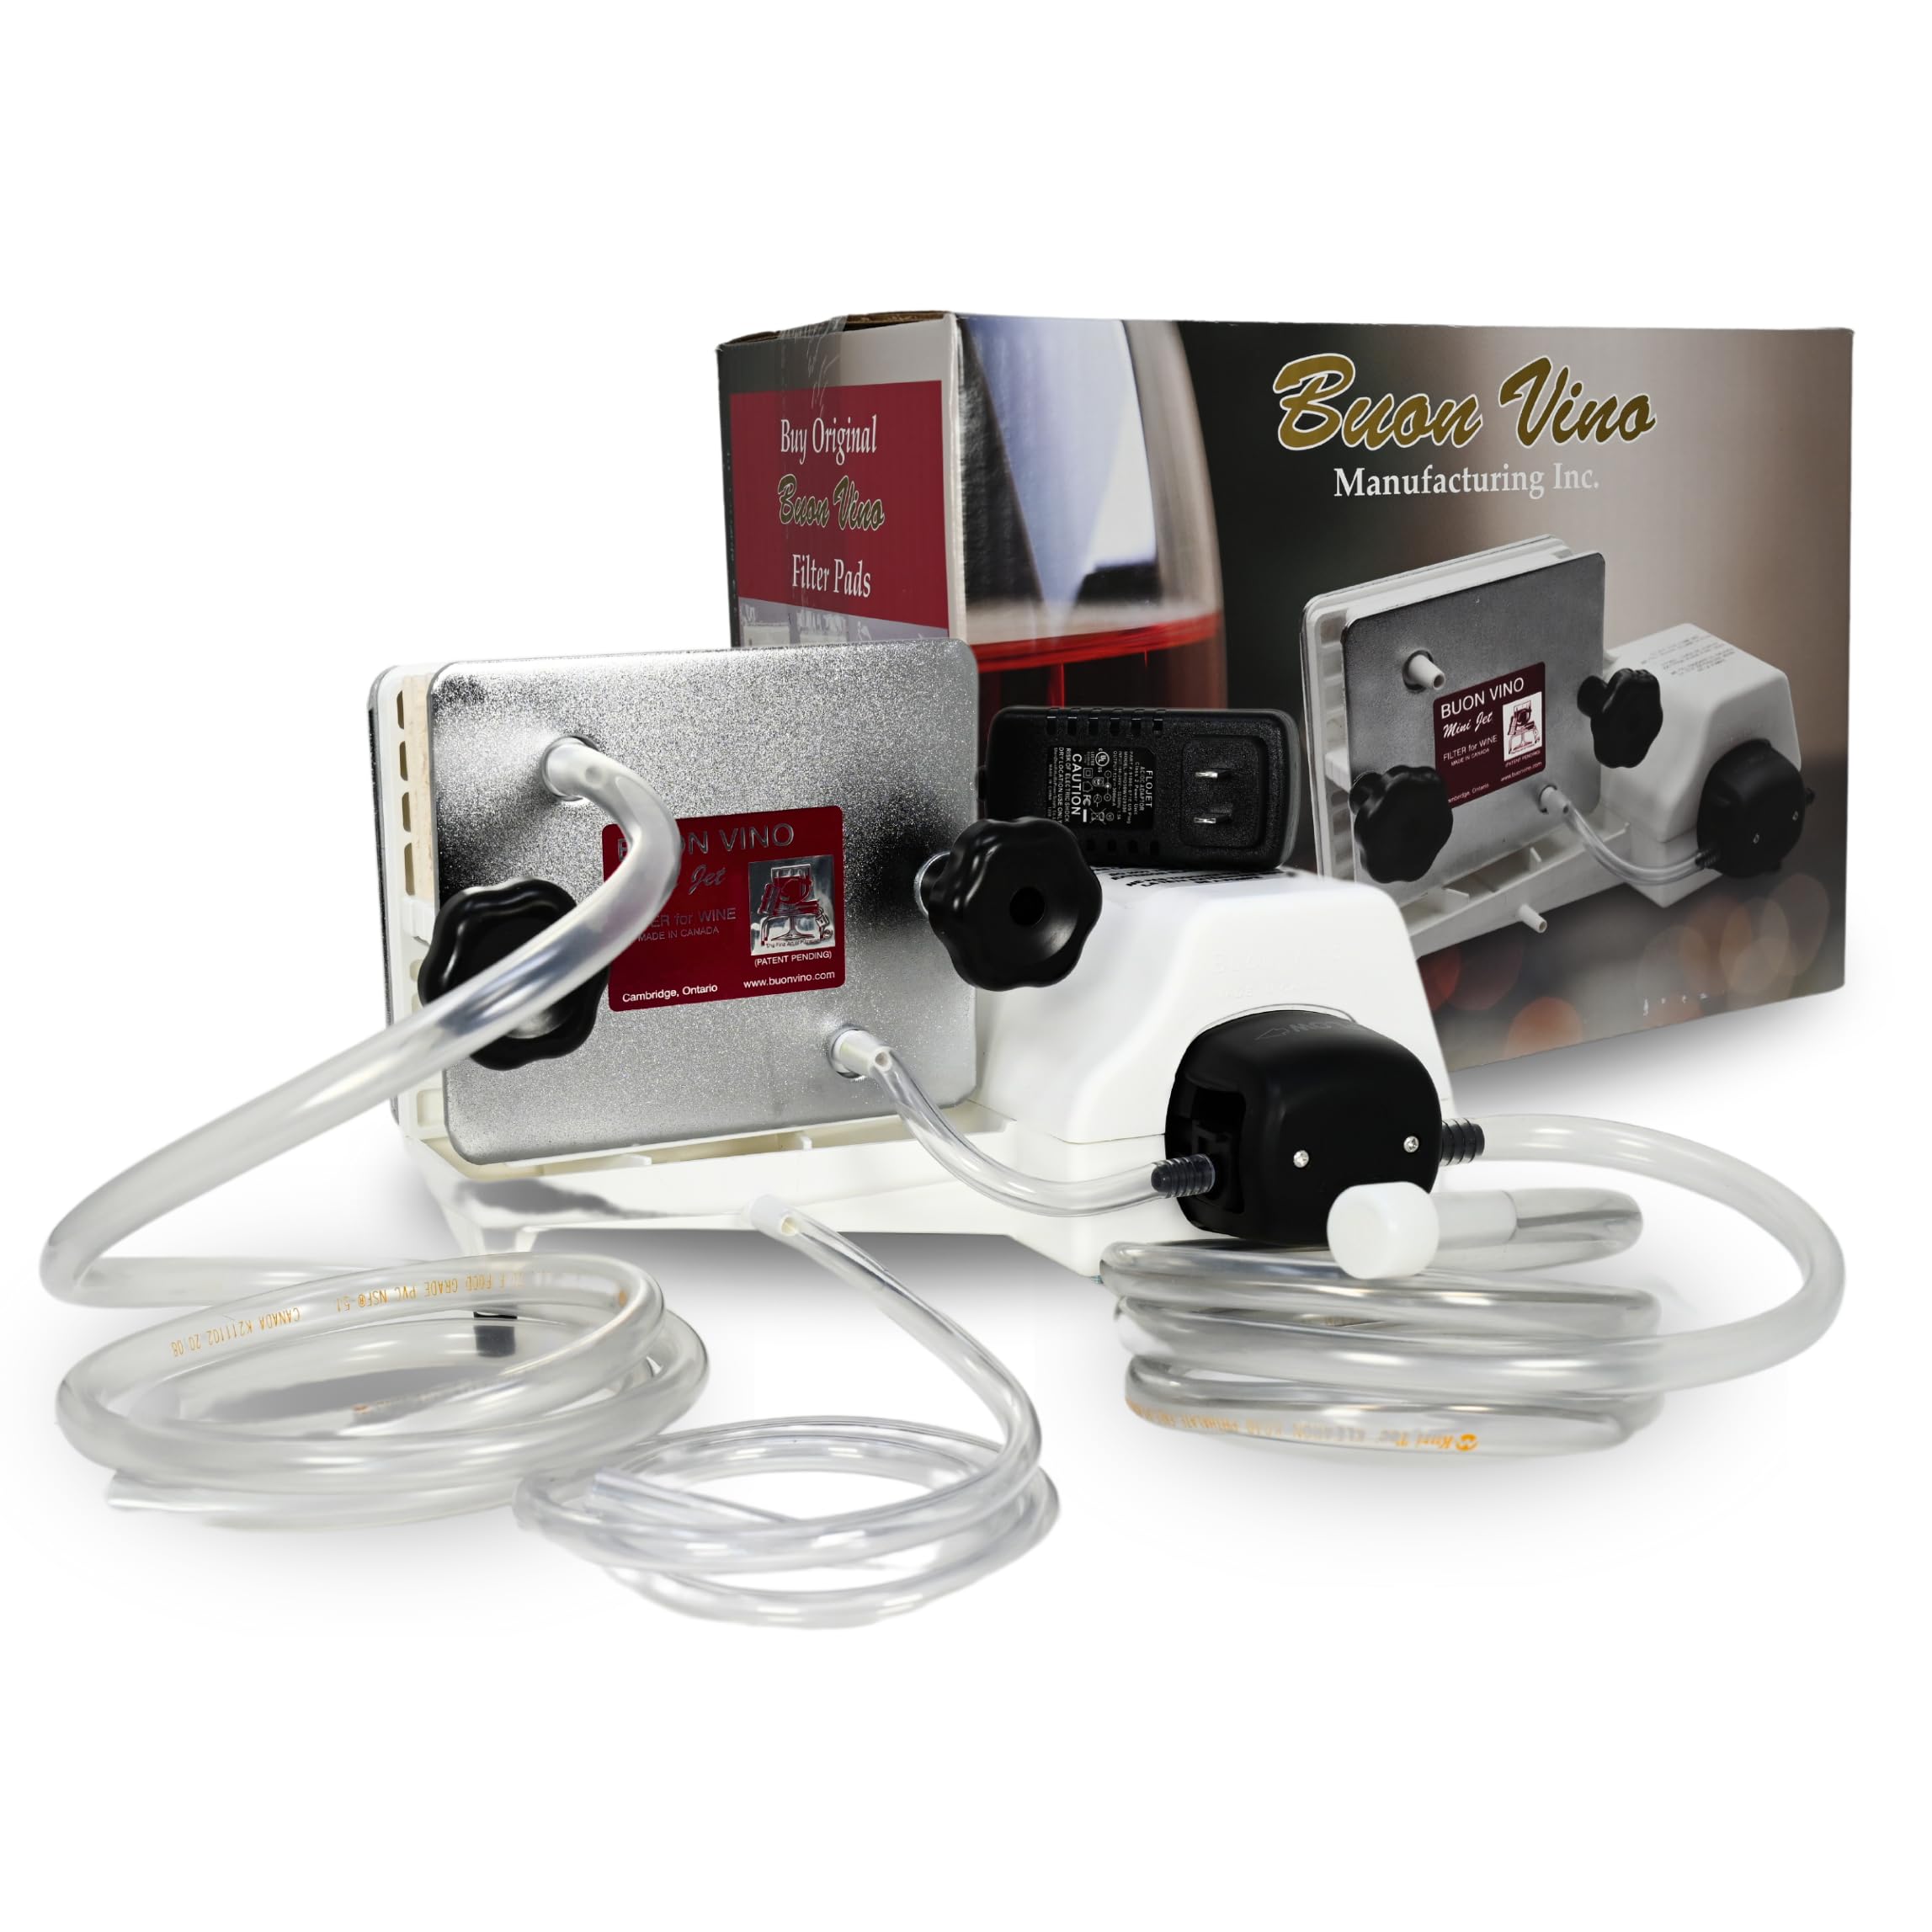
I used this electric filter when I wanted professional-style clarity fast — it filters a five-gallon batch in minutes with staged pads.
Why I picked it: Electric three-stage filtration for fast, clear results.
Best for: Home winemakers who want quick, professional filtration.
Higher-cost electric unit; replacement pads sold separately.
Pros
- Filters up to five gallons quickly
- Three-stage pad options for clarity
- Compact and easy to maintain
Cons
- Filter pads are sold separately
- Pump can be loud during operation
My take
This is the single fastest way I’ve taken a cloudy batch to crystal clear. The Mini Jet moves a five-gallon volume in a short session and the catch tray handles expected drips.
Follow the instructions and timing closely: I waited until my wine was a few months old before using the pump and avoided clogging and mess. The pickup tube has a wire to keep the correct depth, which I found helpful to avoid trub.
Three filter pad stages give me control over how aggressive the polishing is. Pads are an ongoing cost and I’ve had to hunt for certain pad sizes at times, but the quality improvement in the finished wine made the effort worthwhile.
6. Fermtech ProFiller Bottling Wand – Best Simple Bottling Wand

I reach for this wand when I want a light, easy-to-use filler with an auto-stop that minimizes spills during bottling.
Why I picked it: Auto-stop filler that reduces overflows and speeds bottling.
Best for: Casual bottling and small-batch fills.
Budget-friendly option for occasional bottling.
Pros
- Auto-stop function reduces spills
- Clear tubing makes monitoring easy
- Simple and beginner-friendly
Cons
- Glass tubes are fragile
- Spring can allow a few drips
My take
This wand made my bottling runs much less stressful. I insert, depress, and the auto-stop cuts flow when the bottle reaches the right level — it’s hands-off compared with manual siphoning.
A couple of caveats: there’s a tiny black piece in the base that controls the stop mechanism, and removing it for cleaning can make reassembly fiddly. Also, I noticed a few drops can leak when the spring isn’t fully depressed, but it wasn’t enough to bother me.
For the money, it’s by far the easiest way to get consistent fills without a larger bottling rig.
7. 14″ Stainless Steel Spring-Loaded Bottle Filler – Best Pro-Grade Filler
I upgraded to this stainless steel filler when I started bottling more frequently and wanted a unit that would last.
Why I picked it: Stainless construction for durability and professional bottling.
Best for: Frequent brewers who want a durable filler.
A durable mid-priced upgrade over plastic fillers.
Pros
- AISI 304 stainless steel construction
- Spring-loaded auto shutoff
- Works with hot or cold liquids
Cons
- Spring can make priming tricky
- May need adapters for some tubing
My take
This is by far the sturdiest filler I’ve used. The stainless tip resists staining and the unit feels built to last compared with plastic alternatives.
The spring-loaded shutoff is reliable, but I did find it can demand an extra hand to prime the siphon and press the valve; I sometimes remove or modify the spring for easier priming in tight setups.
The included tubing measures slightly large for some auto-siphons, but a hose clamp or small adapter fixes that quickly. If you bottle often, this is the piece I recommend upgrading to first.
8. Carboy Carrying Handles (2-Pack) – Best Carrying Accessory
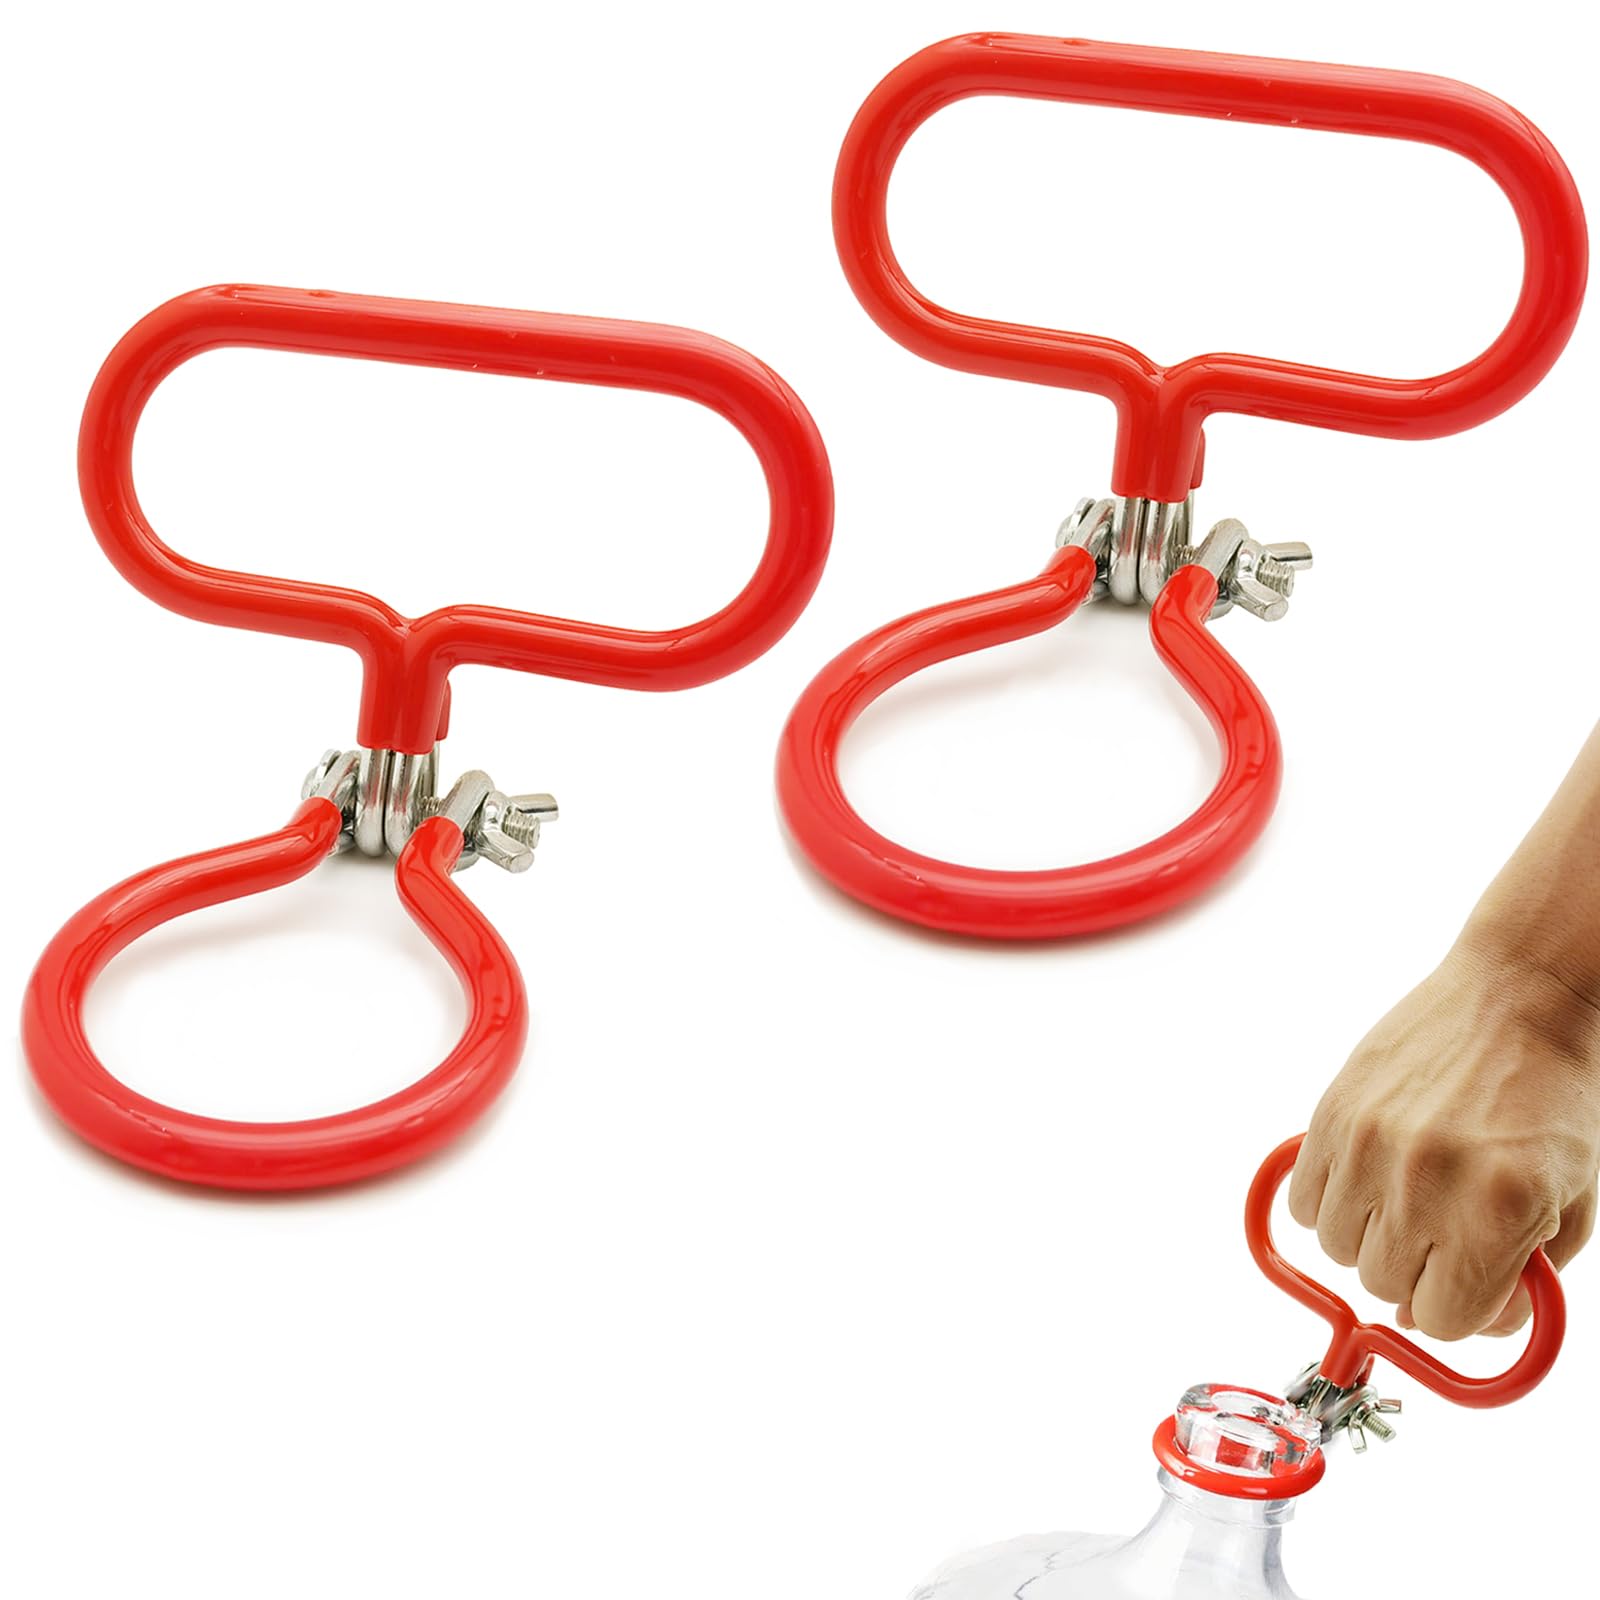
I installed these stainless handles on my glass carboys to make short-distance lifting far safer and less slippery.
Why I picked it: Improves grip and safety when lifting wet glass carboys.
Best for: Anyone moving full glass carboys a short distance.
Very affordable and worthwhile safety add-on.
Pros
- Solid stainless construction
- Silicone-coated grip protects glass
- Adjustable with butterfly nut
Cons
- Difficult to install alone
- Not intended for long-distance carrying
My take
These handles changed how I move full carboys around the house. The silicone coating protects the glass mouth and gives a secure, comfortable grip even when wet.
Installation takes muscle and is easiest with two people — I needed help the first time — but once they’re tightened the handles feel extremely secure.
I still treat fully filled carboys cautiously, but these handles make short moves far less nerve-wracking and are a great inexpensive safety upgrade.
How I Choose Home Brewing Equipment
Batch Size and Setup
I start by deciding my batch size: one-gallon kits keep costs and mess low for experimentation; five-gallon setups are better if I want to bottle dozens of beers.
If I plan to scale later, I buy gear that works across sizes (stainless kettle, universal tubing, and modular fittings) so upgrades don't force wholesale replacements.
- One-gallon kits: perfect for trying recipes without a big commitment.
- Five-gallon kits: efficient if you want multiple cases per brew.
- Buy a kettle and fermentor that match your growth plans.
Materials Matter
I choose glass carboys when clarity and long-term stability matter; I use food-grade plastic buckets for rough handling and lower-cost builds.
Stainless steel parts (fillers, kettles) cost more but last and clean far better than plastic in my experience.
- Glass = better flavor stability and clarity.
- Plastic = lighter and less breakable for beginners.
- Stainless = long-term durability for frequent use.
Transfers, Bottling, and Filtration
I invest in a reliable siphon and a decent bottling wand early. They reduce oxidation and mess on bottling day.
If I want polished bottle-ready wine, an electric filter is worth the expense; for most beers I skip powered filtration and focus on cold crashing and clarifying agents.
- Auto-siphons avoid mouth suction and reduce contamination risk.
- Spring-loaded or stainless fillers improve speed and durability.
- Electric filters are for winemakers or anyone needing quick clarity.
Practical Accessories
I always keep spare tubing, clamps, sanitizer, and a bottle stock. Missing small items is the most common cause of delayed bottling for me.
Safety accessories like carboy handles or a cart are inexpensive insurance against breakage and injury.
- Keep spare tubes and clamps on hand.
- Buy a bottle capper and enough caps before bottling.
- Add handles or a dolly for heavier glass carboys.
Frequently Asked Questions
Do I need a stainless brew kettle to start brewing?
I don’t think a stainless kettle is strictly necessary for your first extract brews, but I prefer stainless because it heats evenly, cleans easily, and scales with my brewing ambitions.
When should I use an electric filter on wine?
I run an electric filter when I want fast, repeatable clarity and have wine that’s been aged long enough to reduce trub; I usually wait two to three months before filtering to avoid clogging pads.
How do I avoid stirring up sediment when siphoning?
I keep the pickup tube above the trub until the very end, use a gentle flow, and clamp the tubing to control head pressure — the right siphon and a slow transfer are the best defense.
Final Take
I recommend matching the gear to the batches you want to brew: one-gallon kits for low-effort experimentation, five-gallon starters for regular beer production, and stainless fillers or electric filters once you bottle often.
Small upgrades — a proper siphon, a spring-loaded filler, or even a pair of carboy handles — repay their cost in saved time and fewer headaches on bottling day.
Get a sanitizer, double-check your spare parts list before brew day, and enjoy the learning curve; brewing gets easier and more fun with the right tools.
")