
I tested a range of mushroom kits — from windowsill shiitake boxes to morel habitat packs and automated multi-jar chambers — and I’m sharing which kits worked best for different setups, skill levels, and outcomes.
I’ve grown mushrooms from simple tabletop kits, bulk substrate bags, and full automated chambers, and I’ve learned which setups are genuinely useful and which are best seen as a fun project.
In this roundup I compare quick indoor kits, long-term outdoor morel options, ready-to-inoculate grow bags, and accessories you’ll actually use. I explain what worked for me, where I ran into contamination or delays, and how much effort each option needs.
I grouped these kits by what they do best: instant indoor harvests, patient backyard morel projects, sterile substrate bags for hobbyists who inoculate their own genetics, and automated chambers for growers who want to scale without constant babysitting. Pick based on how much time, space, and sterile technique you’re willing to commit.
1. Back to the Roots Shiitake Mushroom Kit – Best for Windowsill Shiitake
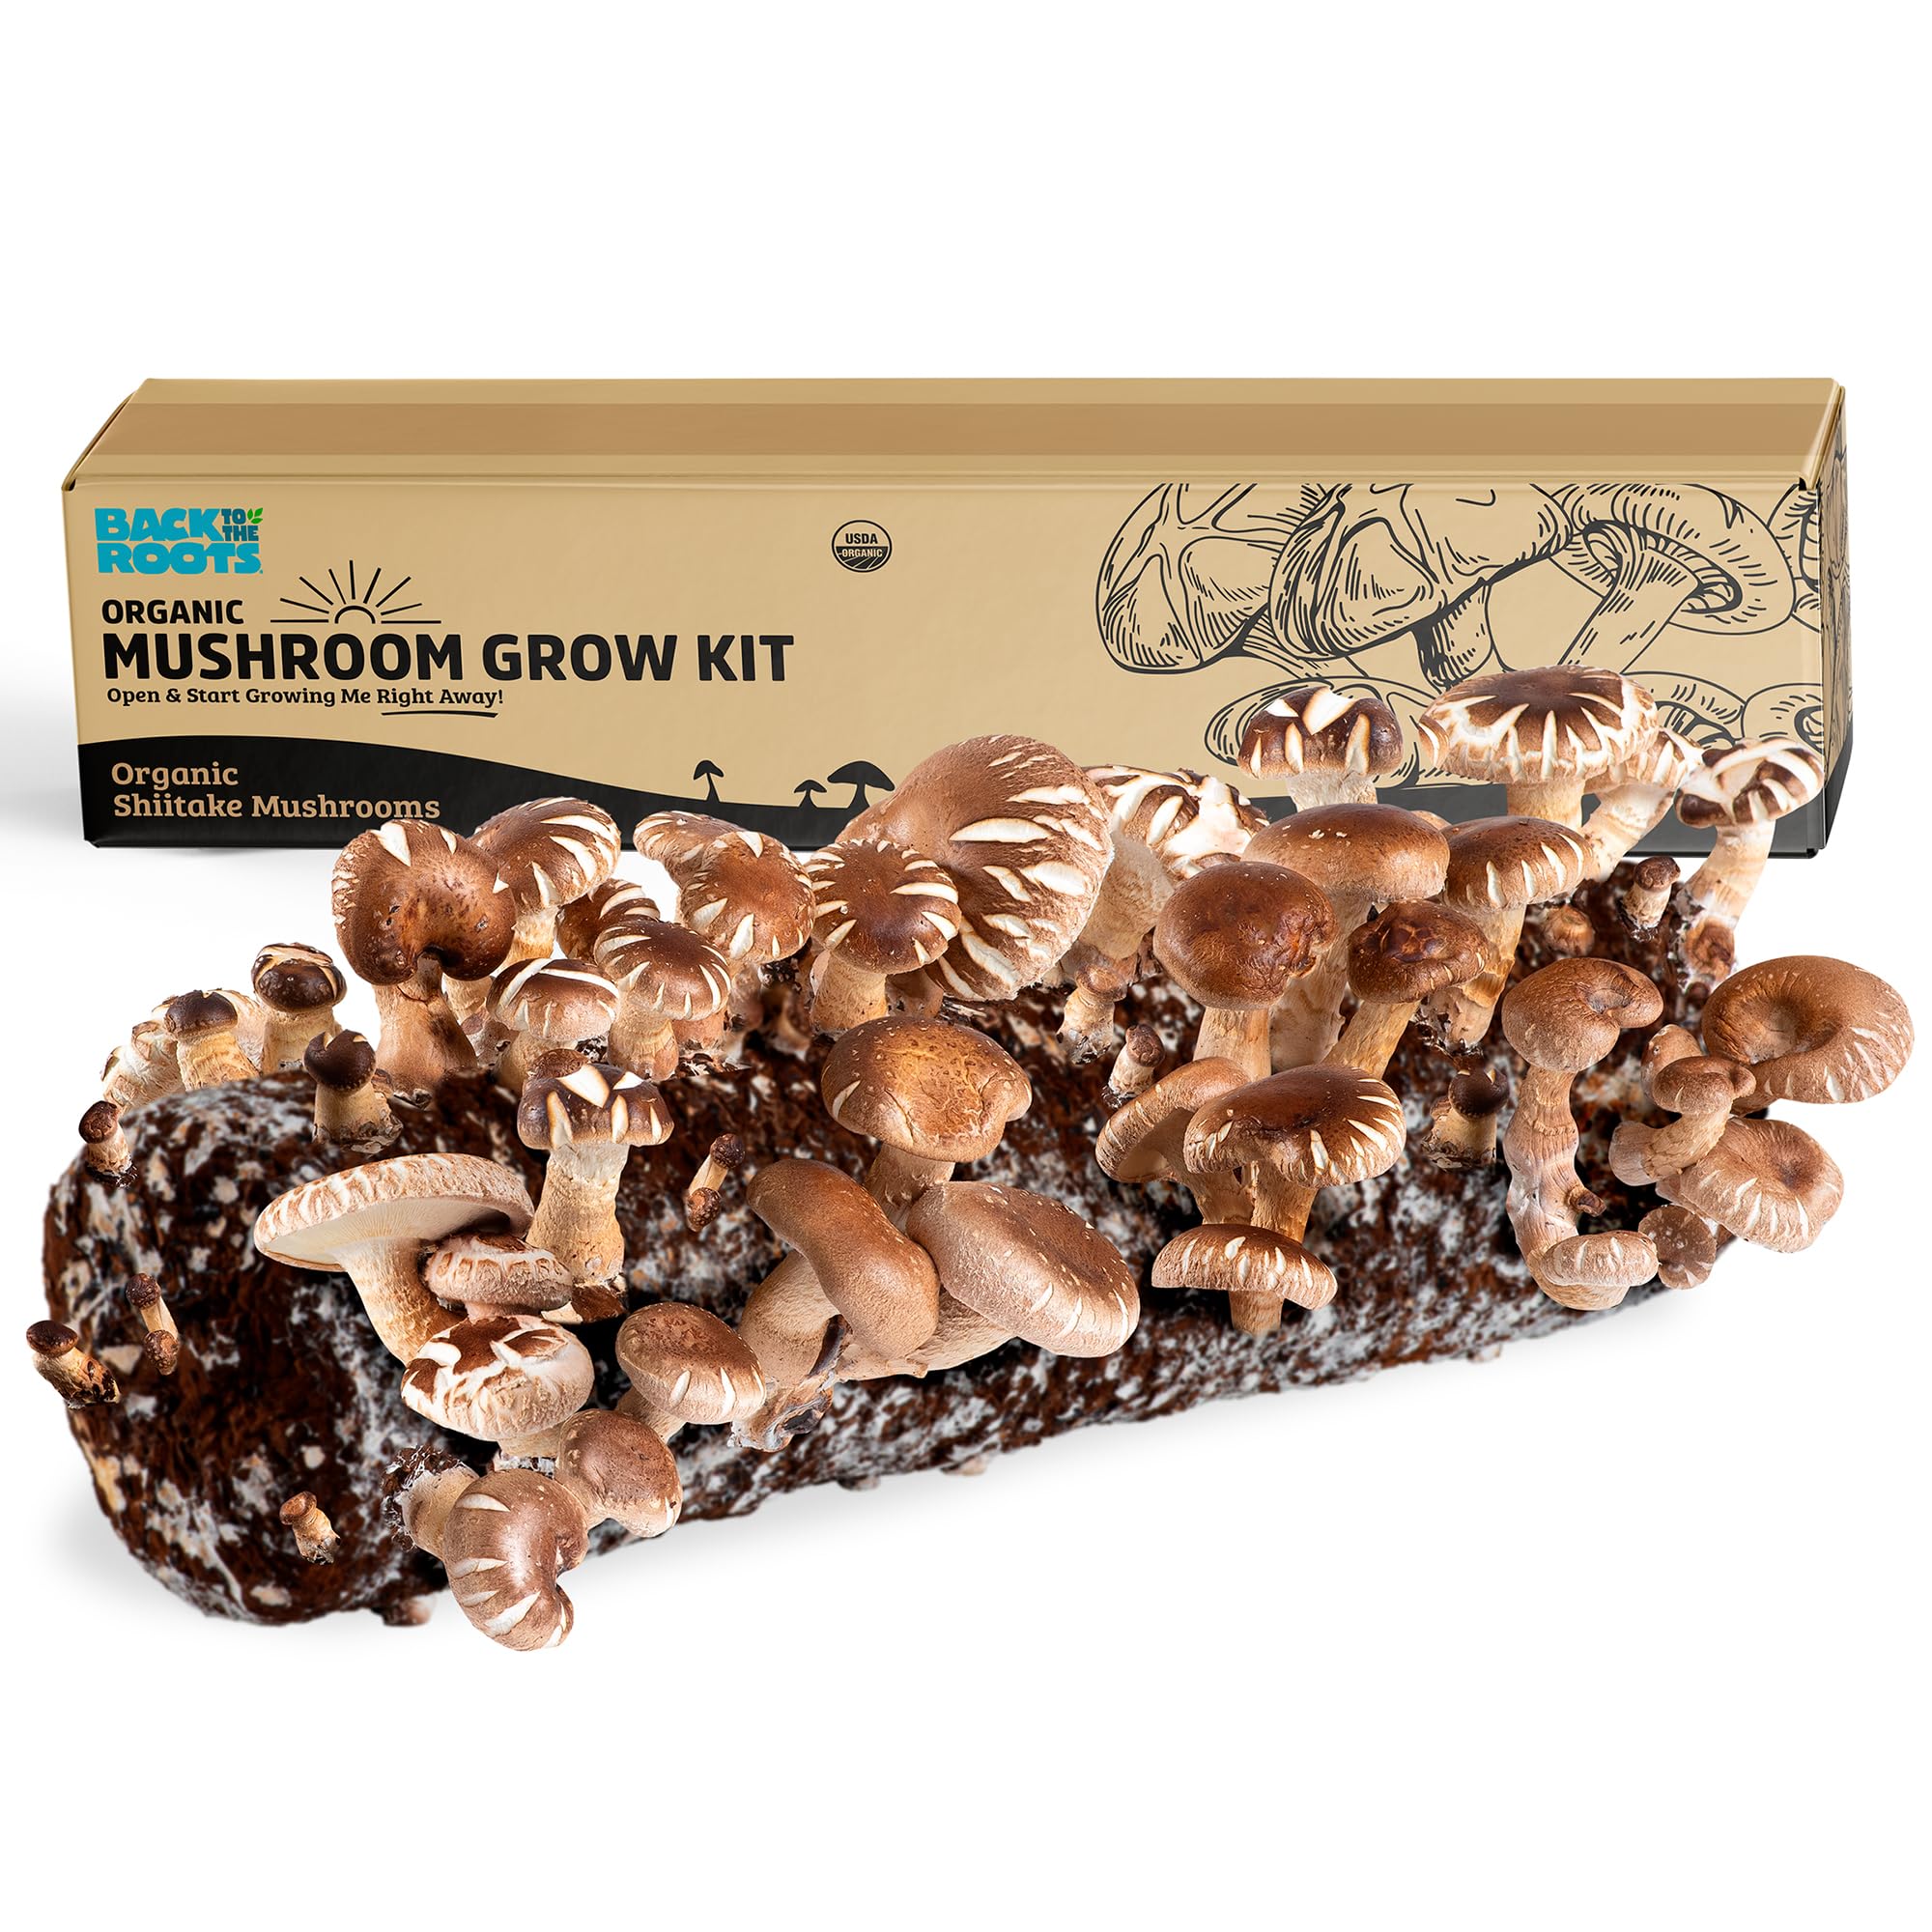
An all-in-one organic shiitake kit that I can grow indoors, harvest quickly, and use as a hands-on learning project.
Why I picked it: I picked it for its true plug-and-play ease and organic credentials.
Best for: Beginners, families, and anyone who wants quick indoor shiitake crops.
A budget-friendly craft-style kit — more about fun and learning than bulk production.
Pros
- Certified organic and non-GMO
- Ready-to-grow mycelium on log
- Includes mister and humidity tent
- Harvests in roughly ten days
- Works indoors year-round
Cons
- Small harvests per kit
- Yield can be inconsistent
- Limited to one or two crops
My take
I like this kit because it really is ready out of the box: the shiitake mycelium arrives on the log and I just mist daily. In my runs it often produced a first harvest in about ten days and gave a second flush after rest.
The kit includes everything I needed — a small spray bottle, a vented humidity tent, and step-by-step instructions — which makes it ideal for a windowsill or a kitchen counter. My son found it especially satisfying to watch the clusters expand over hours.
Expect modest yields: each kit delivered a few servings rather than bulk grocery-level quantities. I’ve also seen occasional blocks arrive already fruited or overripe from shipping, so I keep a backup plan (resoak and extra misting) when that happens.
For what it is — an educational, organic, easy-to-use indoor kit — I found it reliable most of the time. If your goal is regular, large harvests, a bulk bag or grow system will suit better than this craft-style kit.
2. MOREL HABITAT Kit – Best for Backyard Morels
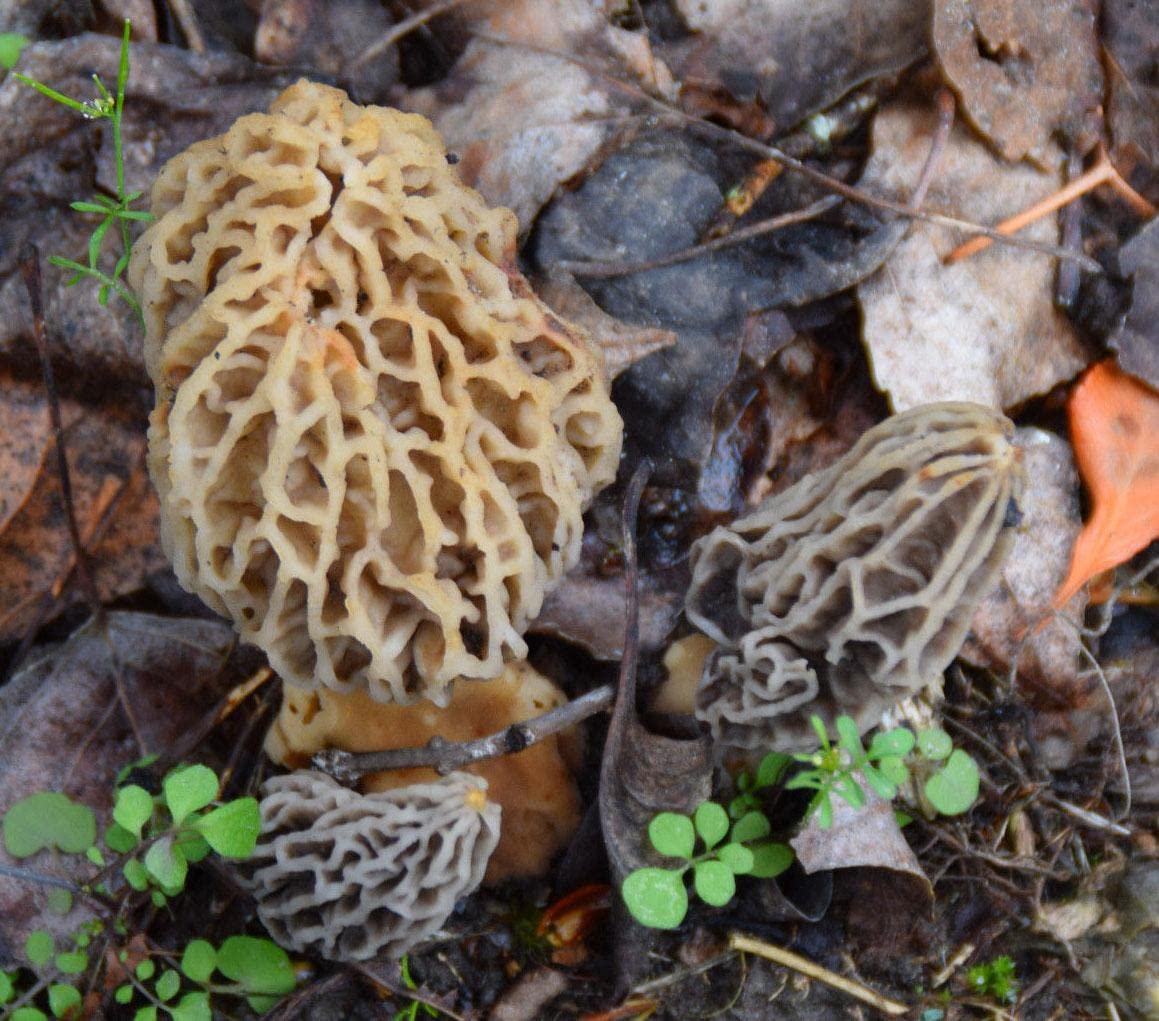
A purpose-built outdoor morel habitat that I planted in my yard and treated as a multi-season project.
Why I picked it: I chose it because it’s specifically formulated for home morel cultivation and includes spawn and substrate.
Best for: Gardeners with space and patience for a multi-season project.
A long-term investment — you may wait a season or two before seeing results.
Pros
- Made in the USA
- Works in many soil types
- Complete spawn and substrate package
- Reusable for seasonal plantings
Cons
- May take two seasons to produce
- Results depend heavily on environment
- Requires outdoor space
My take
I treated this kit like a small patch renovation: I refrigerated the spawn as instructed, prepared a tilled spot, and mixed in compost and manure where I planted it.
In my experience the big caveat is patience — I didn’t get reliable fruiting the first season. The kit’s instructions emphasize that two seasons are sometimes required, and that matched what I saw in practice.
When I followed the recommended soil prep (loamy, composted beds with organic matter and spring moisture), I eventually saw promising signs. If your property has the right winter-to-spring transition and you enjoy multi-year gardening projects, this kit makes sense.
If you expect instant results, step away. This is a conscientious, traditional approach to morel cultivation — it rewards correct site selection and seasonal patience rather than overnight success.
3. Booming Acres 5lb All-in-One Grow Bag – Best All-in-One Grow Bag
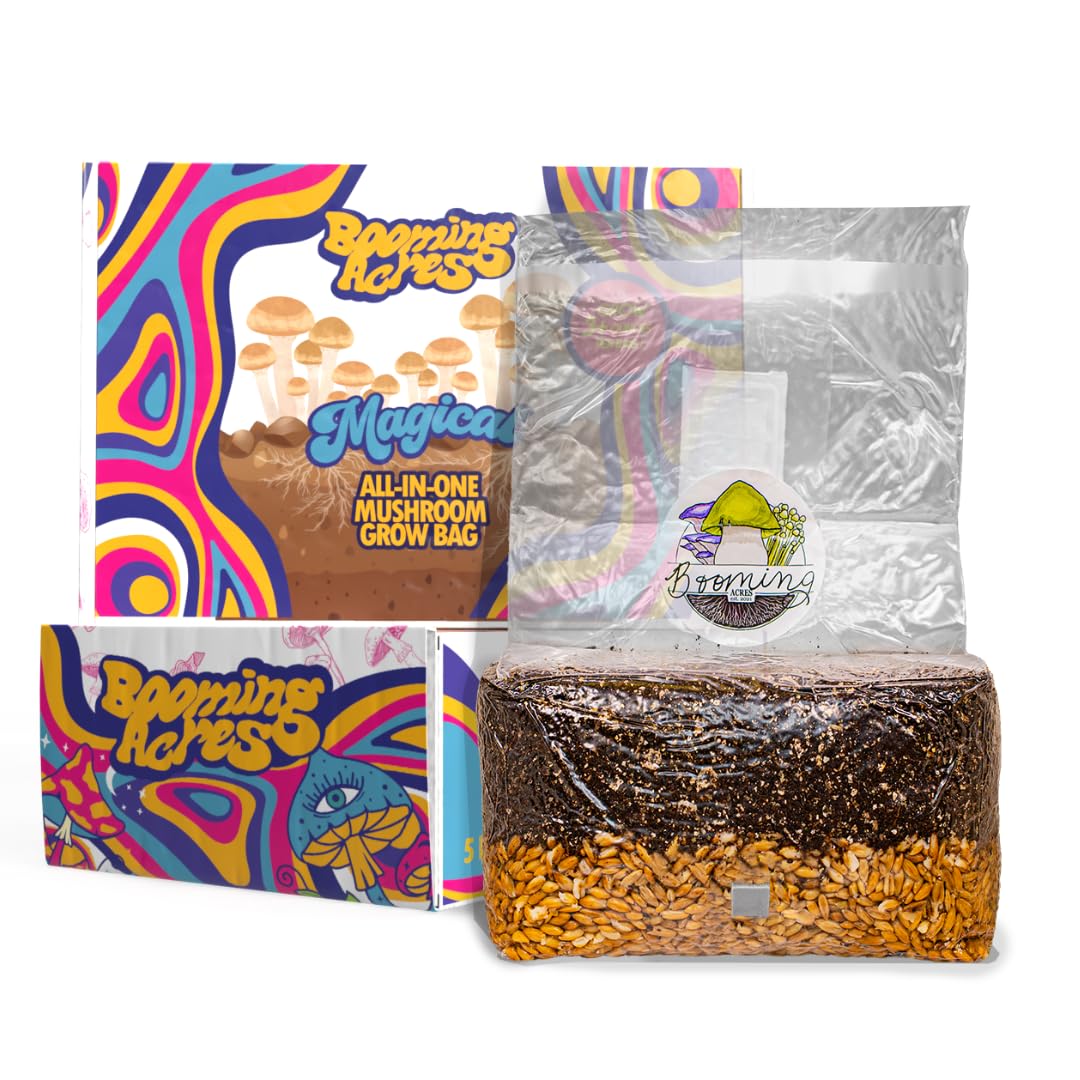
A large, pre-sterilized substrate bag I used for inoculating my own genetics and achieving solid yields.
Why I picked it: I picked it for its size, sterile preparation, and the convenience of an injection port and filter.
Best for: Growers who supply their own spores or cultures and want fast colonization.
Good value for beginners and experienced growers who already have spores.
Pros
- Pre-sterilized and ready to use
- Large 5 lb substrate volume
- Includes injection port and filter
- Designed for strong yields
Cons
- Spores or syringes not included
- Contamination risk if sterile technique fails
- Variable seller support
My take
I appreciated that the bag arrived fully hydrated, sterile, and with a breathable 0.2 micron filter and injection port — it eliminated a lot of prep work for me.
After inoculating with my own syringe cultures I saw healthy colonization and harvests around the yields the maker suggested. The 5 lb size proved efficient: it produces faster and larger fruiting runs than many smaller bags I’ve tested.
A strong caveat from my trials: sterile technique still matters. I experienced contamination on a minority of runs, and I also encountered sellers who handled replacements differently. Plan on keeping clean space and backup bags.
This bag is great when you already have or want to buy your own genetics — it’s a time-saver for people who prefer inoculating and managing their own strains.
4. Elementi Mason Jar Sprouting Lids – Best for Jar Sprouting
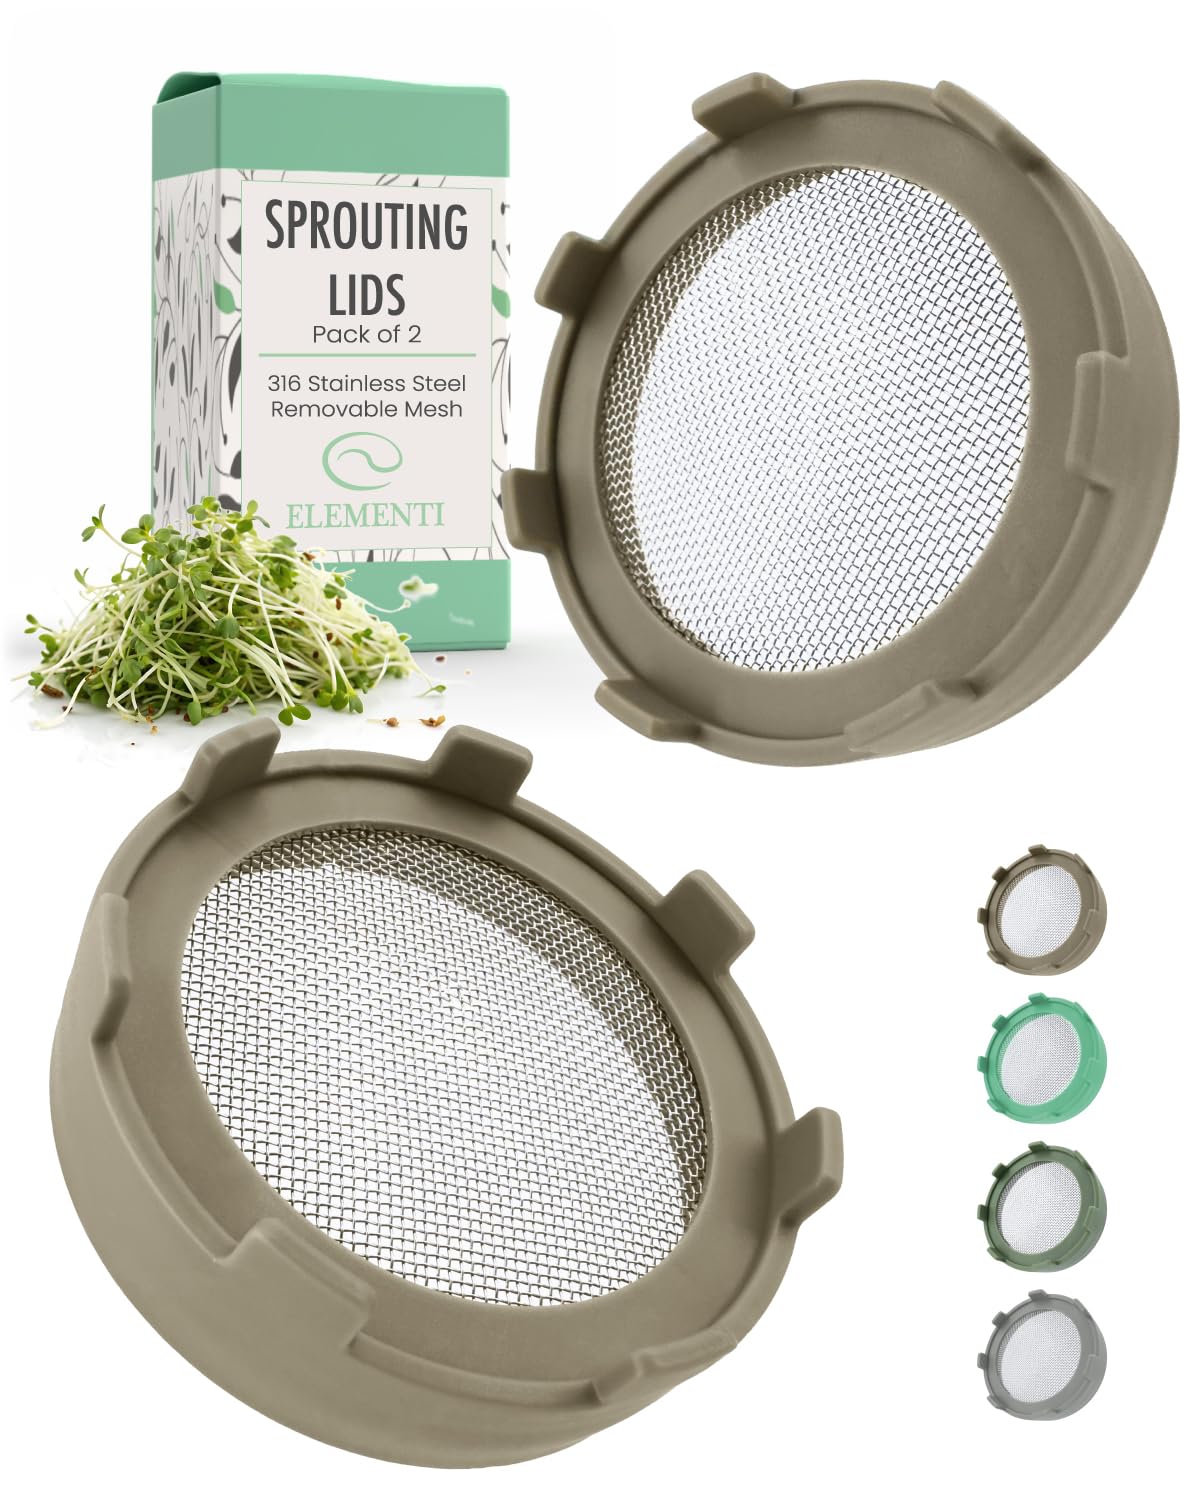
A pair of heavy-duty sprouting lids I used to turn wide-mouth mason jars into reliable sprout makers.
Why I picked it: I wanted a durable, reusable lid with a fine mesh and stainless construction.
Best for: Anyone who wants easy, consistent seed sprouting in jars.
A low-cost accessory that makes sprouting simple and repeatable.
Pros
- 316 stainless steel mesh
- Fits wide-mouth jars
- Easy to clean
- Keeps tiny seeds contained
Cons
- Only fits wide-mouth jars
- Not a mushroom grow kit
My take
I use these lids to grow alfalfa, broccoli, and bean sprouts, and they’re noticeably sturdier than cheaper alternatives because of the 316 stainless construction.
The fine mesh lets me rinse and drain easily while keeping the smallest seeds inside the jar. Cleaning is simple under running water and the lids stack neatly for storage.
If you want a compact, low-effort way to add fresh sprouts to meals, these lids convert a jar into a reliable sprouter. Just remember they’re for seeds and microgreens, not traditional mushroom substrate.
5. Ultimate 12-Jar Automated Mushroom Kit – Best Automated Kit
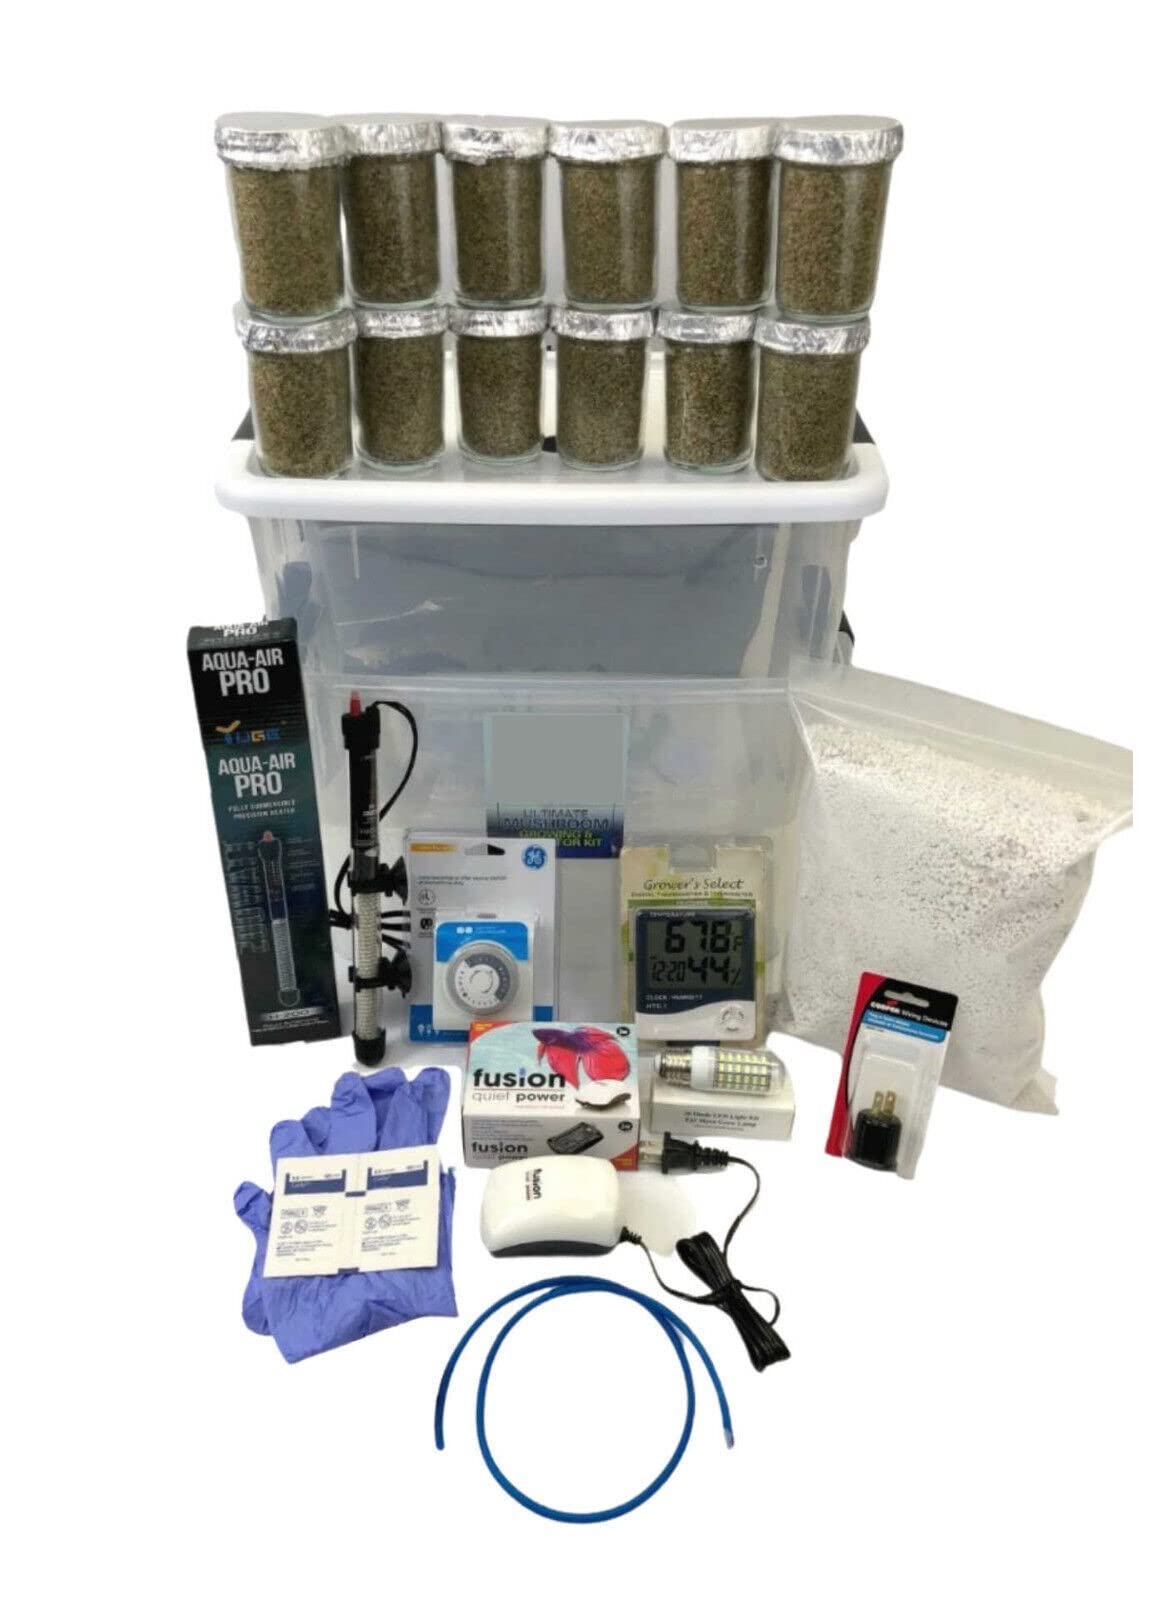
A full-featured chamber that I used to incubate jar spawn and fruit multiple jars with automated temperature and filtered air exchange.
Why I picked it: I picked it for automation, high jar capacity, and the included climate control features.
Best for: Hobbyists who want to scale without constant manual climate control.
A higher-investment option that saves time and maintains a controlled environment.
Pros
- Automated temperature control
- Positive pressure HEPA air system
- Holds many jars
- Includes detailed grow guides
Cons
- Requires strict sterilization
- Air pump can be contamination vector
- Some kits miss accessories
My take
I set this up to handle multiple jar spawns at once and appreciated how the submersible heater and thermostat kept incubation temperatures steady.
The positive-pressure air exchange with a HEPA hose is useful because it reduces manual fanning, but I found that the air pump line needs careful attention — any lapse in filter maintenance can introduce trouble.
Most of my jars colonized well in the chamber, and the included guides were genuinely helpful for moving from inoculation to fruiting. A heads-up: double-check your box contents when it arrives — I once received a kit missing the battery grow light and had to source a replacement.
This system is best for people who already understand sterilization practices and want to scale to a dozen-plus jars without constant environmental fiddling.
6. Reinforced Polypropylene Grow Bags (10-Pack) – Best Value Spawn Bags
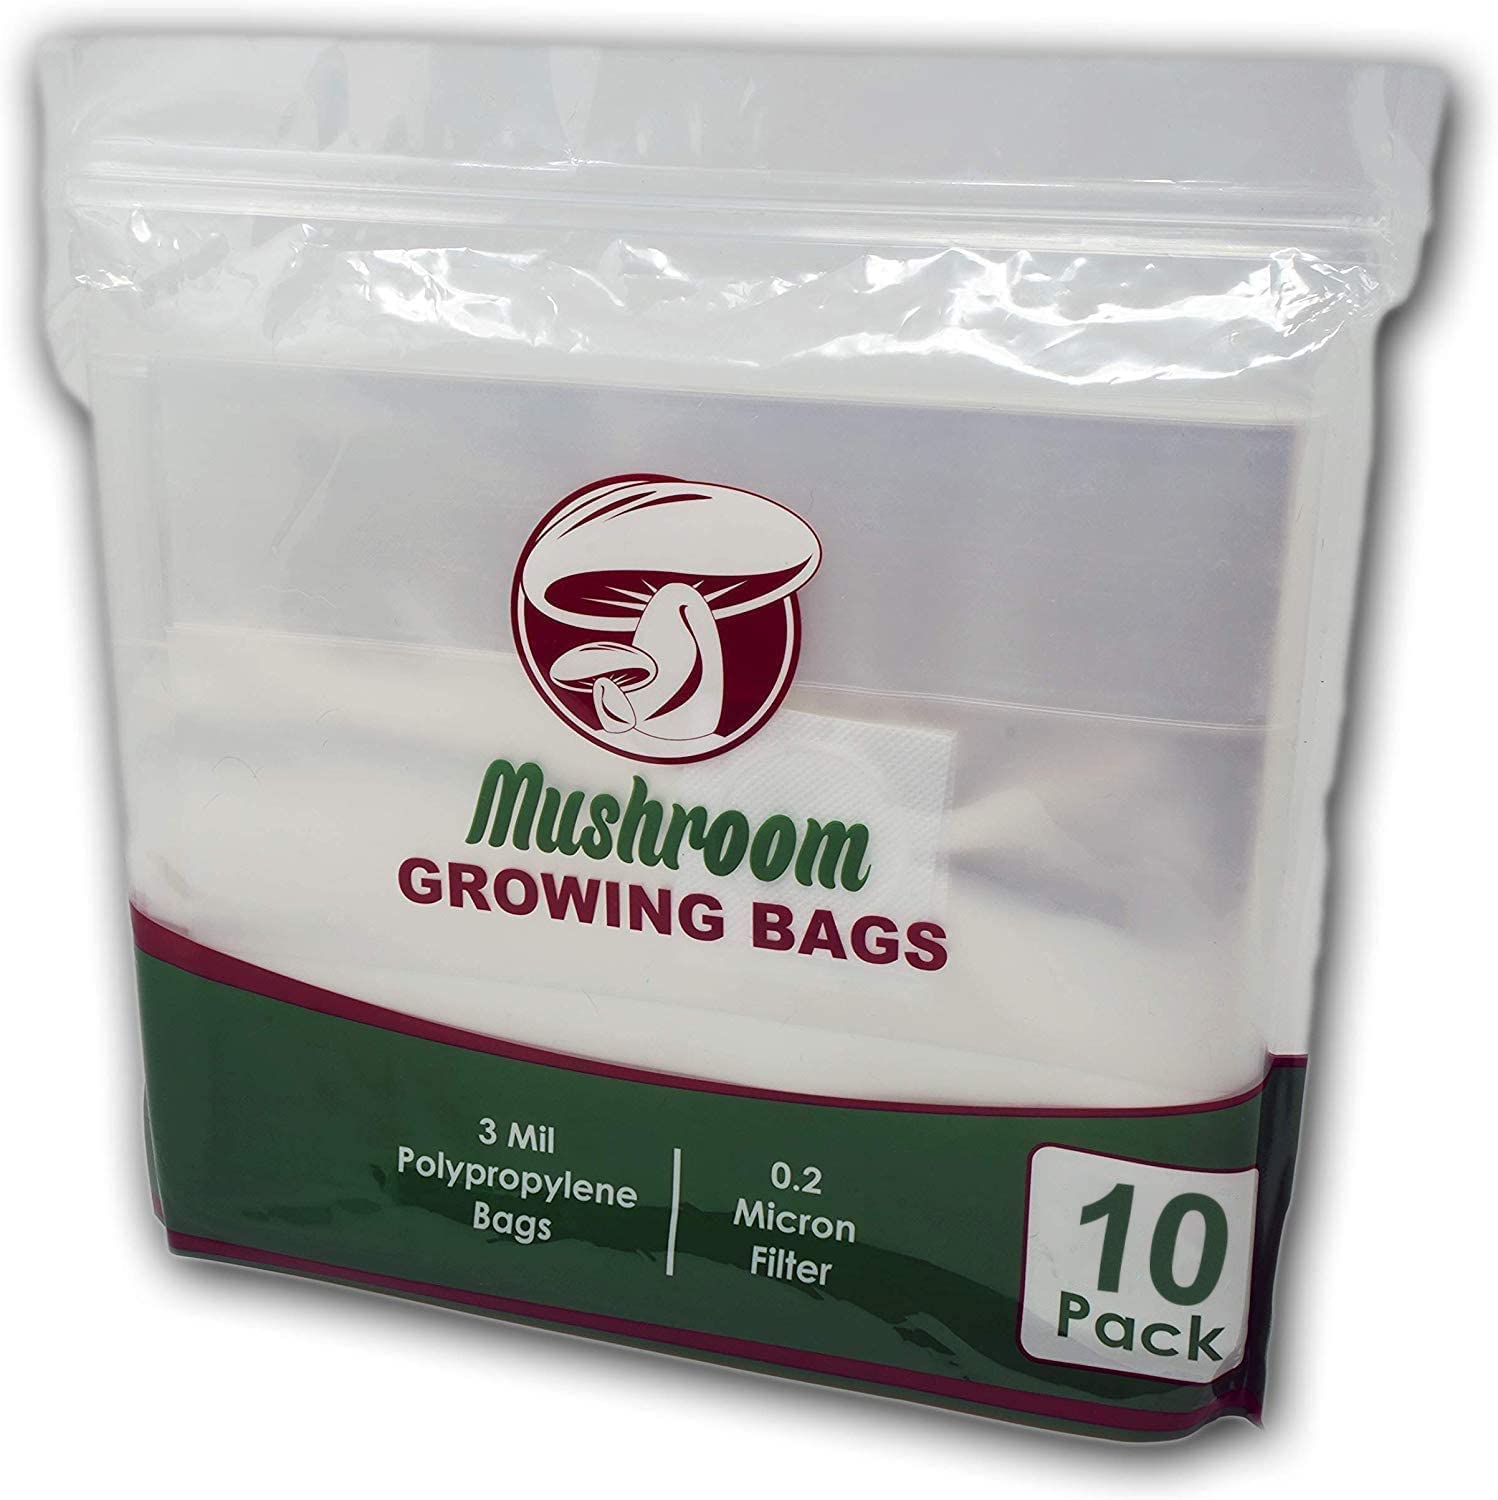
Durable, autoclavable spawn bags with a 0.2 micron filter patch that I used for pressure-canning spawn and preparing bulk substrate.
Why I picked it: I wanted a strong, reusable bag with a reliable filter patch for making my own spawn.
Best for: Home cultivators making spawn or preparing substrate for bulk grows.
Very economical per bag for people prepping multiple batches.
Pros
- Thick 3-mil polypropylene
- 0.2 micron filter patch
- Autoclavable and sealable
- Roomy size for spawn
Cons
- Top can open if not sealed well
- Bags only — not a complete kit
My take
I use these bags in a pressure canner and they stood up to 15 psi without failures across many runs. Their thickness gives me confidence during sterilization cycles.
The clear sides and generous dimensions make them practical for both spawn and substrate blocks; one bag holds a surprising amount of material for inoculation or transfer.
A few of my batches required extra sealing attention — a quick tie or impulse sealer solved that — but overall they saved time and money compared with thinner alternatives.
If you’re building bulk capacity or making multiple spawn batches, these are the most practical bags I’ve used for regular sterilization and handling.
7. Morel Sawdust Spawn 40g – Best for DIY Morel Spawn
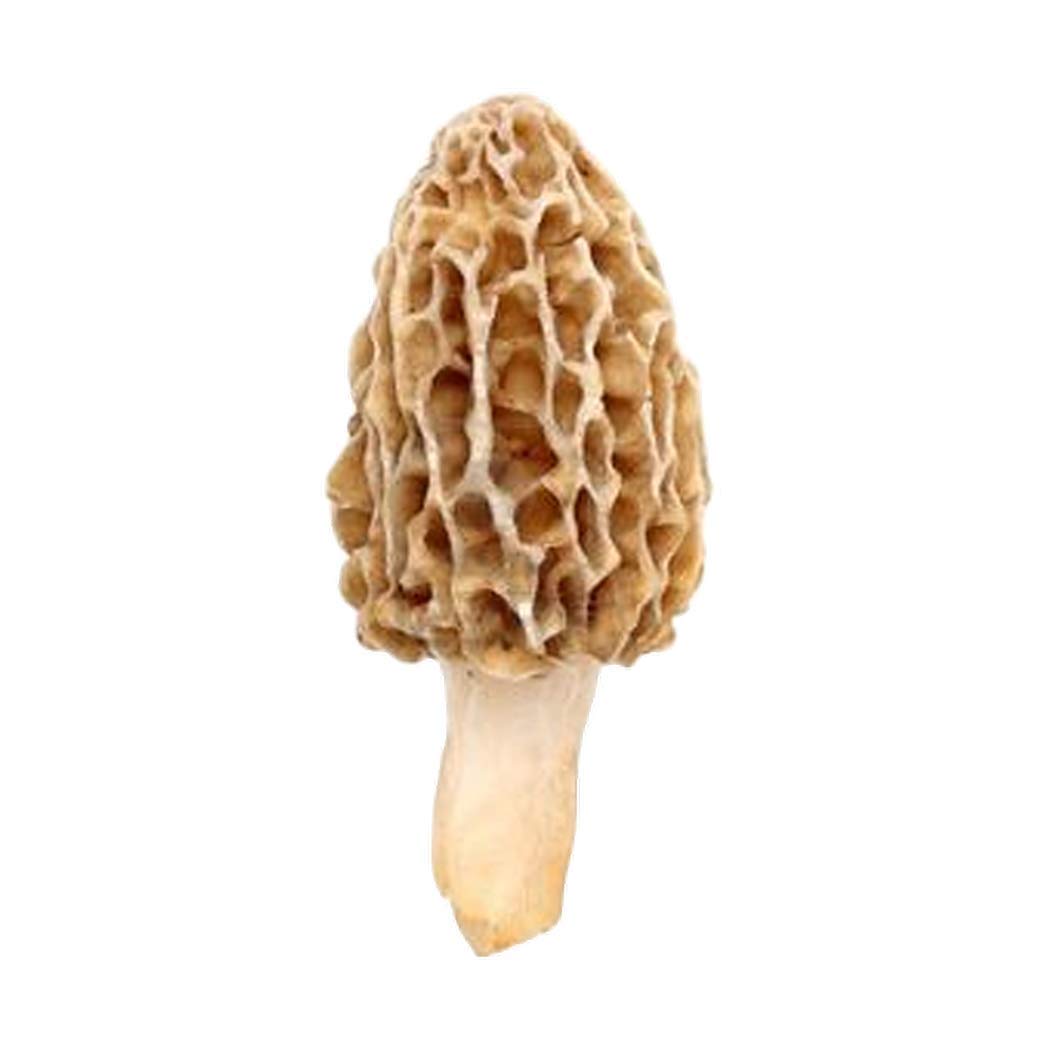
A concentrated packet of sawdust/popcorn morel spawn I used when building raised beds and seeding a morel patch.
Why I picked it: I wanted a straightforward spawn option to inoculate prepared beds and try creating a morel patch.
Best for: Experienced gardeners prepping specialized morel-friendly beds.
An inexpensive way to try morel propagation; viability can vary.
Pros
- Good quantity of spawn material
- Simple to spread in beds
- Includes instructions and video
Cons
- Viability can be inconsistent
- No guaranteed results in first season
- Requires well-prepared soil
My take
I used the sawdust spawn to seed raised beds that I prepared with sandy loam, wood chunks, compost, and seasonal mulch; when the soil mix was right the results looked promising.
That said, morels are notoriously finicky and I had runs that produced nothing the first season. I’ve found bed prep — drainage, organic amendments, and correct microclimate — matters more than the spawn packet alone.
If you’re willing to experiment with bed recipes (I used a mix of compost, ash, and wood mulch in some plots) and accept that results may take time, this spawn gives you a straightforward material to work with.
How I Choose Mushroom Kits
Match the kit to your goals
I decide whether I want immediate indoor harvests, a patient outdoor morel patch, or sterile substrate for my own inoculations before buying. That single choice narrows the field quickly.
If I want edible mushrooms in a couple of weeks, I pick a plug-and-play indoor kit. For a seasonal, multi-year project I choose a morel habitat or spawn to amend beds.
- Indoor beginner kits = quick, small harvests, great for education
- Morel kits = outdoor, patient, site-dependent results
- Spawn/substrate bags = require spores and sterile technique
Look for what’s included
I check whether a kit includes spawn, substrate, a humidity tent, or only bags. Kits that include a mister, filter patch, and clear instructions save setup headaches.
When bags are sold alone I plan on buying syringes or spawn separately and factor in a pressure canner or sterilization method.
- Complete kits are best for beginners
- Bags/substrate suit growers who inoculate their own genetics
- Automated chambers are for scaling and hands-off control
Control and contamination
I always keep a clean workspace and treat sterilization as essential. Even the best substrate will fail if contamination takes hold during inoculation.
If a seller mentions replacement guarantees, I still prepare backups. I’ve had occasional bags arrive compromised, so redundancy saves time and disappointment.
- Use a pressure canner or autoclave when required
- Maintain sterile technique at inoculation
- Monitor filter patches and air pump tubing closely
Tools and extras I recommend
I keep a small spray mister, a hygrometer, a reusable humidity tent or chamber, and for jar work a reliable heating source with thermostat control.
For outdoor morels I prep soil with compost, wood chips, and appropriate mulches, and I choose planting spots that reflect local seasonal moisture patterns.
- Mister and humidity tent for indoor kits
- Pressure canner for bags and spawn
- Hygrometer and thermostat for chambers
- Quality spawn for outdoor morel patches
Frequently Asked Questions
How quickly will I harvest from an indoor kit?
I typically see first flushes around ten days to a few weeks for fast indoor kits; all-in-one bags and jar systems vary by strain and conditions.
Do substrate bags include spores or cultures?
Many large substrate bags arrive sterile and ready for inoculation, but they usually do not include spores or syringes — I always double-check the listing and plan to supply my own genetics if needed.
Can I grow morels in one season?
From my experience, morels often need patience — some plantings take two or more seasons to produce reliably, so I treat morel kits as a multi-year garden project.
What’s the biggest cause of failure?
I find contamination and poor site selection are the main failures: maintain sterile technique for inoculation, and for outdoor grows ensure the soil, moisture, and seasonal cues suit the species.
Final Take
If you want instant, low-effort gratification, go with a ready-to-grow indoor shiitake kit. I reach for all-in-one bags when I want bigger yields and already have spores.
For backyard gardeners who enjoy a long game, the morel habitat or sawdust spawn can be rewarding but demands patience and careful bed prep.
If you plan to grow multiple jars reliably, the automated chamber saved me time once I dialed in sterilization and filter maintenance. Pick the kit that matches your time, space, and willingness to learn — and enjoy the process of growing something fresh.
")