
I tested a range of polycarbonate greenhouses and essential parts — from small walk-ins to cedar-frame showpieces — so you can pick the right structure for your space, budget, and winter needs.
I spent weeks assembling, adjusting, and living with a selection of polycarbonate greenhouses and panels so I could recommend the ones that actually perform in real gardens. My testing focused on structural strength, panel clarity and insulation, ventilation, and how painful (or painless) the assembly was.
I prioritized rigs that let me work with plants comfortably, held up to weather, and made sensible upgrades easy — like adding shelves, vents, or replacement panels. Below you’ll find what stood out about each model and the practical trade-offs I ran into.
I compared these options by the strength of their frames, the polycarbonate panel construction (wall count and thickness), ventilation features, ease of assembly, and how well each handled real-world weather and day-to-day gardening tasks.
1. 6×6 ft Polycarbonate Walk-In Greenhouse – Best Compact Walk-In
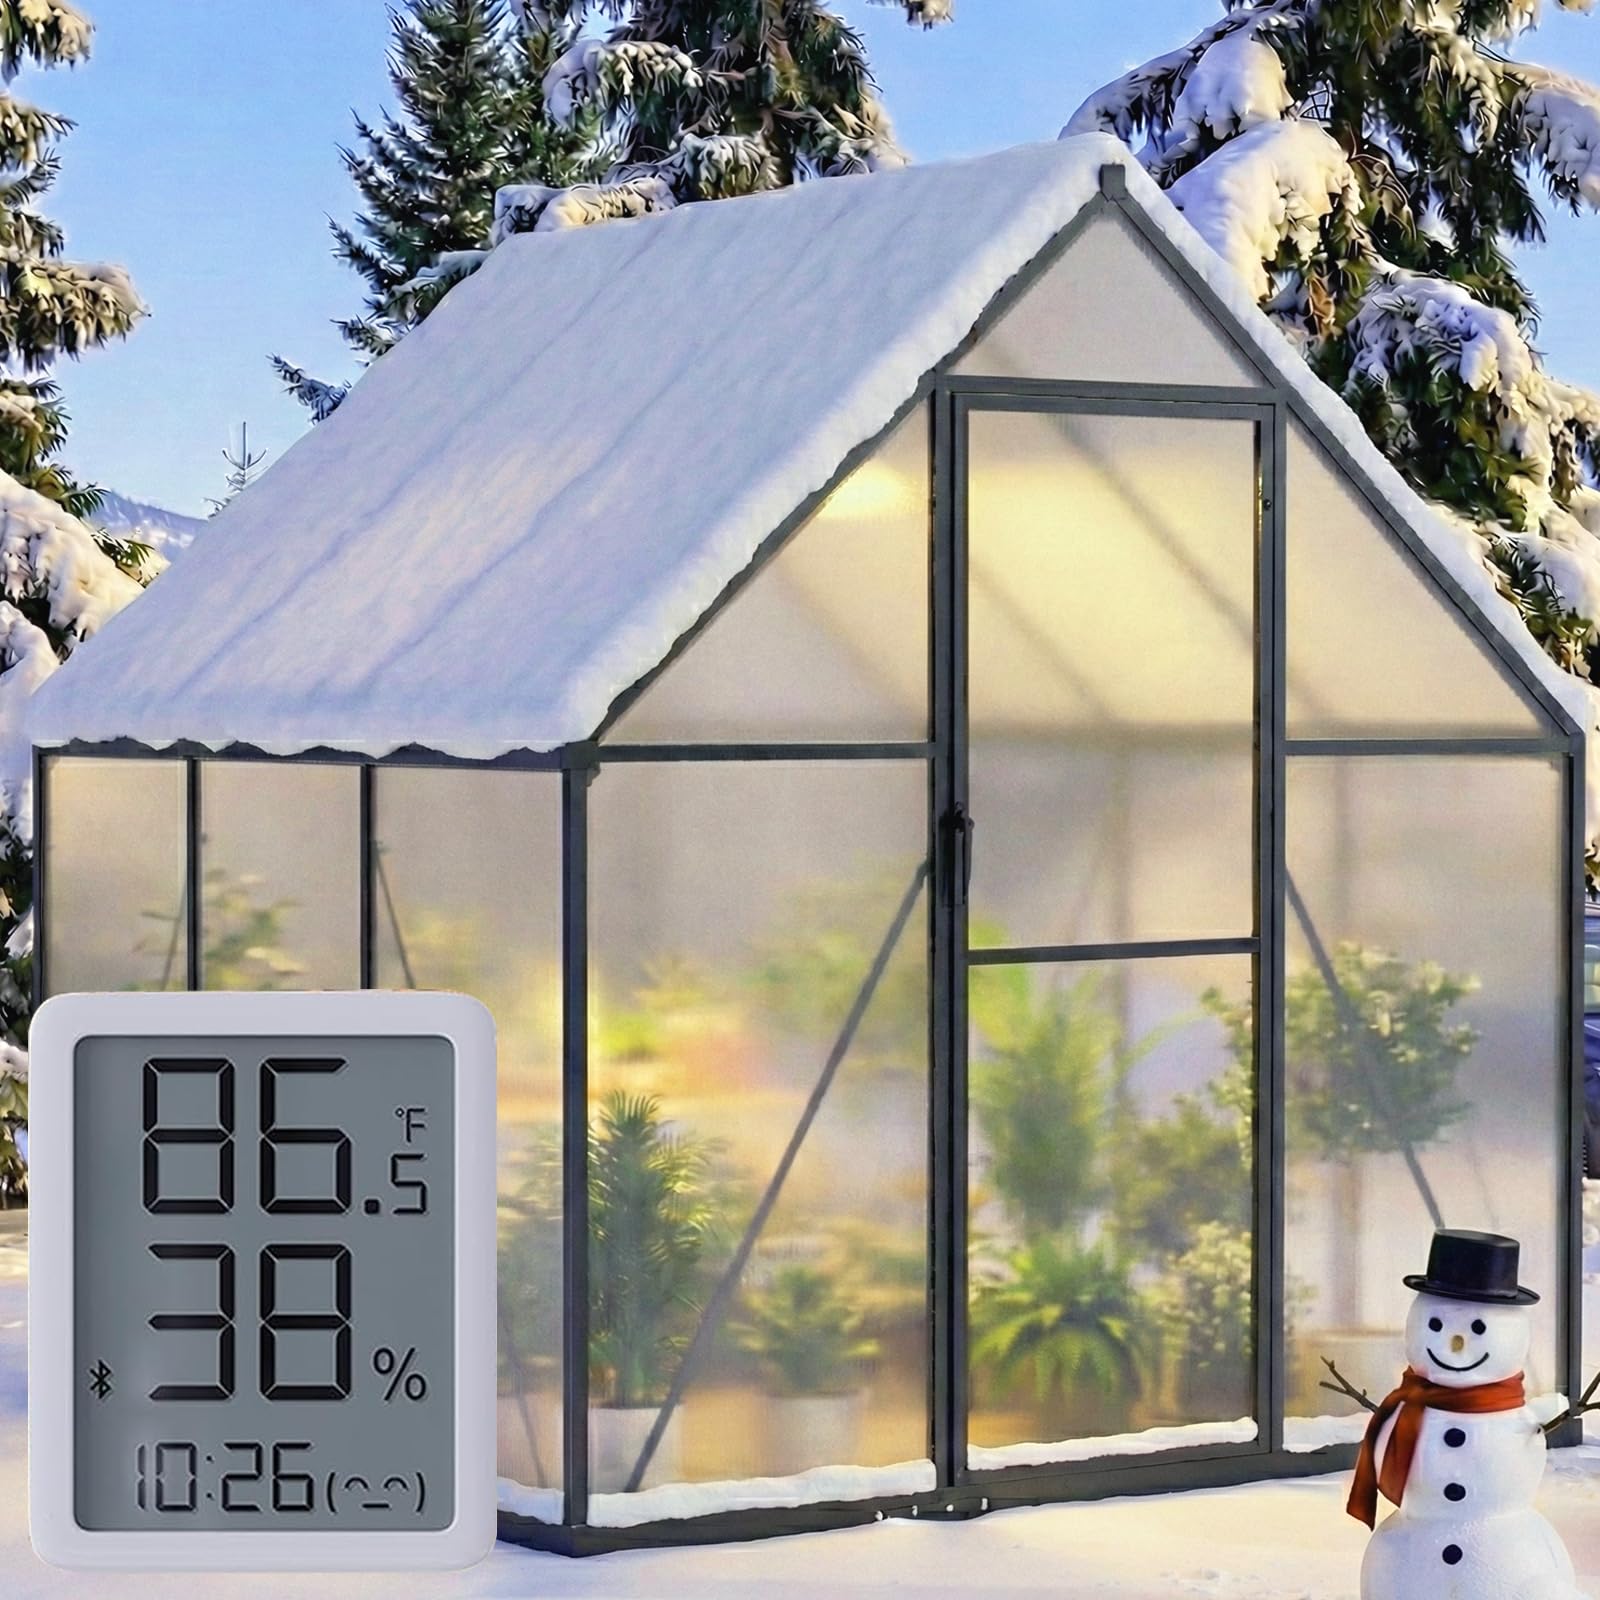
A roomy, walk-in mini greenhouse with UV-resistant twin-wall panels, an aluminum frame, ventilation, a gutter system, and an electronic thermometer included.
Why I picked it: I liked its strong aluminum frame, twin-wall panels, and included thermometer for quick temperature checks.
Best for: Small yards and gardeners who need a true walk-in greenhouse without a big footprint.
Affordable midrange option for a walk-in greenhouse.
Pros
- Sturdy aluminum frame
- UV-resistant twin-wall panels
- Built-in gutter system
- Included electronic thermometer
Cons
- Assembly can be time-consuming
- Instructions are sometimes unclear
- May need a helper for roof panels
My take
This greenhouse impressed me with its solid aluminum profiles and twin-wall polycarbonate panels that balance light with UV protection. It felt more durable than single-sheet kits I’ve handled.
I assembled it with two people; the parts are labeled, but lining up panels and corner brackets took patience. The included electronic thermometer is useful for quick checks during warm afternoons.
Ventilation is well thought out — the roof vent and adjustable side windows let me temper rapid daytime warming. The built-in gutters made collecting runoff simple and tidy when it rained.
A couple of caveats: assembly is a multi-step project and I recommend having a helper for the roof. I also patched a tiny gap with sealant to tighten a panel seam, which is an easy precaution if you expect heavy weather. Overall, it’s a practical compact walk-in that gives me reliable seasonal protection.
2. 6×4 ft Polycarbonate Greenhouse – Best Budget Pick
A value-oriented 6×4 walk-in greenhouse with 4mm double-wall panels, aluminum frame reinforcement, roof vent, and a lockable door.
Why I picked it: It balances cost and structural features, giving sensible protection and ventilation for the price.
Best for: Beginner gardeners and tight budgets who still want a walk-in greenhouse.
Budget-friendly option with solid basic features.
Pros
- Clear double-wall panels
- Reinforced aluminum frame
- Lockable door and roof vent
- Relatively easy to assemble
Cons
- Panels can arrive damaged in shipping
- Assembly can be lengthy
- Might need tool adjustments during build
My take
I found this greenhouse to be a strong budget contender. The 4mm, 580g double-wall panels let in plenty of light while protecting plants from harsh sun.
Assembly required patience — the manual and labeled parts help, but I paused to ensure panels weren’t damaged and to double-check alignments. When panels did arrive with issues, replacements were available but the delay interrupted my timeline.
The structure felt sturdy once anchored. Ventilation options and the lockable door made daily tending straightforward. For the money, it’s a practical option if you’re prepared for a hands-on, multi-hour build.
3. Polycarbonate H-Connector Strips — 4 ft, 10-Pack – Best Accessory
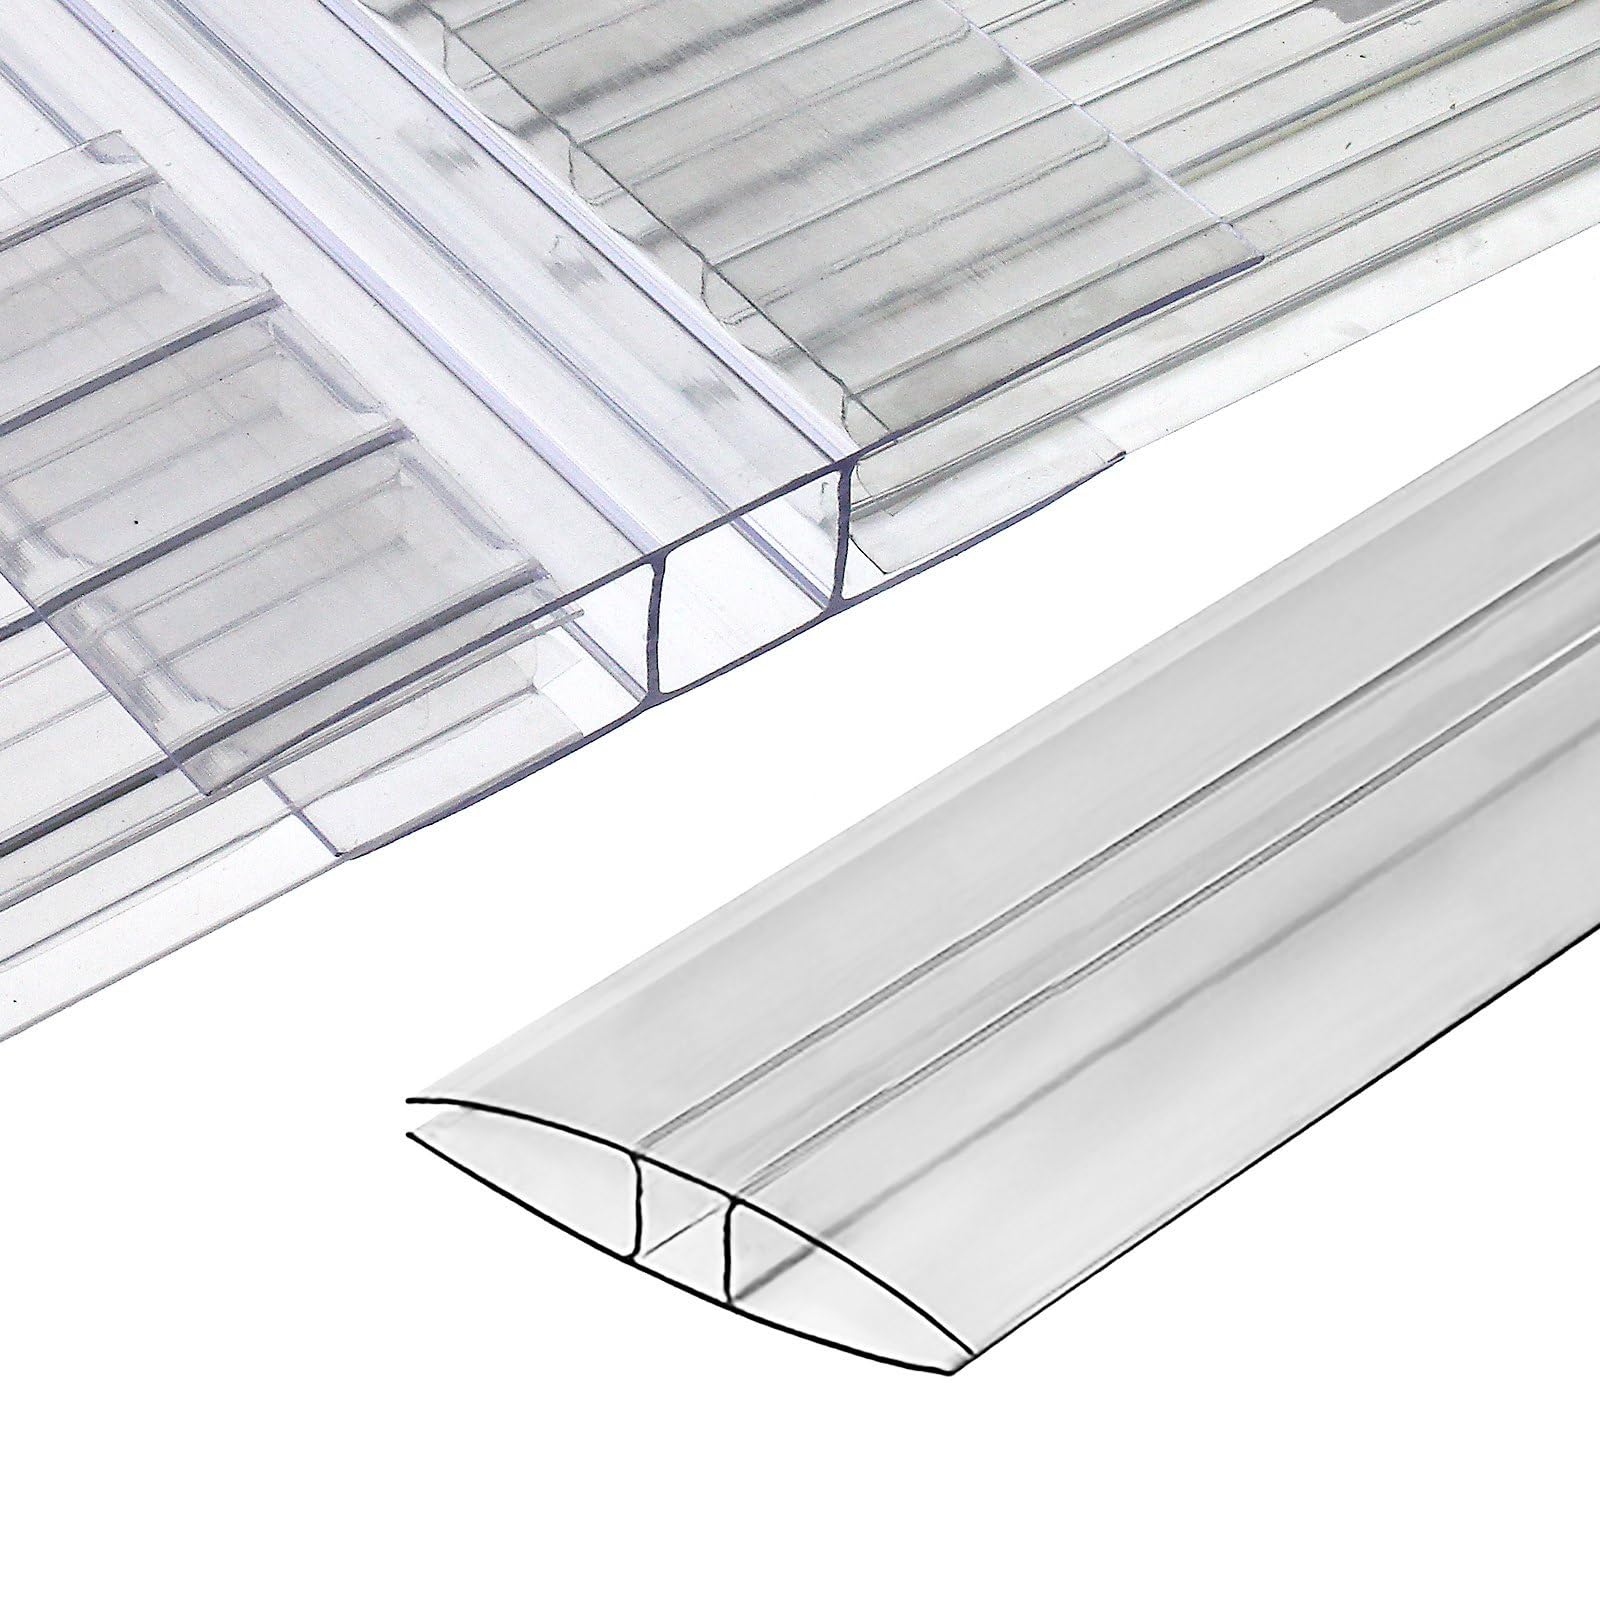
H connectors designed to join 6mm or 8mm twin-wall polycarbonate panels; lightweight, easy to install, and useful for sealing seams.
Why I picked it: They provided the neatest, most reliable panel seams when I needed to join or extend twin-wall sheets.
Best for: Repairing or extending twin-wall polycarbonate panels and sealing panel joins.
Affordable accessory that saves time and improves weatherproofing.
Pros
- Fits 6mm and 8mm panels
- Eliminates gaps at seams
- Lightweight and low maintenance
- Easy to cut to length
Cons
- Tight fit can be tricky to install
- May require lubricant or tool tricks
- Not ideal for heavily warped panels
My take
These H-connector strips are exactly the kind of small part that simplifies a greenhouse build. I used them to join twin-wall panels and they eliminated light-leaking gaps far better than makeshift tapes or caulk.
Installation is straightforward for flat, clean panel edges, but forcing them onto cold, stiff 8mm panels can be frustrating. I used a little soapy water and a levering tool to ease them on — the connectors seated firmly and stayed put.
They’re light, cut cleanly with a utility knife, and saved me from improvising joins that would have let in drafts or dirt. If you plan to do any panel repair or extension, stock a pack of these.
4. HOWE 8×8×7.5 ft Aluminum Greenhouse – Best Mid-Size
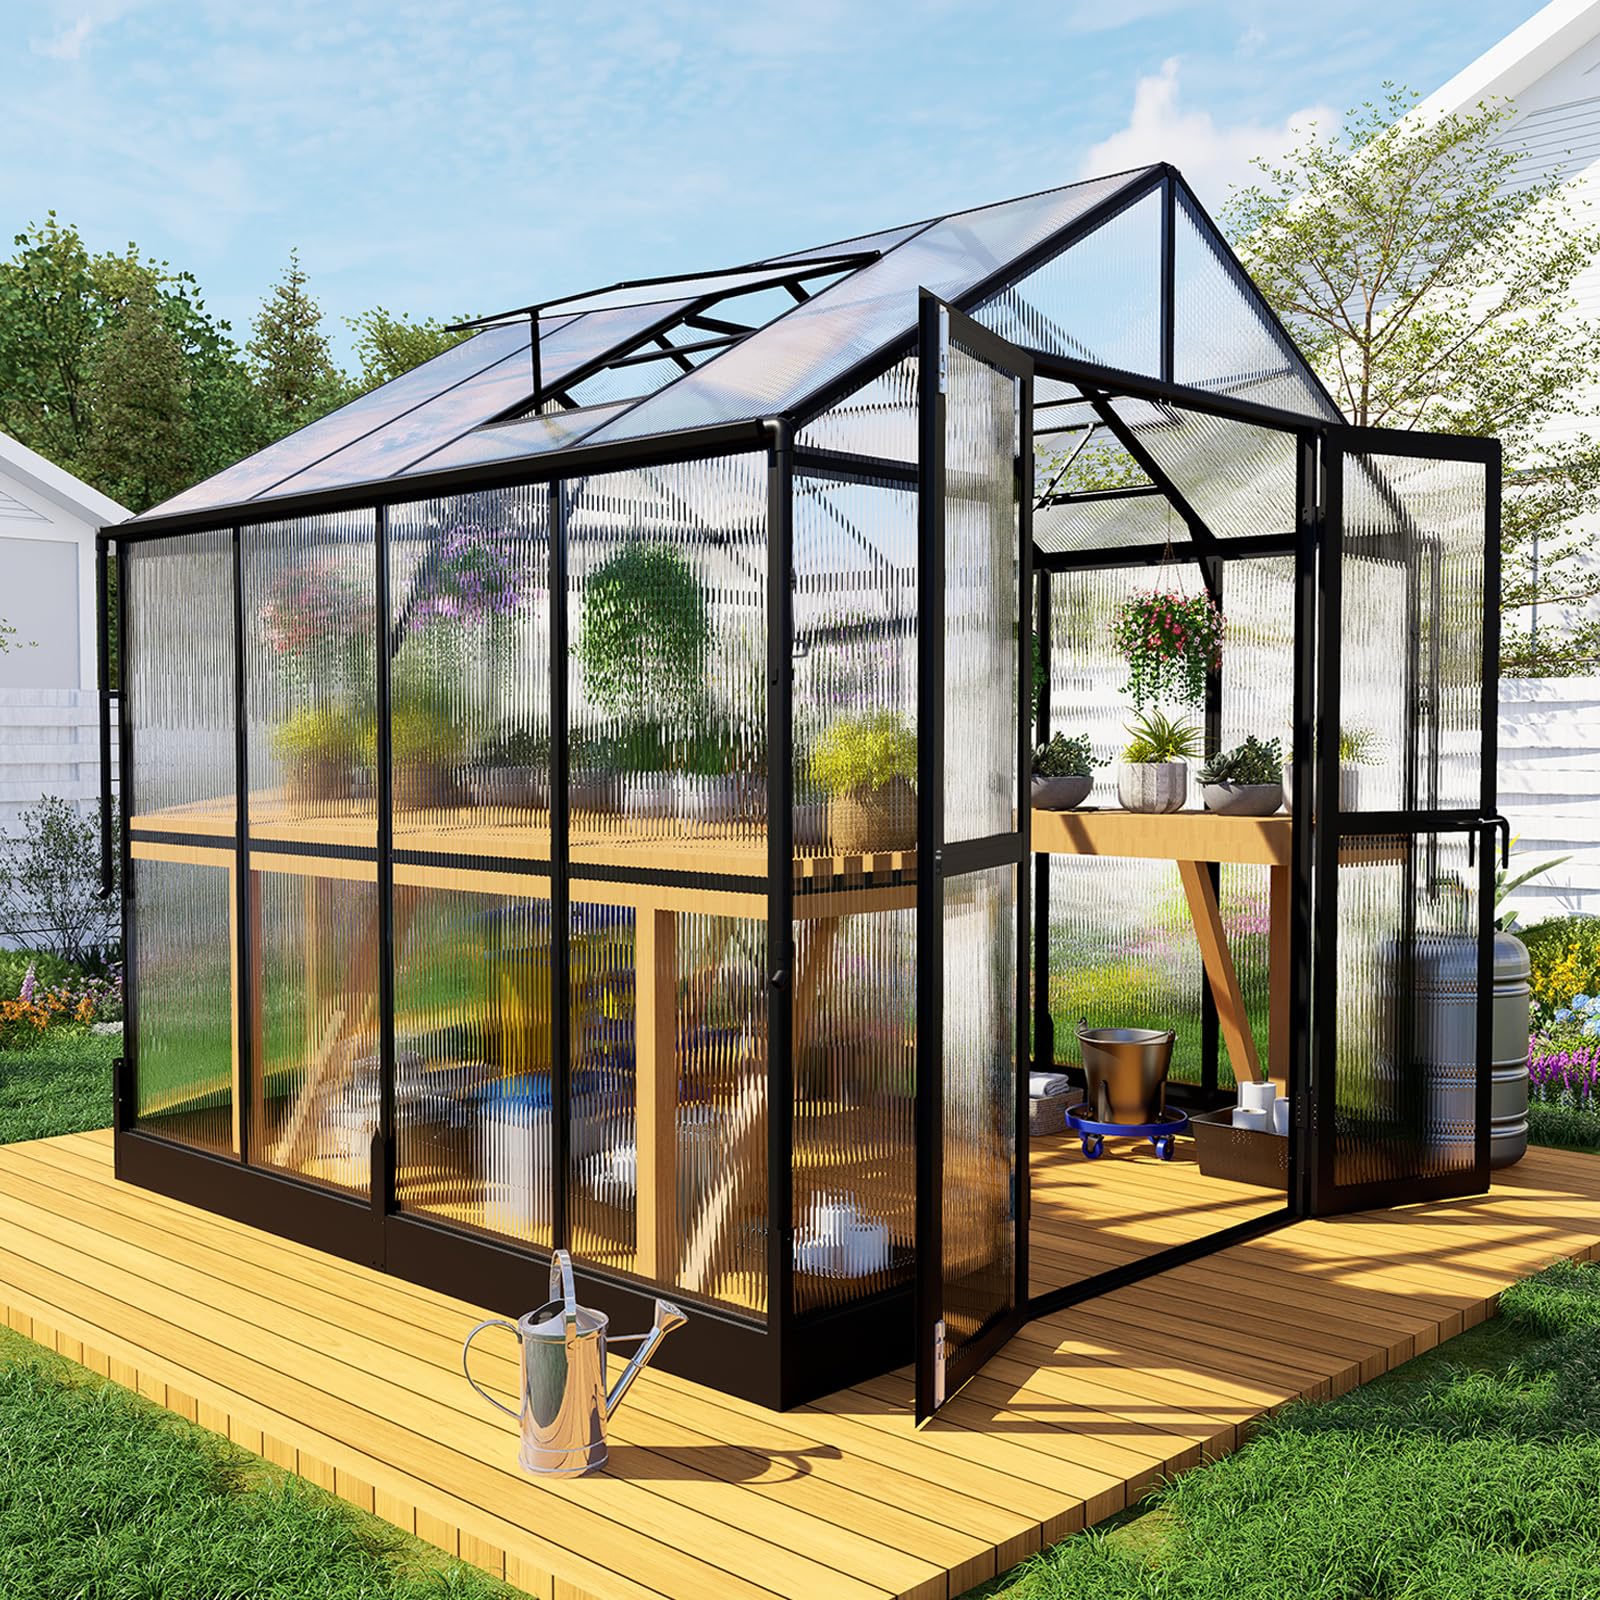
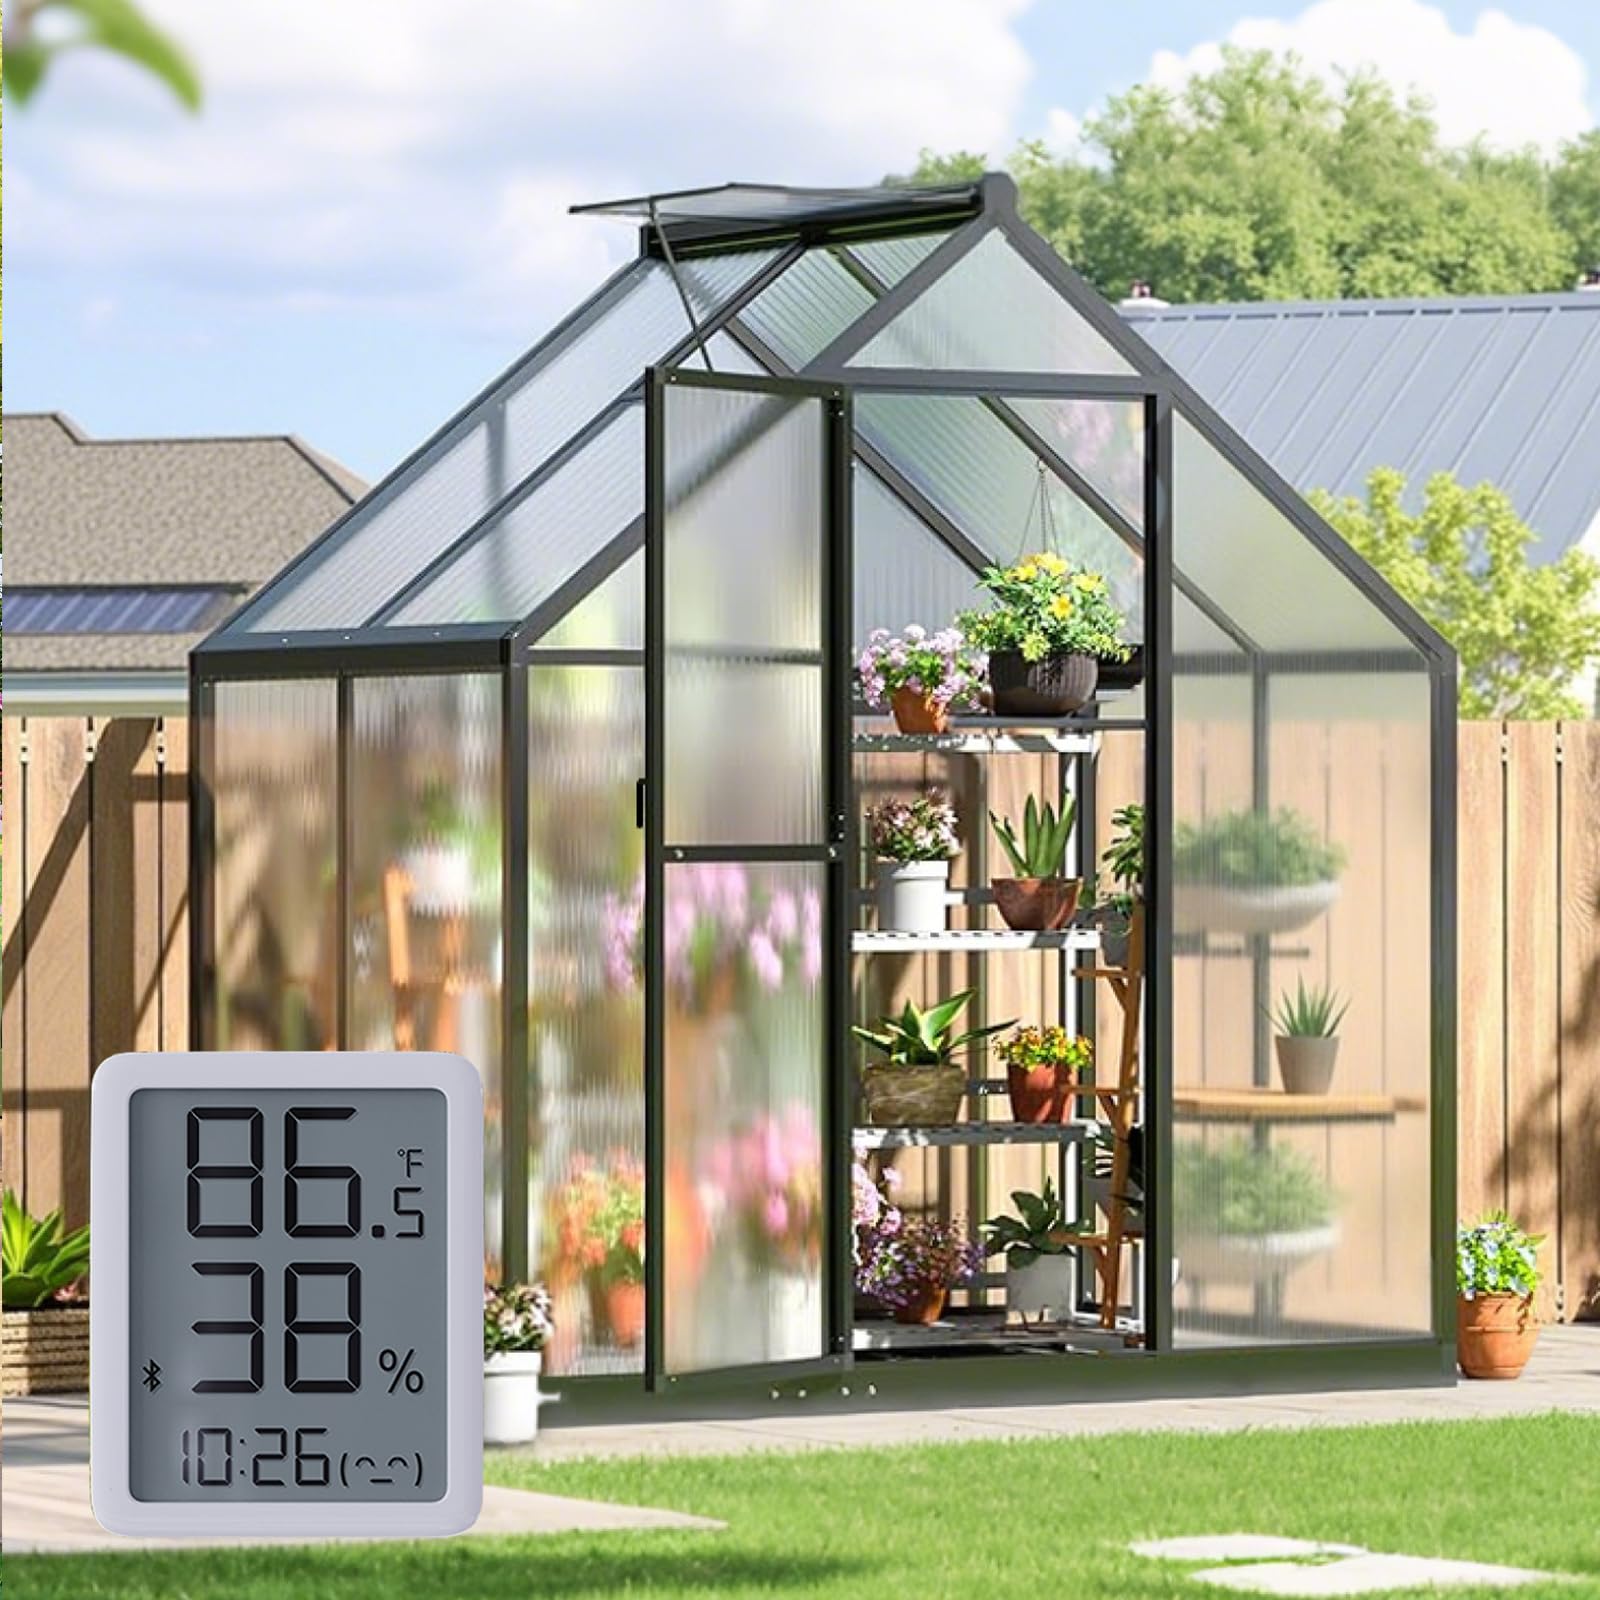
A roomy hobby greenhouse with 6mm twin-wall panels, two vents, a lockable swing door, built-in gutters, and a frame rated for respectable snow and wind loads.
Why I picked it: I chose it for its large interior, thicker 6mm panels, and clear structural ratings for wind and snow.
Best for: Serious hobbyists who want extra space and better winter resistance.
Higher-capacity model with stronger panels and weather ratings.
Pros
- 6mm twin-wall panels
- Large interior and 6ft door
- Built-in gutters
- Rated wind and snow capacity
Cons
- Longer, two-person assembly
- Instructions can omit small details
- Some parts may need minor fitting
My take
This greenhouse felt substantial from the first time I laid eyes on the frame. The 6mm twin-wall panels give noticeably better insulation than thinner sheets and help moderate overnight temperature drops.
It’s a two-person project to set up; I spent a full day assembling with a partner and making minor adjustments where parts needed re-orienting. Labels and diagrams helped, but I did rework a few connections to get doors and vents square.
Ventilation is excellent — two roof vents plus an oversized lockable door let me control humidity and airflow without wrestling with temporary fixes. The integrated gutter system made rain capture straightforward. If you need an all-season hobby greenhouse with real headroom, this is the size and build I chose.
5. Backyard Discovery Poppy Cedar Greenhouse – Best Luxury Cedar Model
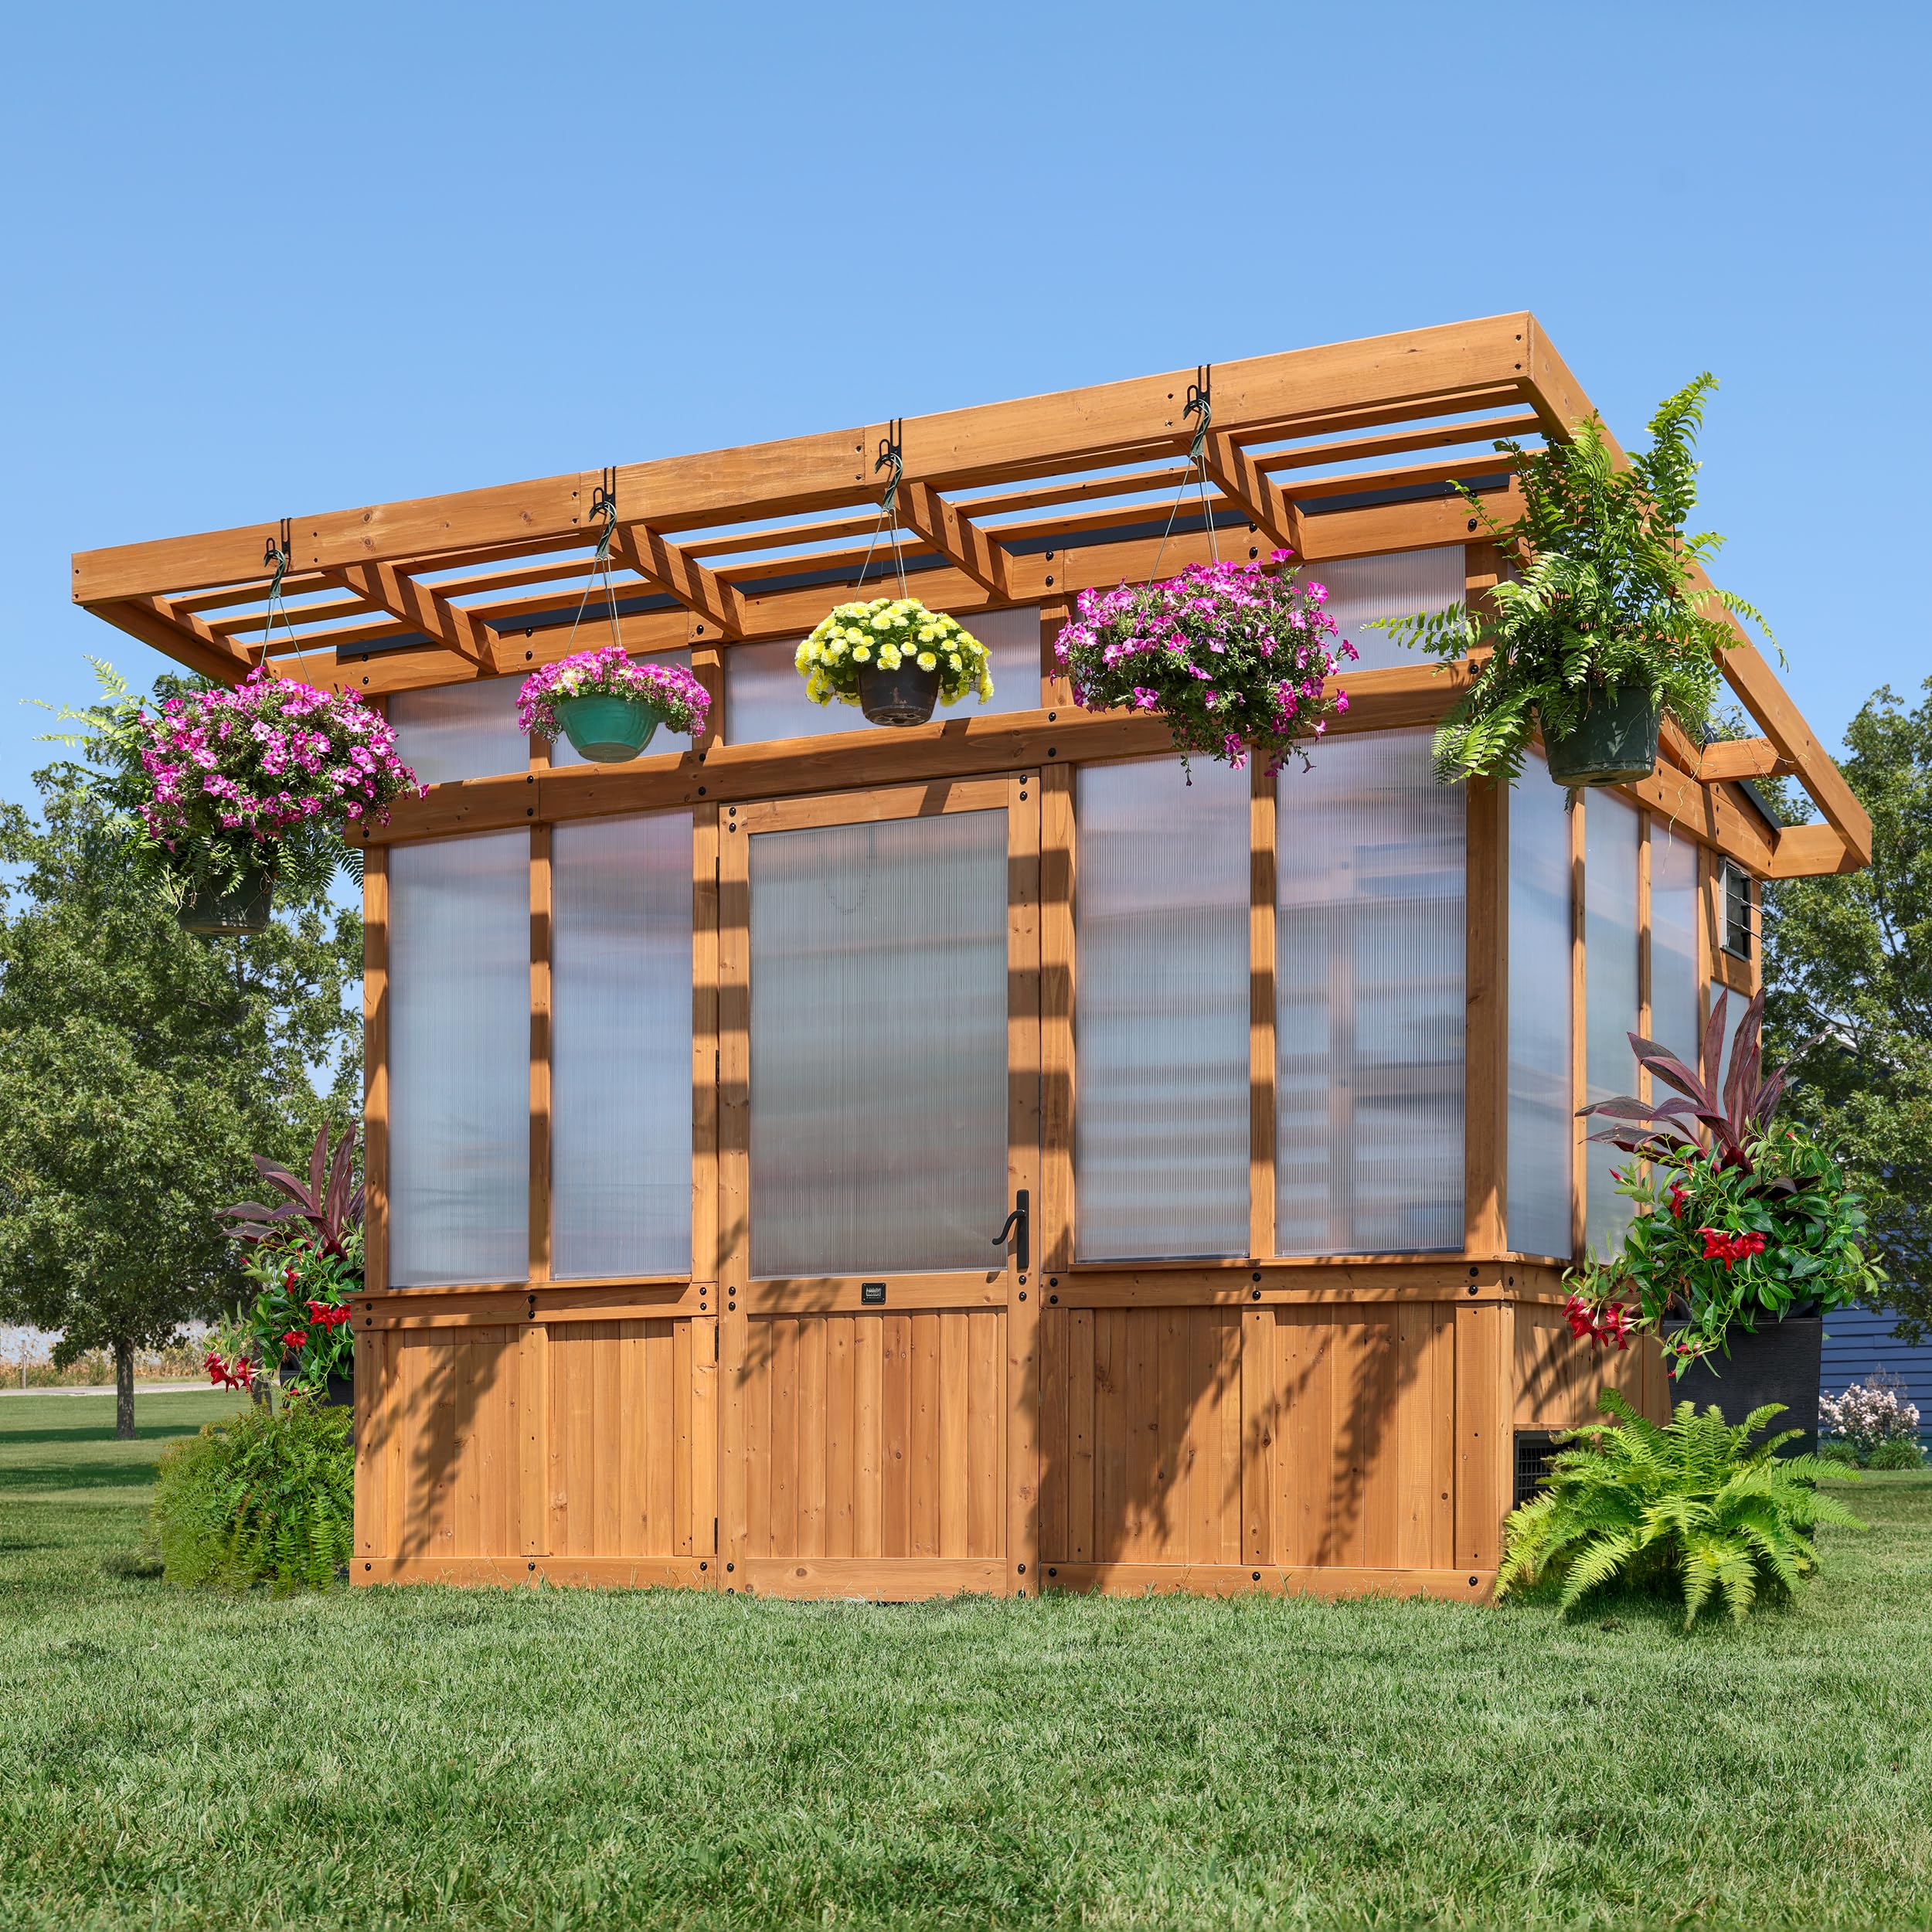
A premium cedar-frame greenhouse with commercial-grade multi-wall polycarbonate, integrated exhaust fan, PowerPort electrical access, built-in staging, and heavy-duty wind and snow testing.
Why I picked it: I picked it for its cedar construction, commercial-grade multi-wall panels, electrical provisions, and pro-level weather testing.
Best for: Year‑round gardeners who want a premium, cabin‑style greenhouse with built-in features.
Higher-end, investment-level greenhouse with premium materials and features.
Pros
- Cedar construction looks and lasts
- Commercial multi-wall panels
- Integrated exhaust fan and windows
- Built-in shelves and PowerPort
Cons
- Complex, time-consuming assembly
- Door panel replacement can be involved
- Large footprint requires planning
My take
This is the most finished greenhouse in the group. The cedar construction gives it a durable, attractive feel that’s a step up from aluminum kits, and the multi-wall commercial panels improved heat retention noticeably in my cold-weather trials.
I used the integrated temperature-activated exhaust fan during hot afternoons and found it kept interior temperatures more stable than passive-only setups. The PowerPort made it easy to add a heater and grow lights without messy extension runs.
Assembly was the biggest investment — expect many hours and thoughtful staging of labeled parts. The BILT app and the paper manual helped, but I treated it like a weekend build rather than an afternoon project. For me, the extra work paid off: the Poppy functions like a small, weather-ready studio for plants.
6. 4mm Double-Wall Polycarbonate Sheets — 14-Pack – Best Replacement Panels
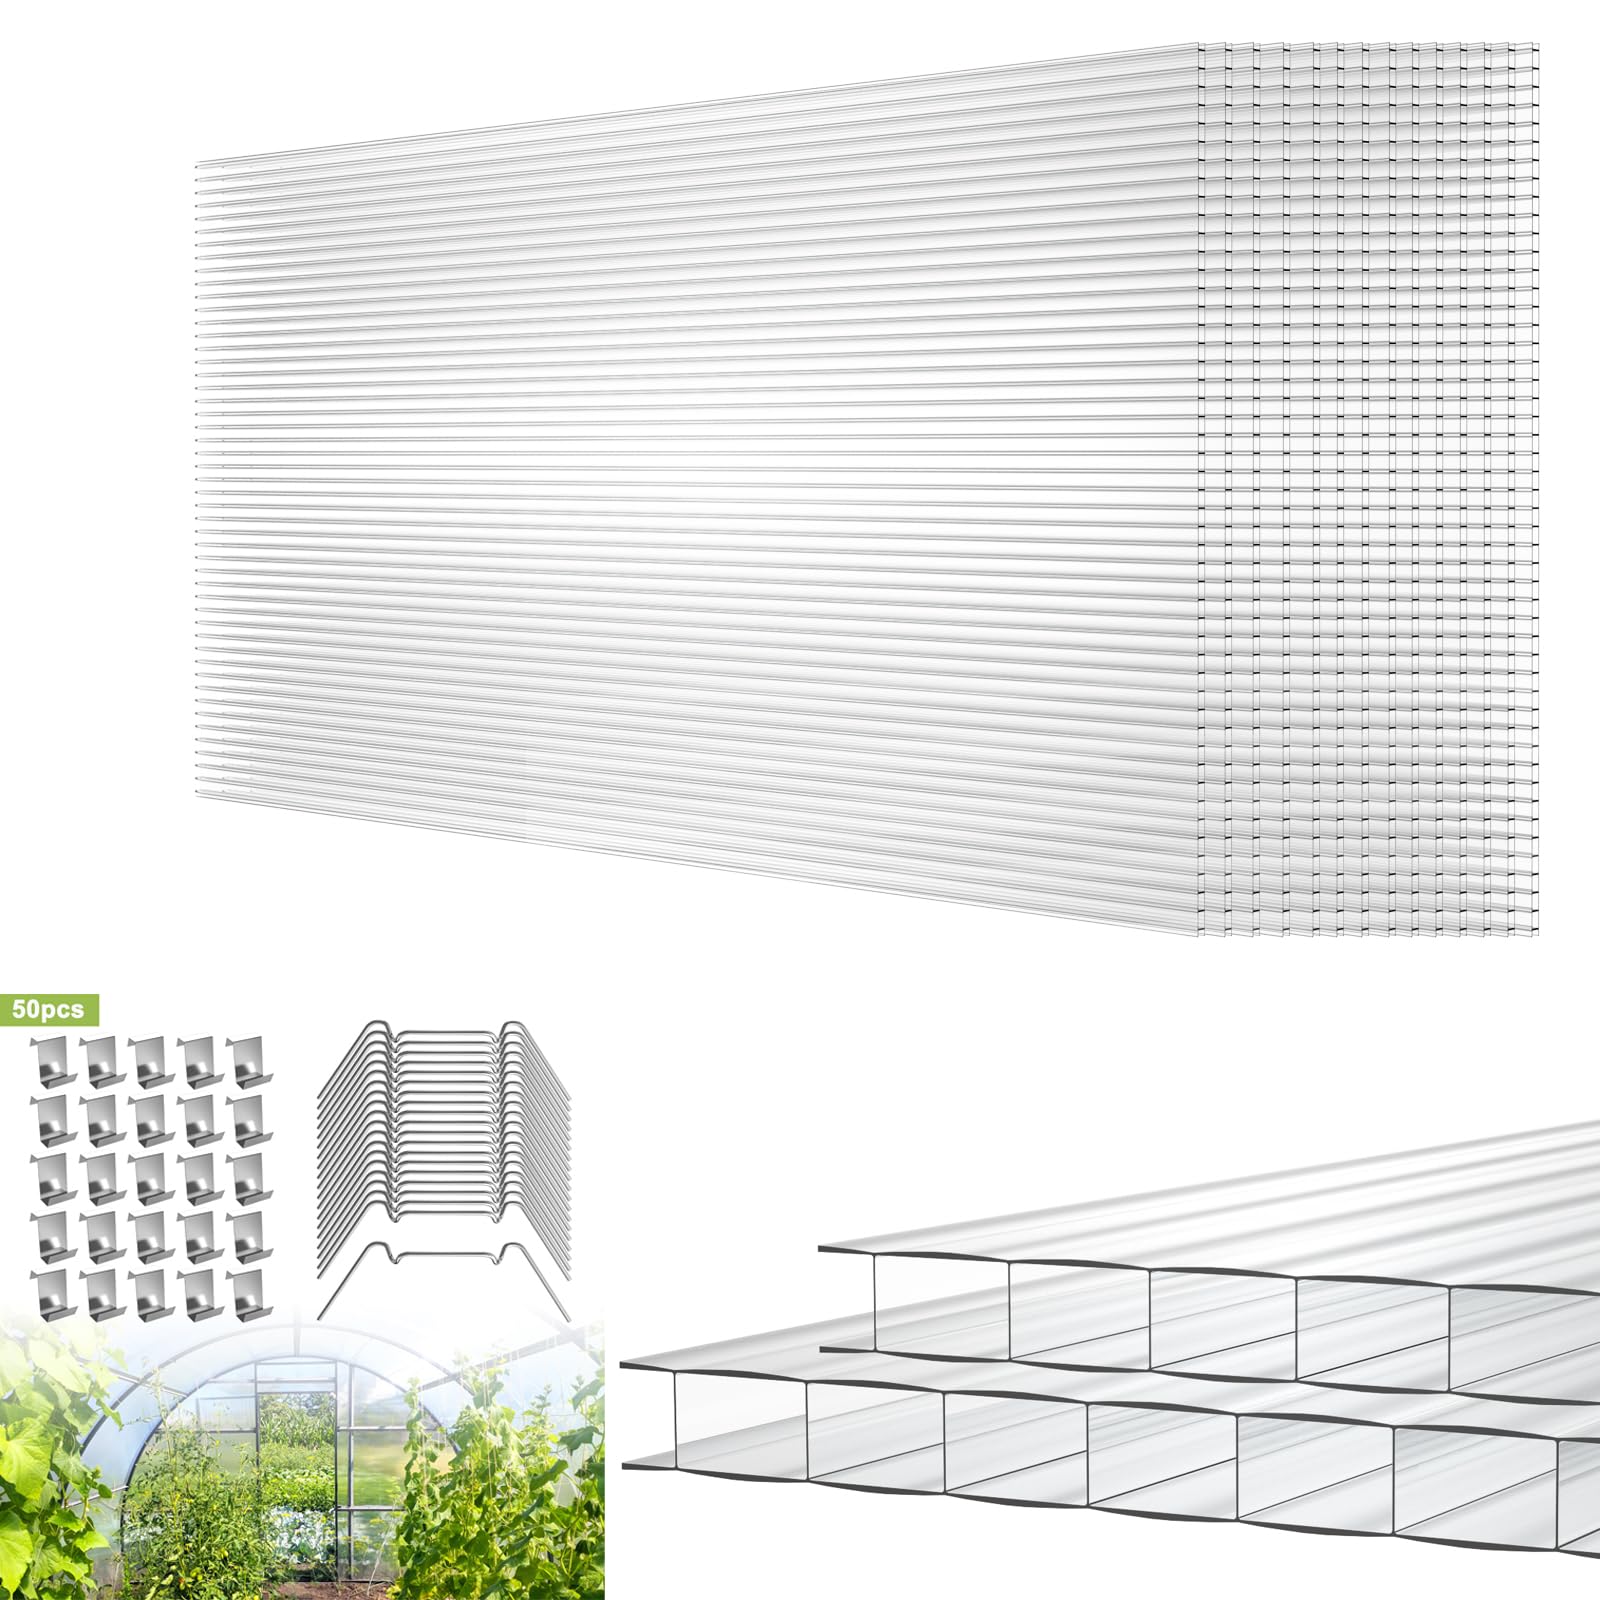
Fourteen 4mm double-wall polycarbonate panels sized roughly 60.5×121 cm, UV-resistant, impact-resistant, and easy to cut for greenhouse repairs or custom builds.
Why I picked it: I kept this pack on hand for panel replacements and small custom projects because the size and thickness matched common hobby greenhouses.
Best for: Replacing damaged panels or building small cold frames and lean-tos.
Good value for bulk replacement panels and small projects.
Pros
- 14-panel bulk pack
- 4mm double-wall, UV-resistant
- Lightweight and easy to cut
- Works for repairs and small builds
Cons
- Boxing can dent outer panels
- Long-term color stability varies
- Edge sealing recommended
My take
I ordered the 14-pack to replace a few scratched and cracked panels on older greenhouses. The sheets cut and drilled cleanly with standard woodworking tools, and their translucence matched the originals well.
They’re light and easy to handle, which makes field repairs faster. I took care to seal cut edges and use H-connectors for seams to prevent dust and moisture ingress.
A note on packaging: some panels can arrive with corner dents, so I inspect each piece before fastening. For routine repairs or creating a small lean-to, this pack gave me a complete, inexpensive solution.
How I Choose Polycarbonate Greenhouses and Parts
Panel Construction & UV Protection
I always start by checking panel thickness and wall count. Thicker panels and multi-wall constructions hold heat better and resist impacts, which matters when winter or wind are factors.
- 4mm double-wall suits seasonal growers and repairs.
- 6mm or 4-wall commercial panels improve insulation for winter use.
- Look for explicit UV protection to prevent browning and sun damage.
Frame Strength & Weather Ratings
A strong aluminum frame with good corner bracing matters more than decorative trims. I look for published wind or snow load ratings if you plan year‑round use.
- Reinforced aluminum frames resist warping and flexing.
- Anchor points and the option to bury posts add stability.
- If you expect heavy snow or strong winds, prioritize higher wind/snow ratings.
Ventilation & Temperature Control
Greenhouses heat quickly. I prioritize adjustable vents, windows, and the option to add automatic vent openers, fans, or a small heater depending on seasonality.
- Roof vents plus side windows deliver the best passive airflow.
- An exhaust fan or automatic vent opener reduces overheating risks.
- Include a thermometer or hygrometer to track conditions before adding active controls.
Assembly & Practical Installation
I treat assembly as part of the purchase. Expect a half‑day or multi‑day effort for larger greenhouses and plan for at least two people for roof work and heavy parts.
- Inventory all parts before you start; label bags are helpful.
- Prepare a flat, stable foundation—timber, pavers, or concrete works best.
- Keep basic sealant and H-connectors on hand for seams and repairs.
Accessories & Upgrades
Small parts often make the biggest difference: quality connectors, gutter systems, shelving, and electrical access can convert a simple shelter into a year‑round workspace.
- H-connectors and sealant prevent drafts and leaks.
- Integrated gutters and rain collection simplify watering.
- Electrical ports and staged shelving speed setup for lights and tools.
Frequently Asked Questions
Do thicker polycarbonate panels actually make a difference?
Yes — in my experience thicker panels and higher wall counts noticeably improve insulation and impact resistance. I use 6mm or multi-wall panels for winter gardening and 4mm double-wall for seasonal or budget-conscious builds.
How hard is assembly for these greenhouses?
Most kits are manageable but time-consuming. I recommend two people for roof and door alignment, inventorying every part before you start, and planning a full weekend for medium to large models.
Can I replace damaged panels easily?
Yes. I’ve replaced panels with cut-to-fit sheets and used H-connectors to seal joins. Keep spare panels and connector strips on hand — they make repairs fast and keep leaks and drafts at bay.
Do I need to anchor a greenhouse?
Absolutely. I always anchor or bolt greenhouses to a foundation — even modest wind can shift an unanchored frame. Use provided anchor points, bury posts, or bolt to a timber or concrete perimeter for best results.
Final Take
I tested these greenhouses and parts in real garden conditions and picked them for the balance of durability, ventilation, and practical usability. My recommendations aim to match what you actually need on setup day and during the growing season.
If you want a compact walk-in with sensible features, the 6×6 option is a solid starting point. For tighter budgets, the 6×4 model is the best trade-off. The HOWE and Backyard Discovery units are the choices I relied on when I needed more space, insulation, and built-in accessories. And for repairs, the panel packs and H-connectors saved me time and headaches.
Plan your foundation, schedule helpers for assembly, and keep a few spare panels and connectors on hand — that’s how I avoid most surprises and get my plants growing sooner.
")