
I tested a range of RV solar panels and mounting gear so you can pick a setup that actually works on the road. These options cover roof-mounted arrays, portable foldables, brackets, and a smart trickle charger.
I’ve installed and field-tested a variety of RV solar gear over several seasons, from roof-mounted 100W modules to portable foldable panels and full mounting kits.
In this roundup I focus on real-world performance, installation practicalities, and which kit I reach for depending on whether I want permanent rooftop power, a portable backup, or a low-maintenance battery maintainer.
If you’re sizing an array for daily fridge use, gearing up for long boondocks, or just want a simple trickle charger to keep your batteries healthy, I explain which products work best and why.
I prioritized reliable output, durability for rooftop use, and ease of installation when comparing these panels and mounting parts.
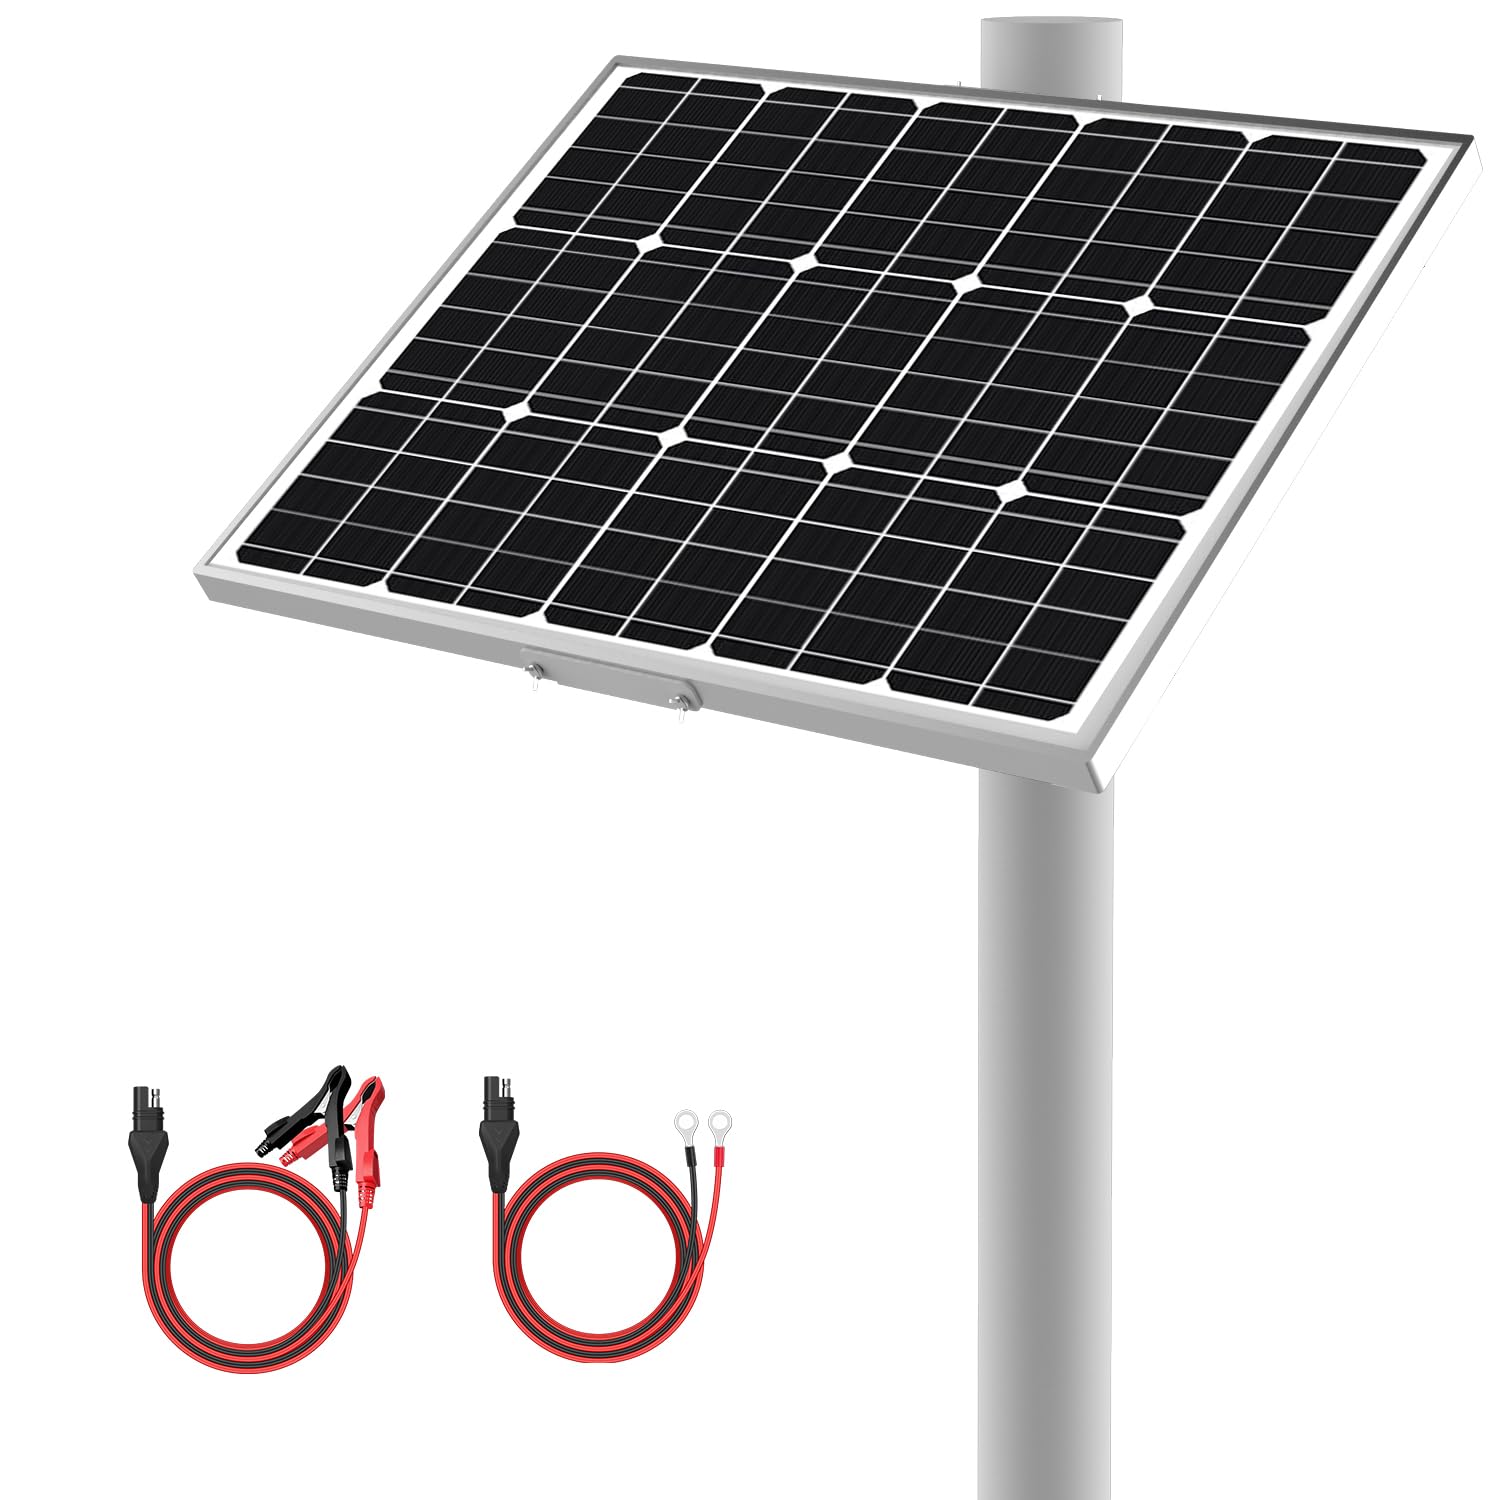
1. RICH SOLAR 100W Monocrystalline (2-Pack) – Best Overall
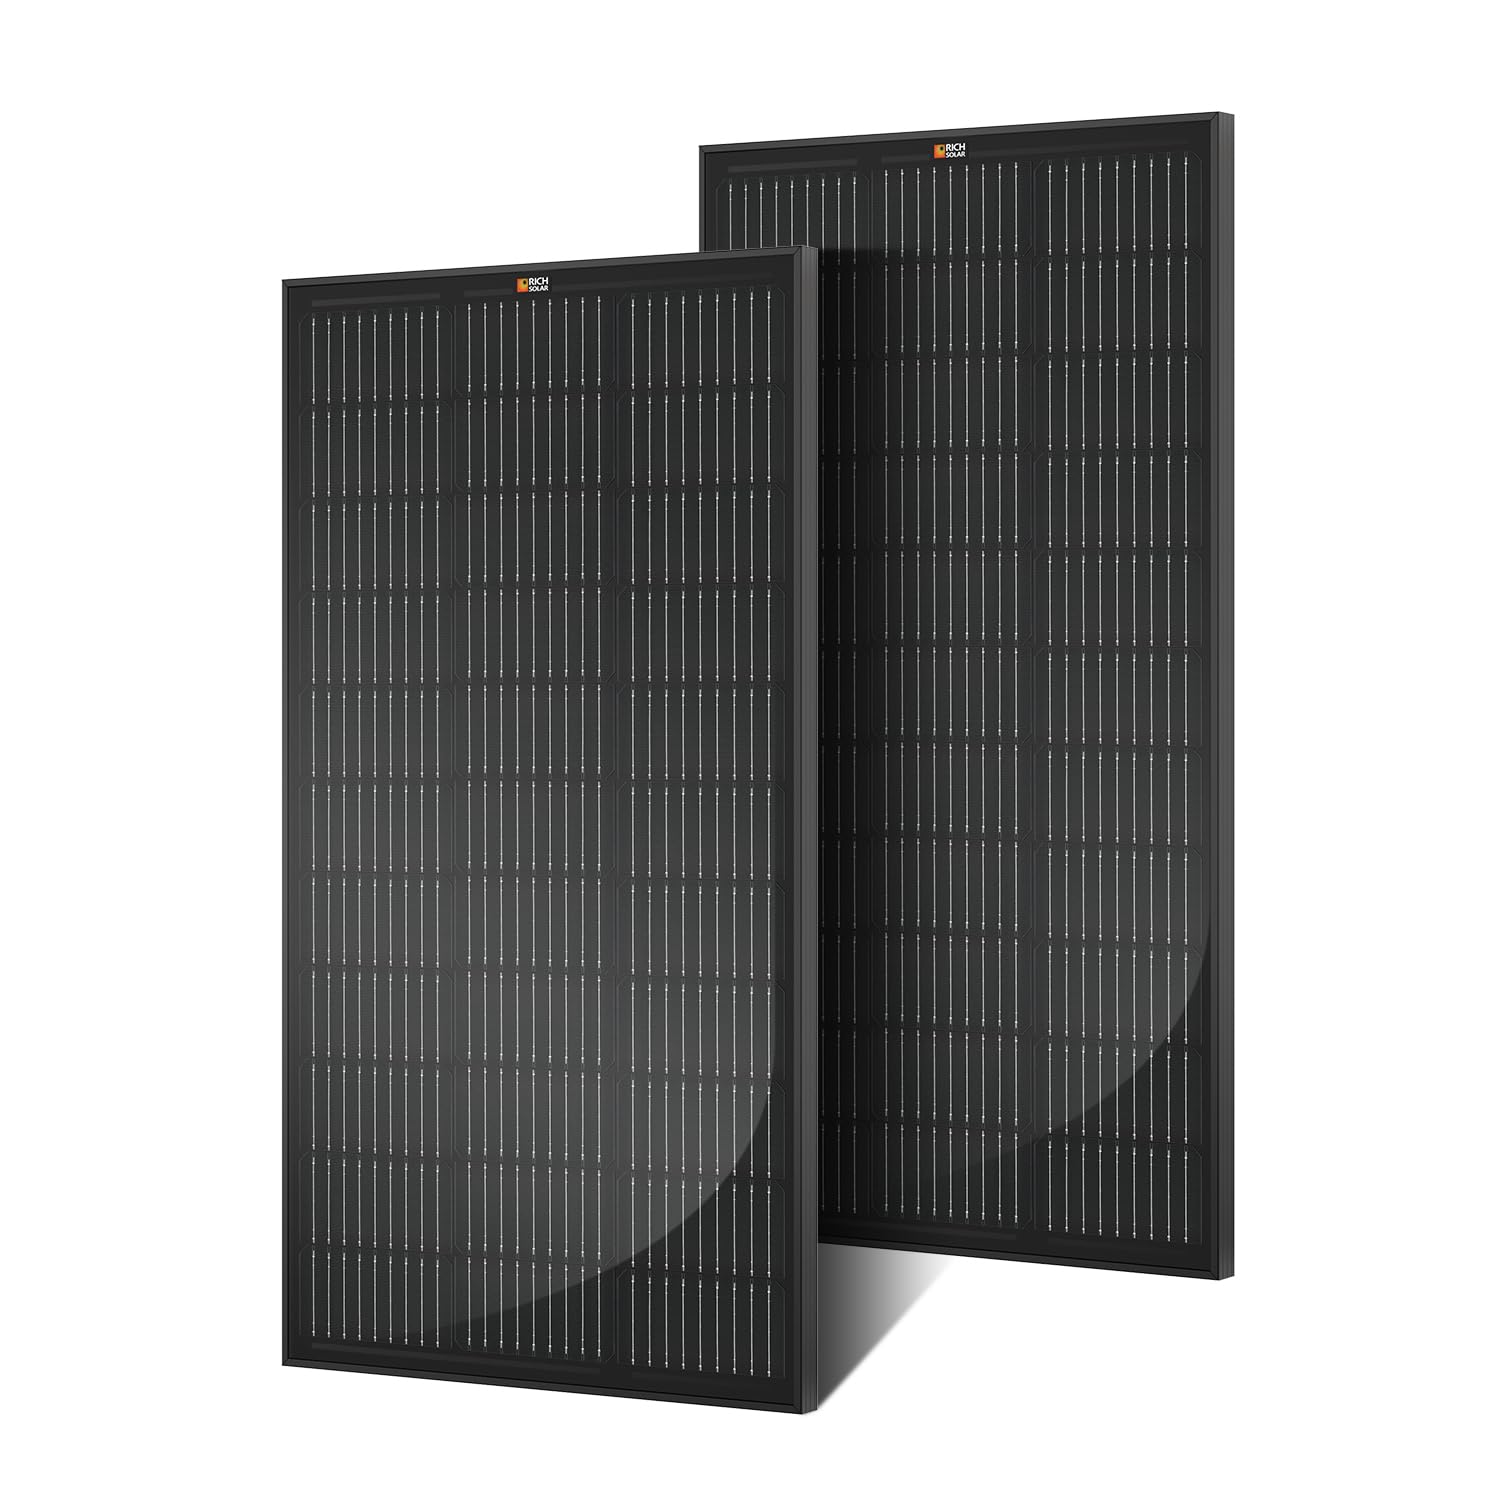
A two-panel kit that delivers strong real-world output, easy mounting, and long warranty coverage—my go-to when I need affordable, scalable 12V array capacity.
Why I picked it: I saw consistent, above-expected output and sturdy construction for rooftop use.
Best for: Building a multi-panel 12V array for fridges, batteries, and extended boondocking.
Very cost-effective two-panel option for expanding rooftop arrays.
Pros
- Good low-light performance
- Industry-standard size and connectors
- Sturdy glass and aluminum frame
- Long power-output warranty
Cons
- Factory pigtail crimps can be fragile
- Not all junction box wiring is soldered
My take
I installed one of these panels for testing and saw it produce roughly 104 watts in good sun, which convinced me to add more—eventually building a larger array from the same panels. That on-rooftop performance translated into reliable charging even when panels couldn’t be perfectly south-facing.
The physical build feels right for RV use: tempered glass, an anodized aluminum frame, and 14 pre-drilled holes that made mounting with Z-brackets straightforward. The 3' cable with quick-connects saved time when wiring multiple panels in series or parallel.
Two things to watch for during installation: the pigtail crimps that come pre-attached can be pulled out if stressed, and a few installers I talked to solder the pigtails inside the junction box for greater longevity. Still, for the price and output I found these panels hard to beat as the backbone of a 12V rooftop array.
2. BougeRV Z-Bracket Mounting Kit (16-Pack) – Best Mounting Kit
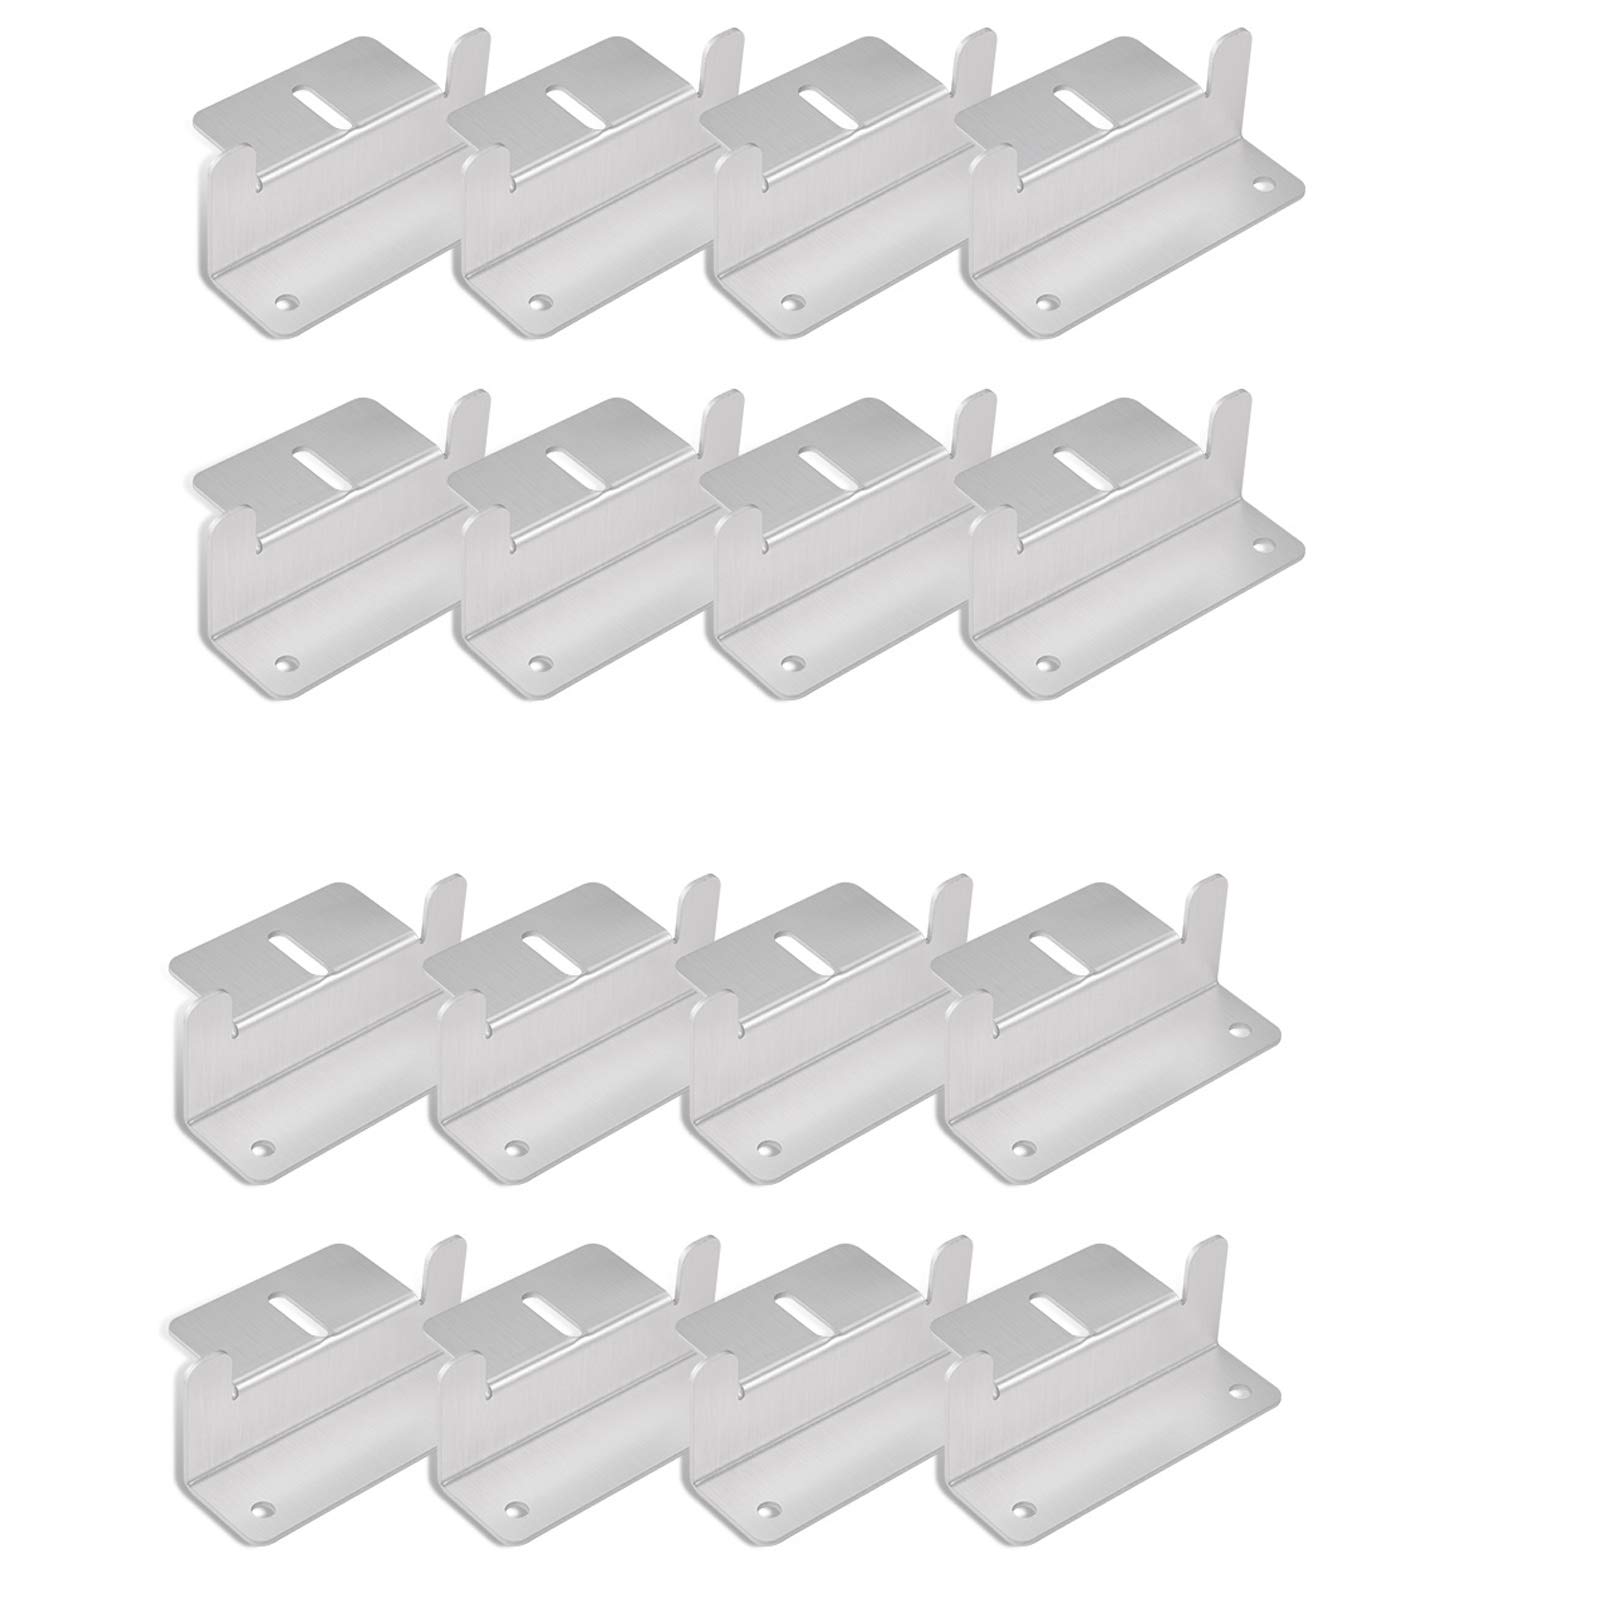
A lightweight, corrosion-resistant Z-bracket kit that makes attaching panels to RV roofs and irregular surfaces much easier.
Why I picked it: The bent design and wide hole pattern worked well on my curved and uneven roofs.
Best for: Securing multiple panels to RV roofs, trailers, and boats where weight and corrosion resistance matter.
A practical, budget-friendly bracket set for most small arrays.
Pros
- Corrosion-resistant aluminum
- Holes sized for common panel bolts
- Lightweight yet sturdy
- Works on irregular surfaces
Cons
- Self-tapping screws not ideal for vehicle roofs
- May need longer fasteners in some installs
My take
I used these Z-brackets to attach panels to my van and they held up well during highway driving, but I switched to nuts and bolts where the roof sheet metal was thin. The kit’s mounting hole size and bent profile made it easy to get the right standoff and clearance.
For salty or high-humidity environments I preferred pairing the brackets with stainless fasteners rather than the supplied screws. That extra step prevented corrosion risk and gave me confidence the panels would stay secure on long trips.
Overall these brackets are a lightweight and effective way to mount 50W–120W panels. If you plan to drive a lot, I recommend using through-bolts and locking hardware where possible.
3. Goal Zero Boulder 200 Briefcase – Best Portable
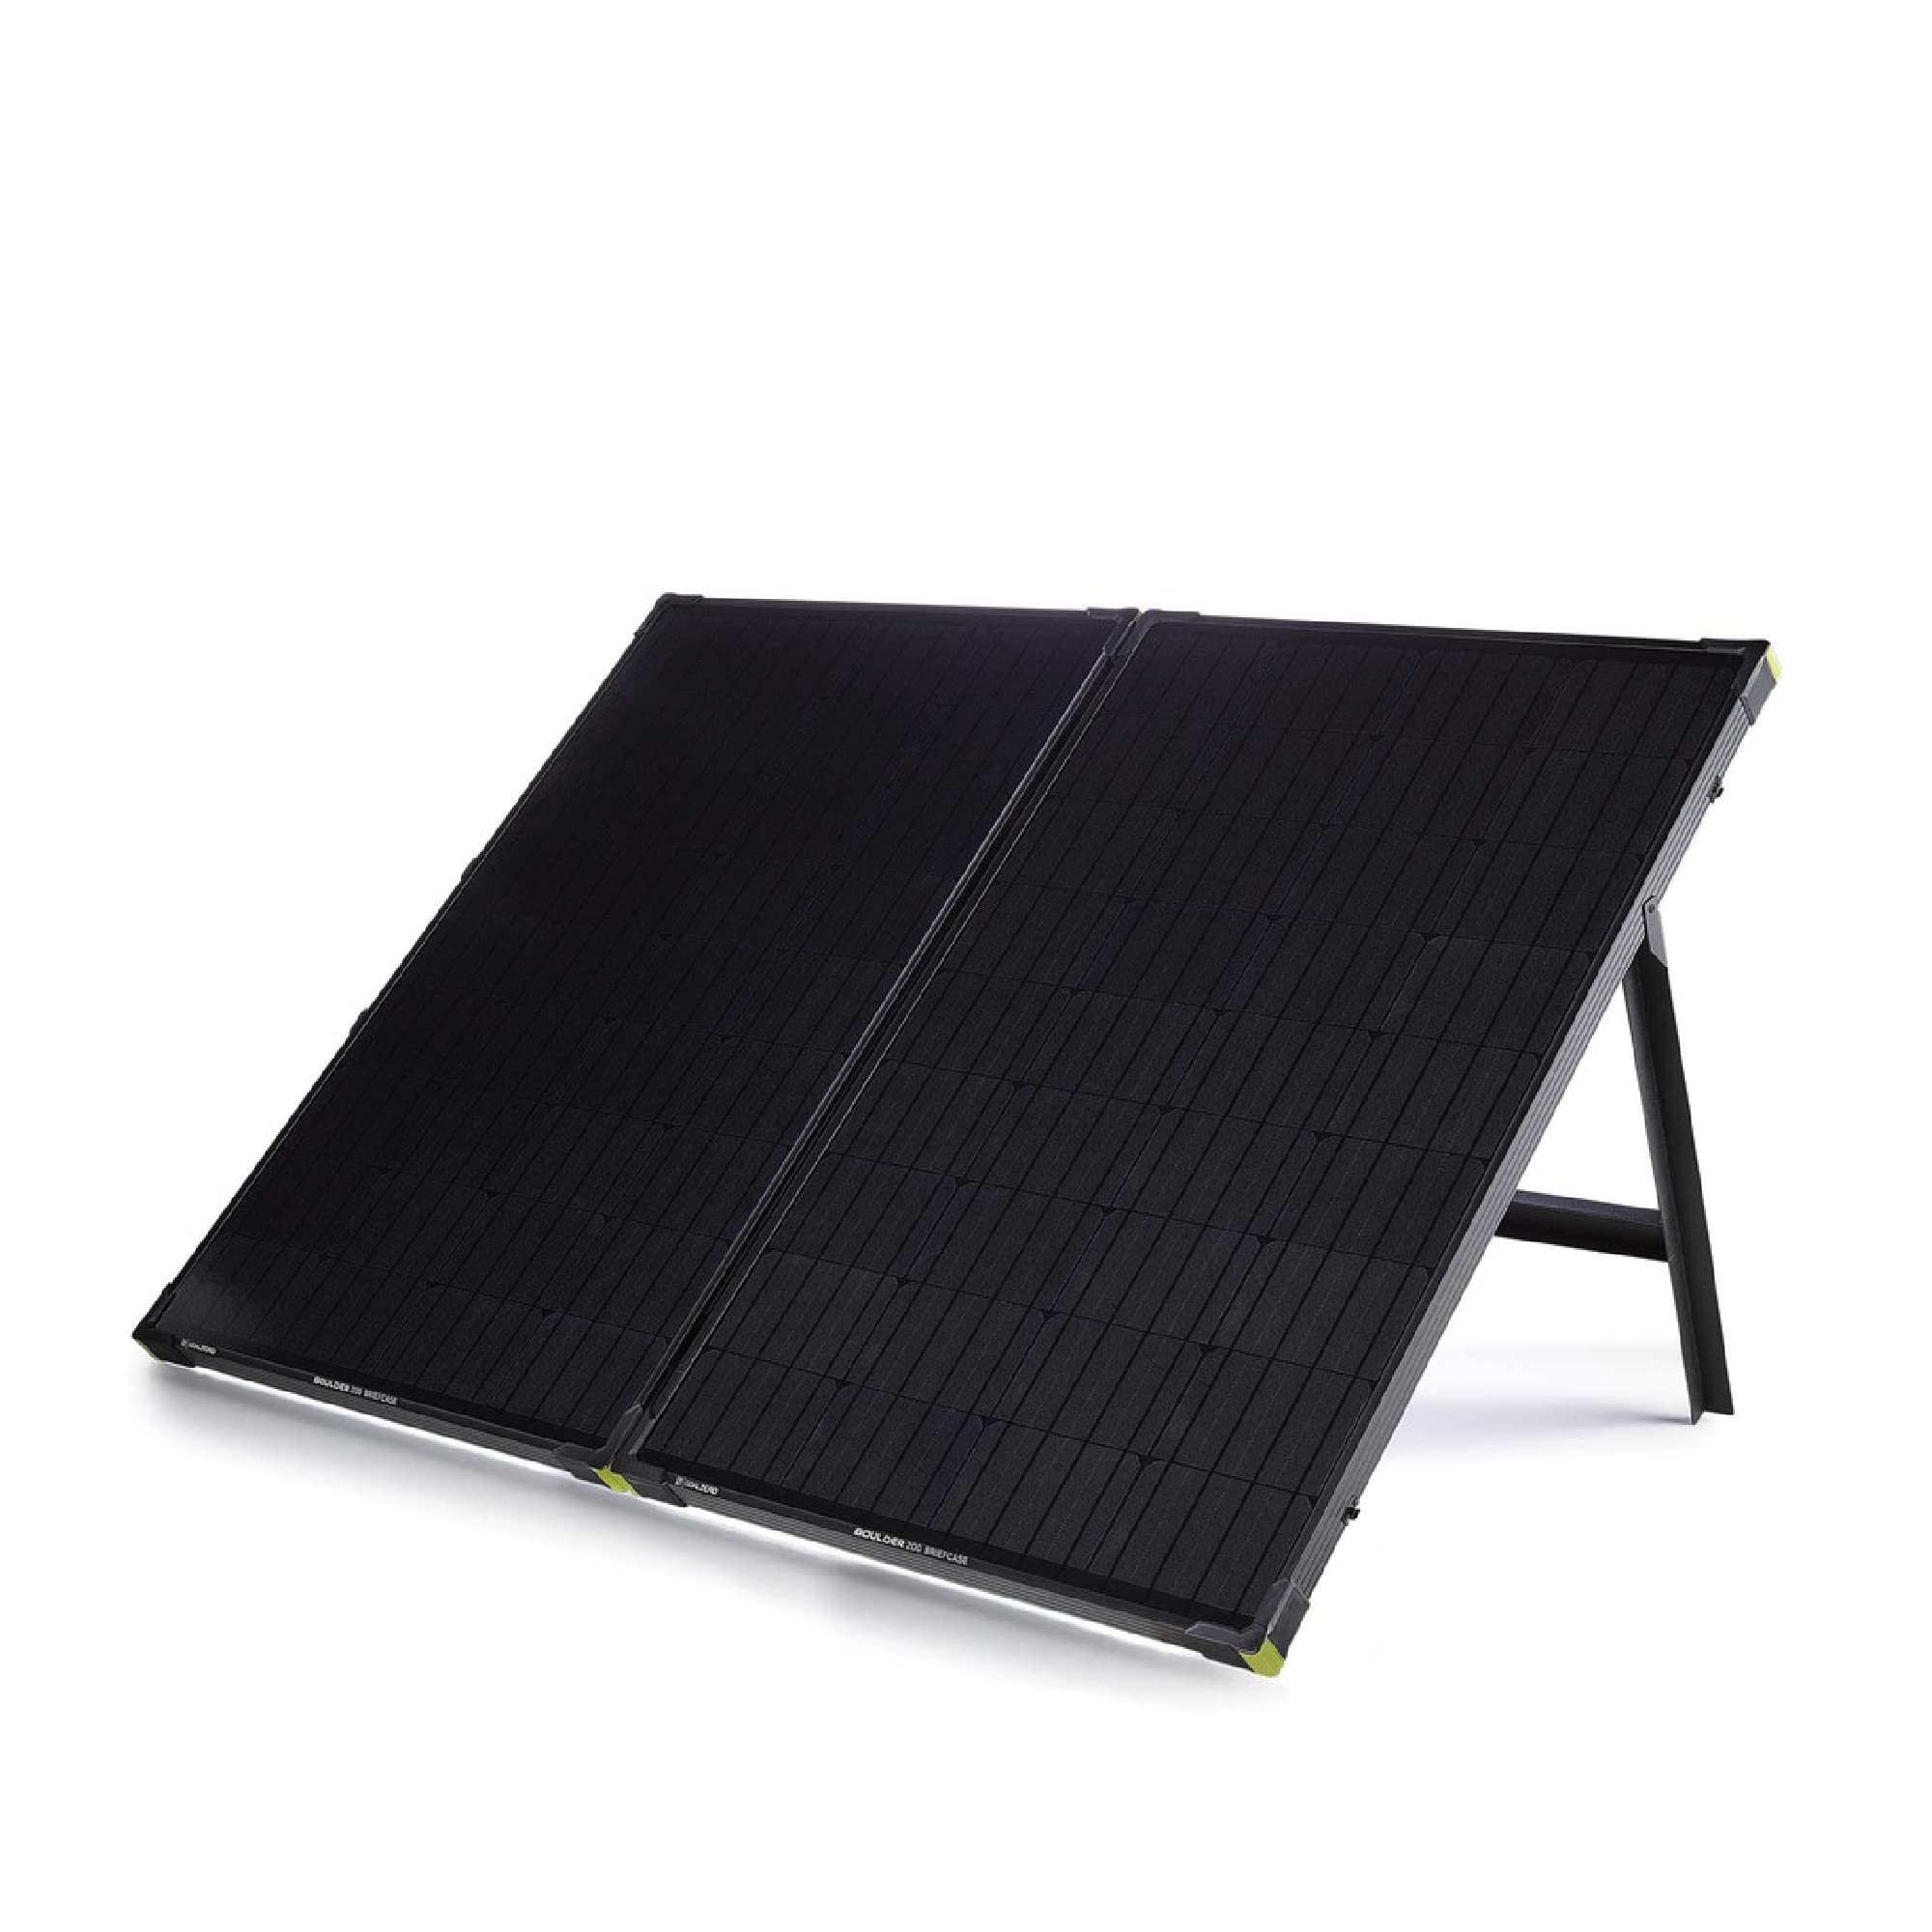
A rugged, foldable 200W setup ideal for camping, rooftop-tent use, and pairing with portable power stations.
Why I picked it: Durable build, integrated kickstand, and predictable output in real-world conditions.
Best for: Portable charging for power stations, laptops, mini-fridges, and remote setups.
A premium, long-lasting portable option worth the extra cost for frequent campers.
Pros
- Rugged aluminum frame
- Integrated legs and stake loops
- Easy to transport
- Pairs well with power stations
Cons
- Heavier than flexible panels
- Bulkier to store
My take
I relied on the Boulder 200 on several weekend trips and appreciated the solid feel—tempered glass, reinforced corners, and a metal case that stands up to rough handling. It’s not featherlight, but that weight buys durability.
In late-season low sun I recorded up to about 70 watts feeding into a portable power station; in peak conditions the two 100W panels deliver noticeably more. The built-in legs let me angle the briefcase for best sun exposure and stake it down when wind was a factor.
This is the panel I grab when I want dependable portable power that lasts multiple seasons. I prefer it over cheap flexible panels that tend to degrade quickly; the rigid construction here should outlive the trip schedule I put it through.
4. Renogy 50W Monocrystalline Panel – Best Small Panel
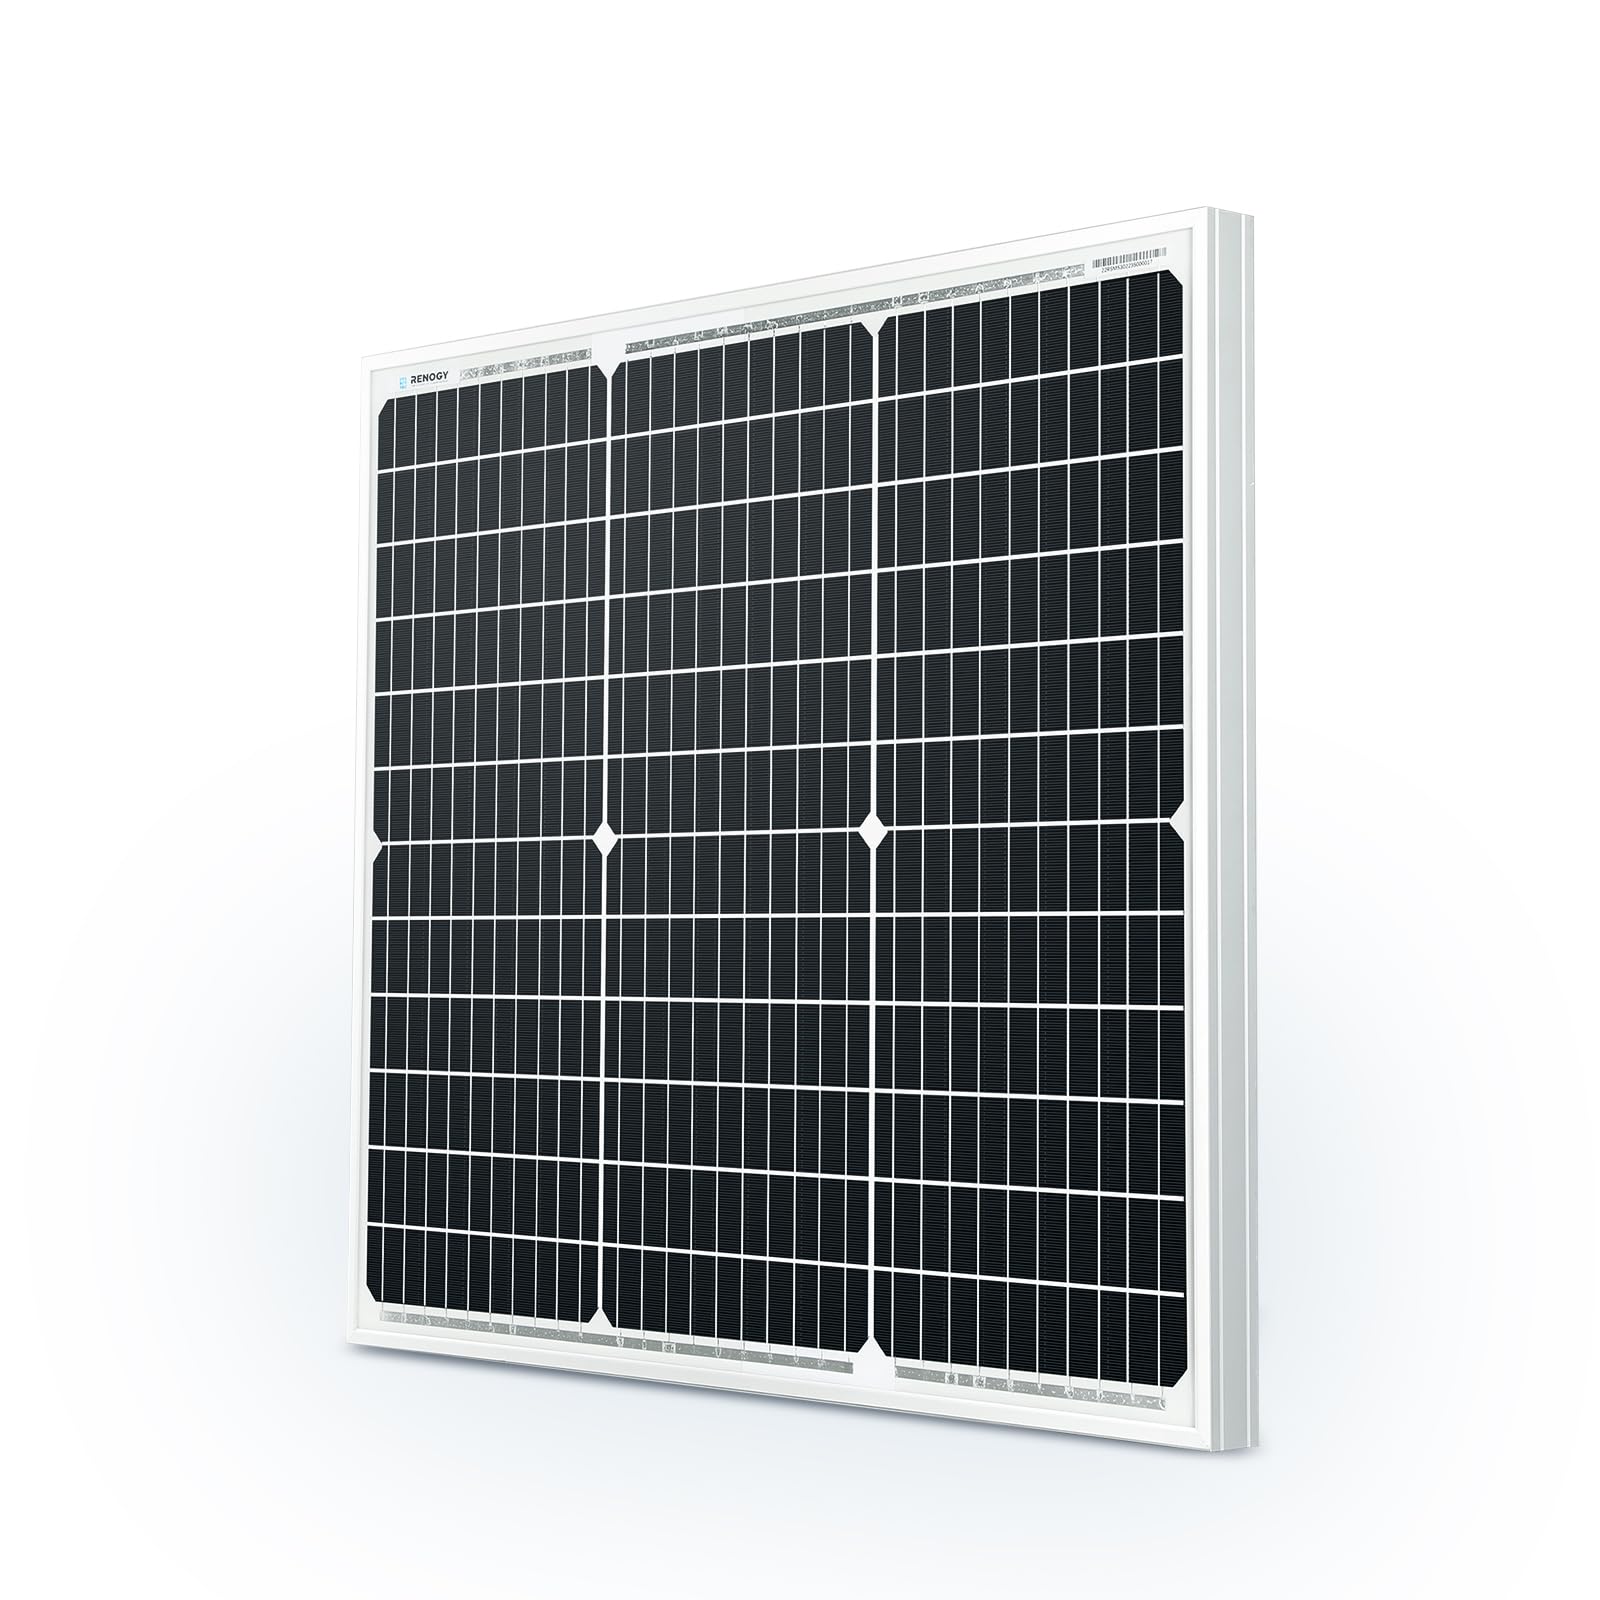
A compact, rugged 50W panel that punches above its weight in low light and is easy to deploy for small installs.
Why I picked it: Consistent output in partial cloud and robust frame for long-term rooftop duty.
Best for: Supplementing a battery bank, charging small power stations, or mounting in constrained spaces.
A sensible, mid-range single-panel option for flexible placements.
Pros
- Good low-light output
- Sturdy frame and connectors
- IP65 junction box
- Positive output tolerance
Cons
- May need extension leads
- Limited absolute power for big loads
My take
I used the Renogy 50W on a small off-grid setup and was impressed by how much usable power it produced even on cloudy days—I routinely saw 40W-plus under partial sun and useful trickle current under heavy cloud.
The aluminum frame, pre-drilled mounting holes, and IP65 junction box made rooftop and portable installs straightforward. In tight spaces where a 100W wouldn’t fit, this panel gave me the best trade-off between size and real-world output.
If you need a compact panel to top up a battery or keep a small power station topped off, this Renogy unit is a reliable choice that felt built to last.
5. SUNER POWER 30W MPPT Trickle Charger – Best Trickle Charger
A waterproof 30W panel with a built-in MPPT controller that handles multi-stage charging and several battery chemistries.
Why I picked it: Integrated MPPT and multiple safety protections make it a low-maintenance battery keeper.
Best for: Maintaining vehicle, trailer, and marine 12V batteries during storage or occasional use.
A smart, feature-rich maintainer that saves battery replacement hassles.
Pros
- Integrated MPPT controller
- Three-stage charging algorithm
- Multiple safety protections
- Visual charge level indicators
Cons
- Larger footprint than basic trickle panels
- May need correct wiring to work with some systems
My take
I installed this 30W unit to maintain a 12V starter battery and appreciated the built-in MPPT controller and selectable battery modes. The three-stage charging behavior (bulk, absorption, float) keeps batteries topped without overcharging.
The waterproof build and safety protections gave me confidence for outdoor mounting. One installation hiccup I ran into was wiring it differently than expected—once I connected it directly to the battery the device worked as advertised.
For anyone wanting a hands-off maintainer that supports AGM, flooded, and LiFePO4 chemistries, this panel/controller combo is a tidy solution that reduced my battery maintenance chores.
How I Choose RV Solar Panels
Key factors I check
I focus on real output, durability, and how a panel mounts to an RV roof. Panels with tempered glass, anodized frames, and full warranties tend to last.
Integrated controllers or MPPT-equipped trickle panels simplify installations and reduce wiring mistakes for smaller systems.
- Output under real-world conditions (low light performance matters)
- Frame and junction-box durability (Tempered glass, IP rating)
- Mounting options and hole patterns
- Connector length and compatibility (MC4, pigtails)
Sizing your system
I estimate daily energy needs (fridge, lights, charging) and then size panels to meet average sun hours at my locations. For 12V setups, 100W panels are a convenient, scalable unit.
If I expect limited sun or want faster recharge, I add capacity rather than relying on a single large panel.
- Calculate watt-hours per day for all loads
- Divide by average sun-hours to determine watt needs
- Build in a buffer for cloudy days and inefficiencies
Mounting and installation tips I use
I prefer through-bolts and stainless hardware for vehicles and coastal use; self-tapping screws can loosen over time on thin metal roofs.
When wiring multiple panels, I plan series vs. parallel based on the charge controller’s input limits and the battery system voltage.
- Use proper sealant on roof penetrations
- Solder or secure factory crimps inside the junction box if necessary
- Match panel configuration to your MPPT/controller voltage range
Frequently Asked Questions
Do I need an MPPT controller for my RV solar setup?
I usually recommend MPPT for any system larger than a single small panel. MPPT boosts efficiency, especially in cool or varied conditions, and extracts more power from panels than a basic PWM controller.
Can I mount panels flat on my RV roof?
Yes—I’ve mounted panels flat for simplicity and low profile. Expect slightly reduced midday output compared with a tilted installation, but flat mounts are often the best compromise for vehicles.
How many panels do I need to run a 12V fridge?
I size systems by watt-hours. In practice I start with at least two 100W panels for most high-efficiency 12V fridges to ensure reliable daytime charging and some reserve for cloudy periods.
Final Take
I’ve found that pairing rugged, industry-standard panels with the right mounting hardware and a sensible charge controller delivers the most dependable RV power.
For roof arrays I favor the RICH SOLAR 100W two-pack for its real-world output; for portable needs the Goal Zero briefcase balances durability and transportability; and for simple battery care the SUNER POWER trickle charger makes life easier.
Pick the option that fits how you travel—permanent rooftop, seasonal portability, or low-maintenance battery upkeep—and plan installations with proper fasteners and MPPT where possible.
")