
I tested a range of seed starter trays and lawn seed so you can pick the right kit for your size, plants, and timeline. These picks cover large lawns, fast green-up, big-seed transplants, and budget multi-packs.
I spend every spring and fall starting seeds and rehabbing lawns, so I know which trays and seed mixes actually simplify the process. In this roundup I cover options for big yards, vegetable seedlings, and compact indoor setups.
I focus on practical traits I use every season: dome ventilation, drainage and bottom-watering compatibility, material thickness, and—when it comes to lawn seed—coverage and germination speed. Read on for the best fit for your workflow.
If you need to cover a lot of turf, choose the large Scotts bags; if you’re starting dozens of seedlings indoors, opt for the multi-tray kits with good dome venting and drainage.
1. Scotts Professional Turfgrass Sun & Shade Mix – Best for Large Lawns
Uncoated, weed‑reduced grass seed blend for mixed sun and shade areas; large 50 lb. bag with professional coverage figures.
Why I picked it: Huge coverage per bag and a reliable sun/shade mix for overseeding or new lawns.
Best for: Establishing or overseeding large yards and commercial-style jobs.
Professional-sized bag; good value per square foot for big projects.
Pros
- Uncoated seed for natural establishment
- 99.9% weed free claim
- Fast germination window (5–10 days)
- Large coverage per bag
Cons
- Very heavy bag to handle
- Early growth can look thin in places
My take
When I need to cover a lot of ground, this 50 lb. bag is the easiest way to get consistent seed distribution without constant refills.
I like that the seed is uncoated—I can see germination and soil contact better, and the mix performs across sun and shady microclimates in my yard.
In my experience it can come up quickly when I water daily and keep the soil surface moist; pockets that look thin early usually fill in with follow-up care and mowing.
I’ve also seen variability between batches, so I plan my pre-seeding prep (raking, removing debris, and targeted pre-emergent timing) to reduce weeds and maximize results.
2. MIXC 10-Pack Seed Starter Trays with Domes – Best Value Tray Set
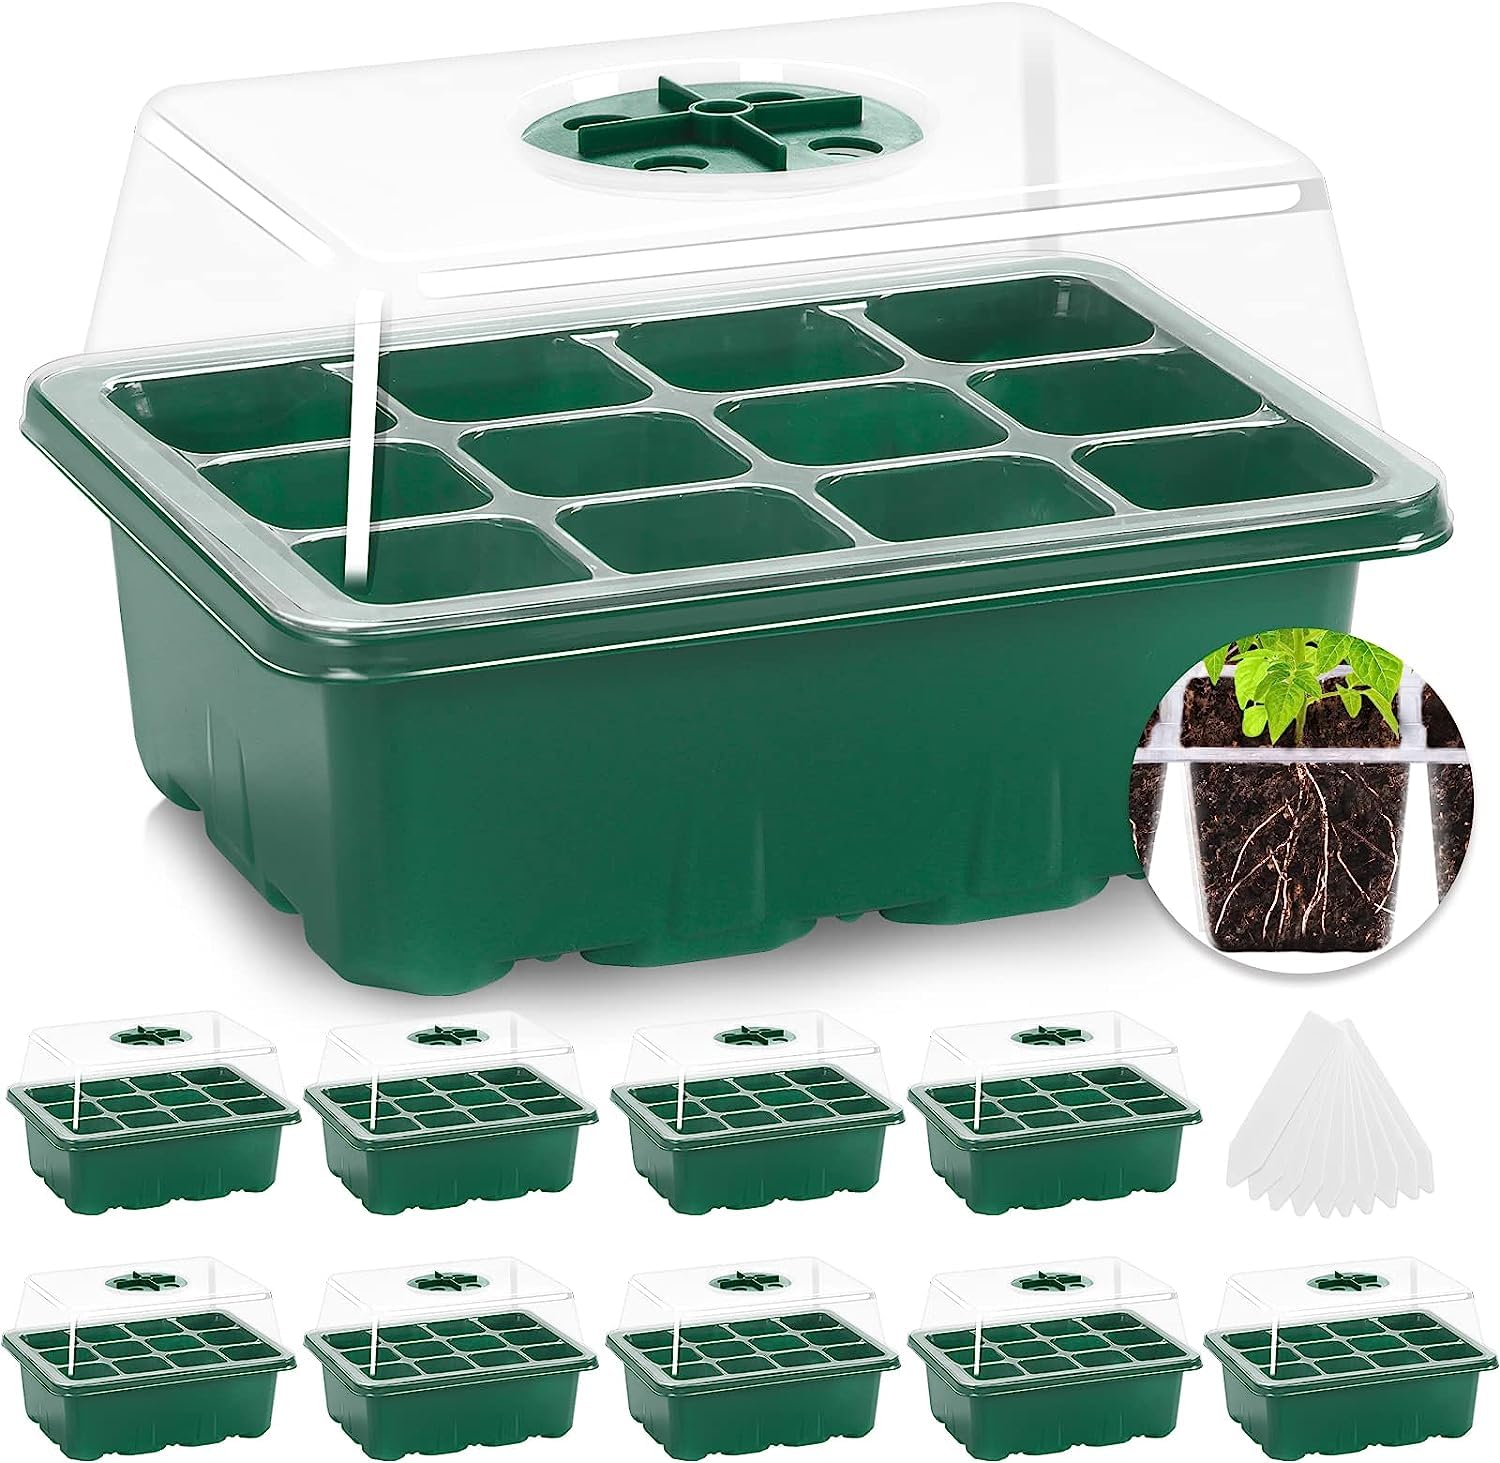
Ten reusable trays (120 cells total) with watertight bases, adjustable vents, drainage holes, and plant labels—a complete starter kit.
Why I picked it: Complete, transparent kit that makes bottom-watering and humidity control simple.
Best for: Hobby growers starting many small seeds across varieties.
Budget-friendly multi-pack ideal for seasonal seed starting.
Pros
- Ten trays and domes included
- Adjustable vents for humidity control
- Drainage and watertight bases
- Transparent for easy monitoring
Cons
- Cells are small for large seedlings
- Plastic may flex when overloaded
My take
I keep a set of these on hand for early spring germination runs because the domes create a reliable mini-greenhouse environment.
The transparent trays are a real timesaver—I can monitor root and moisture without disturbing tender seedlings.
Bottom-watering with the watertight bases has reduced my damping-off incidents, and the adjustable vents let me wean seedlings off humidity without shocking them.
For my casual projects this kit is durable enough to reuse multiple seasons and easy to store when not in use.
3. Scotts Turf Builder Rapid Grass Sun & Shade Mix – Best for Fast Results
Grass seed blended with starter fertilizer to speed establishment in sun and shade; formulated for quicker green-up than seed alone.
Why I picked it: Seed-plus-fertilizer formula that jumpstarts germination and early growth.
Best for: Quick lawn repair, spot overseeding, and visible results in weeks.
Smaller bag for targeted jobs; good when you want fast green-up.
Pros
- Seed and fertilizer combined
- Promotes faster green-up
- Works in sun and shade
- Durable turf once established
Cons
- Smaller coverage per bag
- Requires consistent moisture to work
My take
When I needed visible results in a short window, this rapid mix delivered noticeably faster green-up than plain seed in my trials.
The built‑in starter fertilizer removes one step from my routine and helps seedlings put down stronger roots early on.
I do keep a close eye on watering—consistent moisture during germination is what makes the formula live up to its promise.
I’ve also found it performs best when used in the recommended seasons; shade areas will still take a bit longer to thicken than full sun.
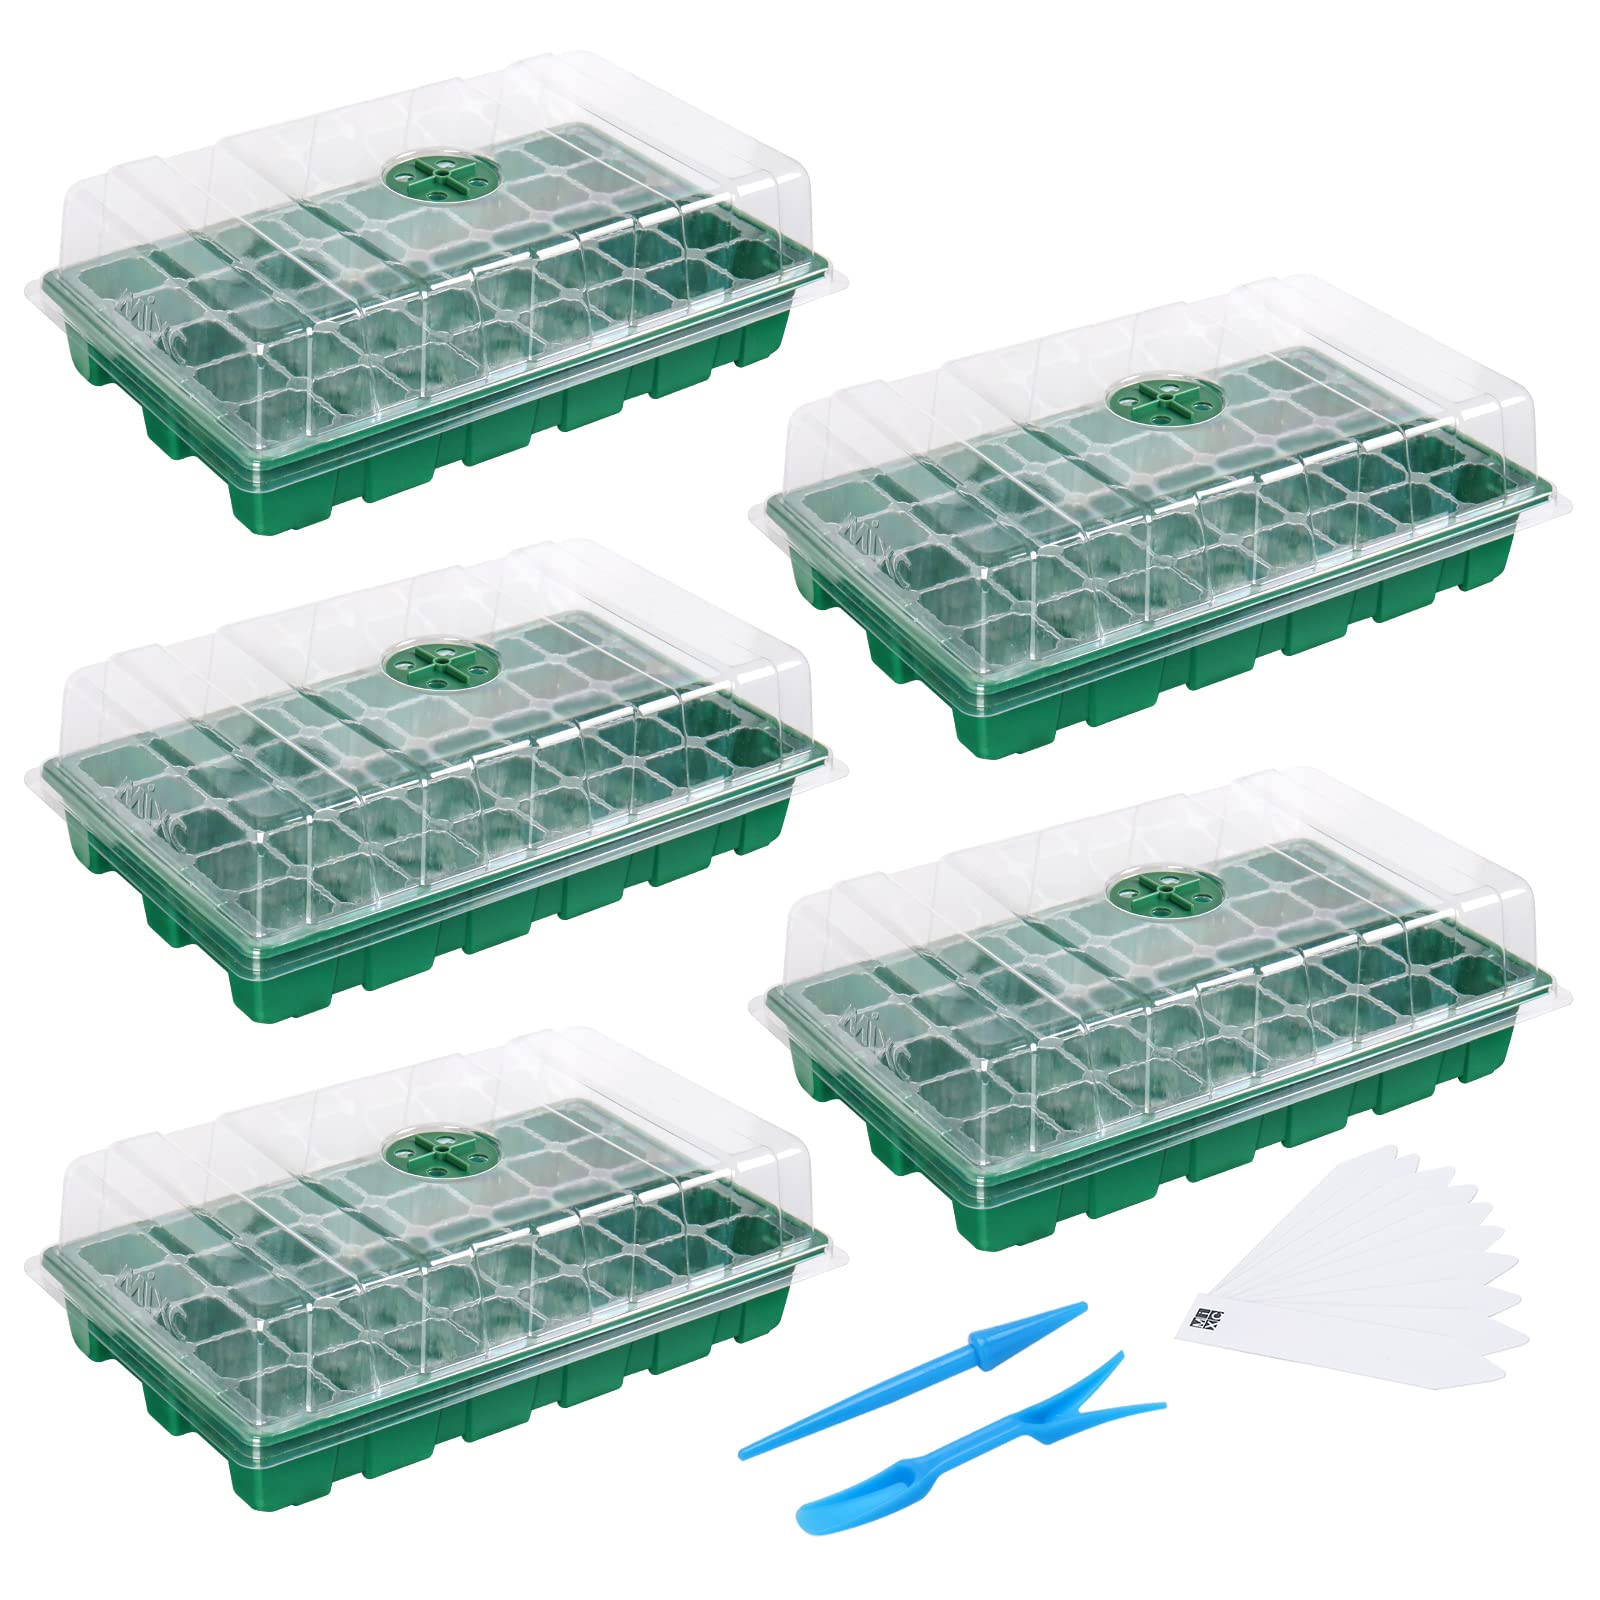
4. Gardzen 40-Cell Seed Starter 5-Pack – Best for Serious Seeders
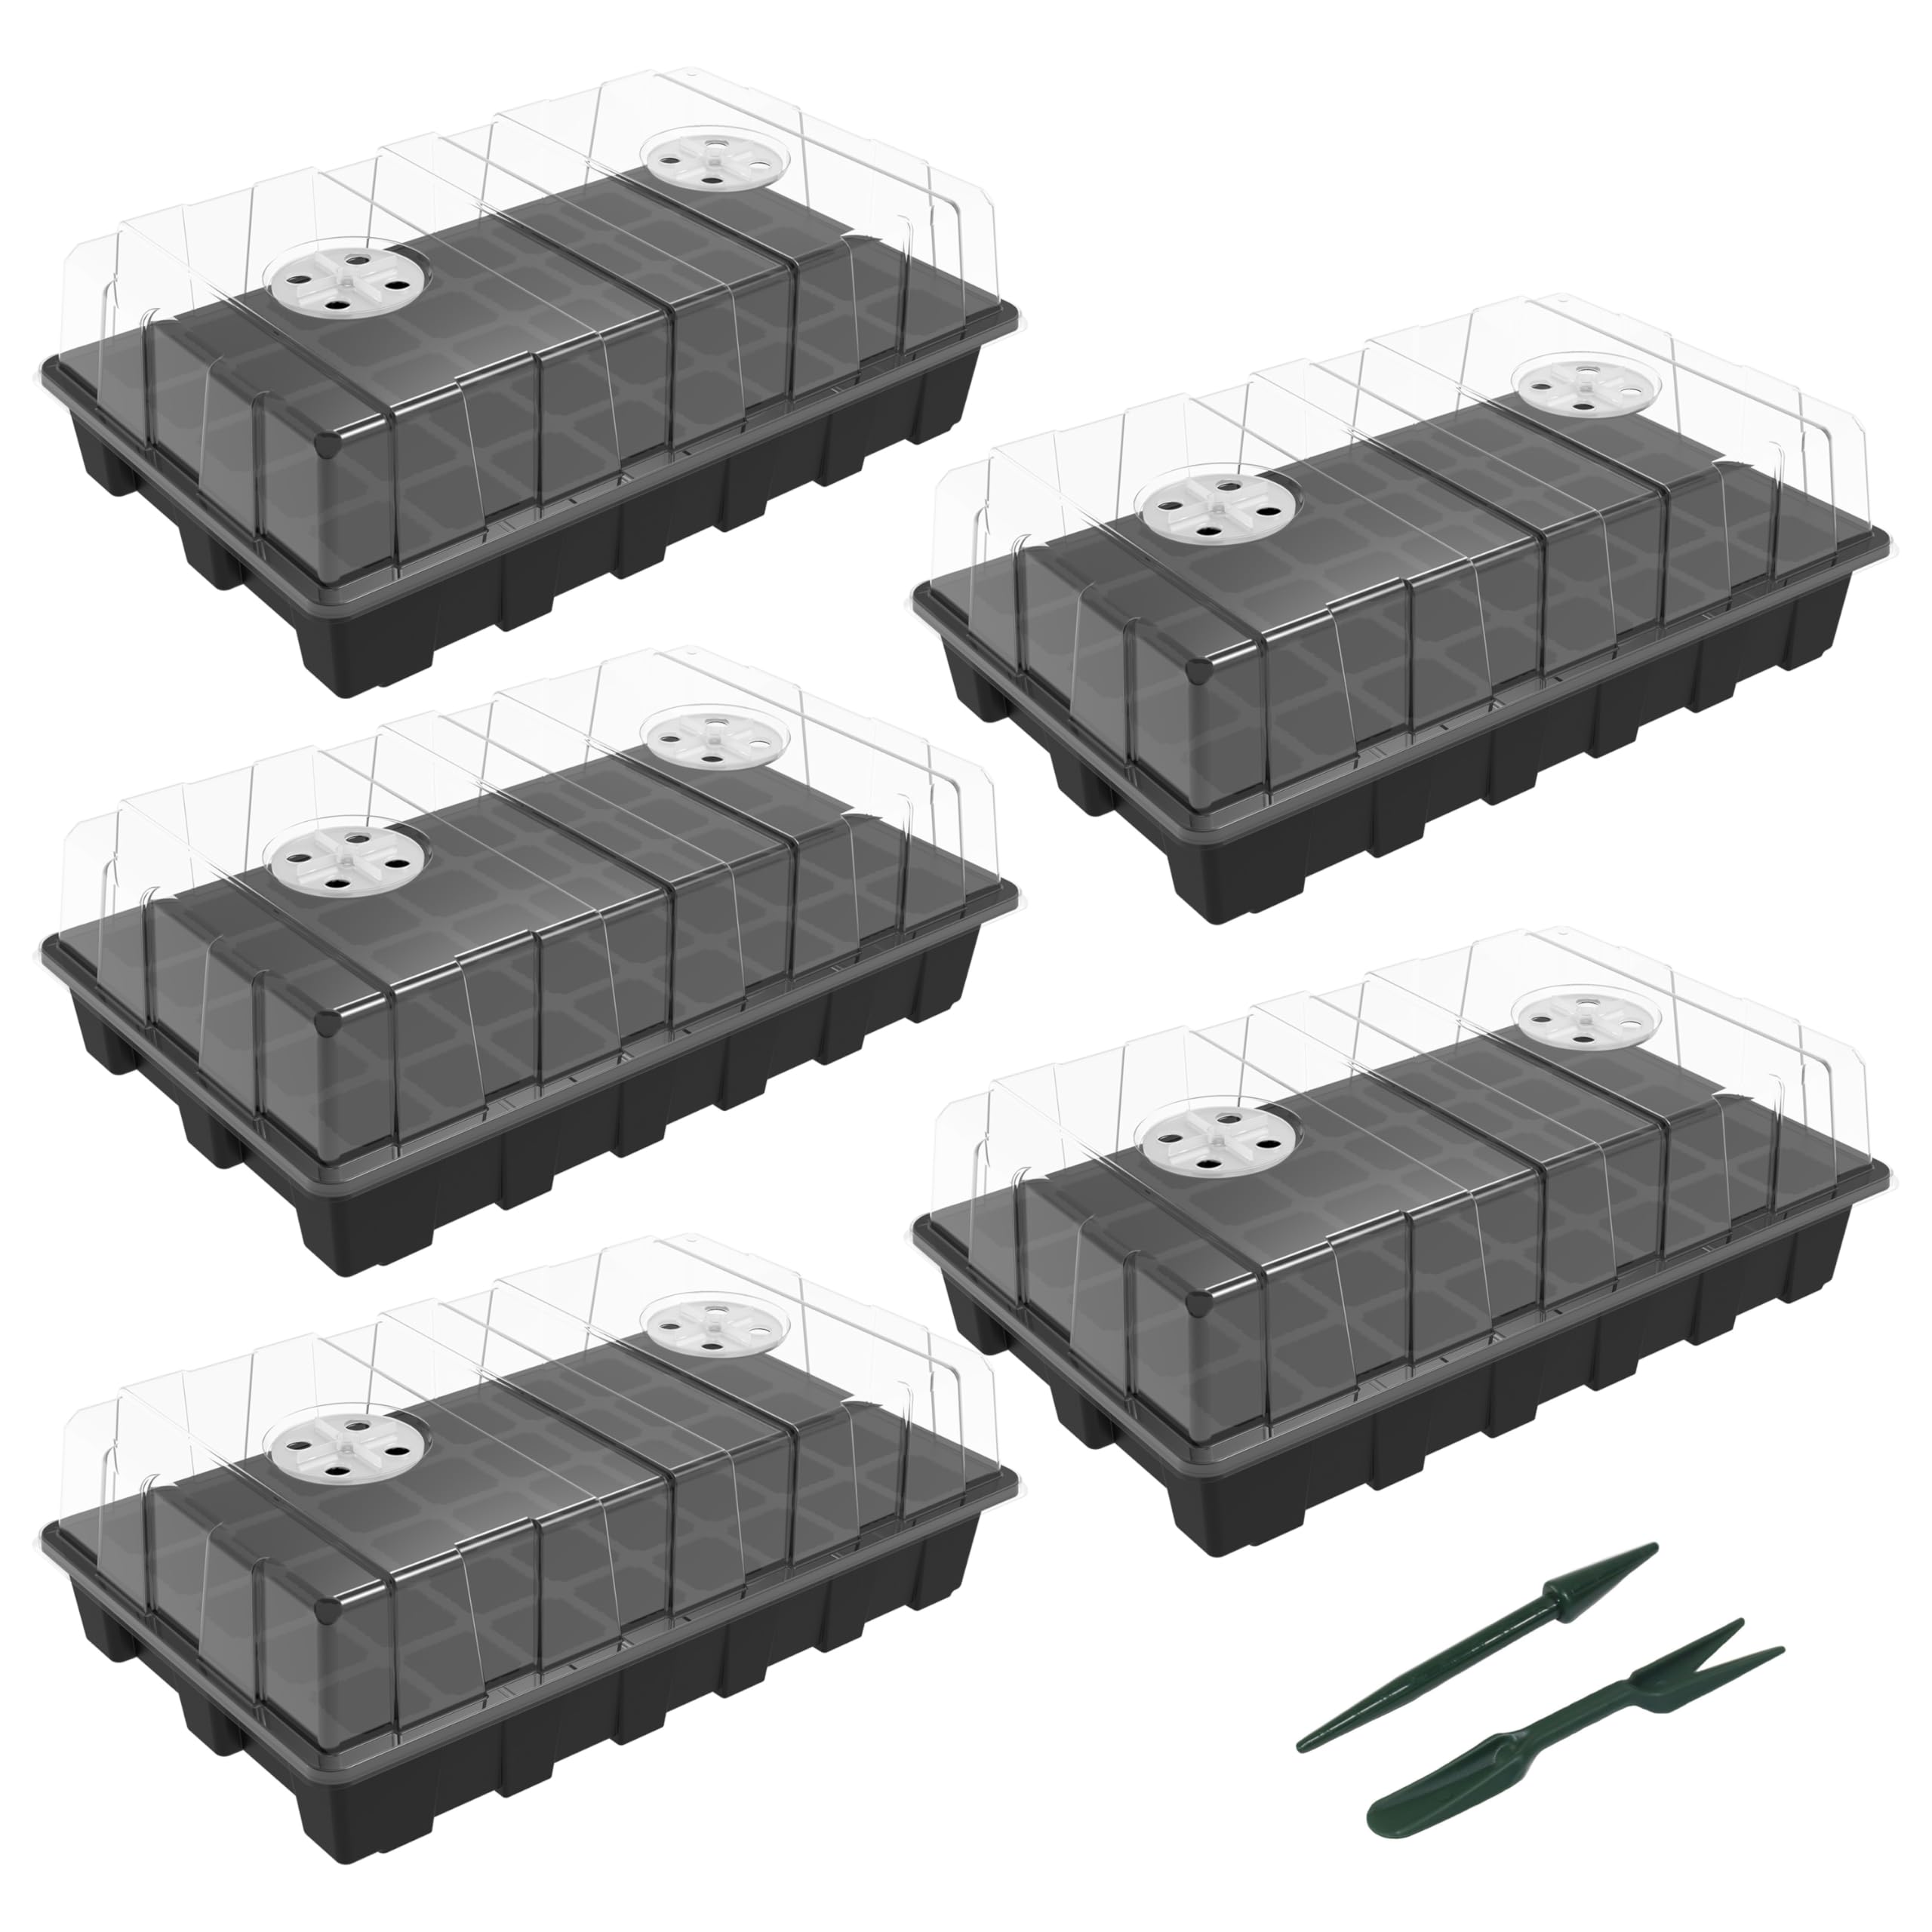
Five durable 40-cell trays with vented domes, drain holes, and stackable bases; designed for extended reuse and heavy planting schedules.
Why I picked it: Sturdy construction and adjustable ventilation make it a workhorse for multi-variety starting.
Best for: Growers starting many varieties or using heat mats and lights.
Good value for a durable multi-tray set.
Pros
- Upgraded adjustable ventilation
- Premium, durable plastic
- 40-cell capacity per tray
- Stackable for storage
Cons
- Bottom tray can be stressed if mishandled
- Takes up more bench space
My take
I use the Gardzen set when I’m starting large batches—its build quality stands up to repeated use and the domes seal well when I’m managing humidity.
The venting gives me precise control during the germination-to-hardening transition, and the drain holes keep excess water from pooling.
These trays are my go-to when I run heat mats; paired together they create consistent conditions for pepper and tomato starts.
Be mindful when moving full trays—the bottom catch can be a weak point if you lift them roughly.
5. Bonviee Seed Starter Trays — 12-Cell – Best for Larger Seeds
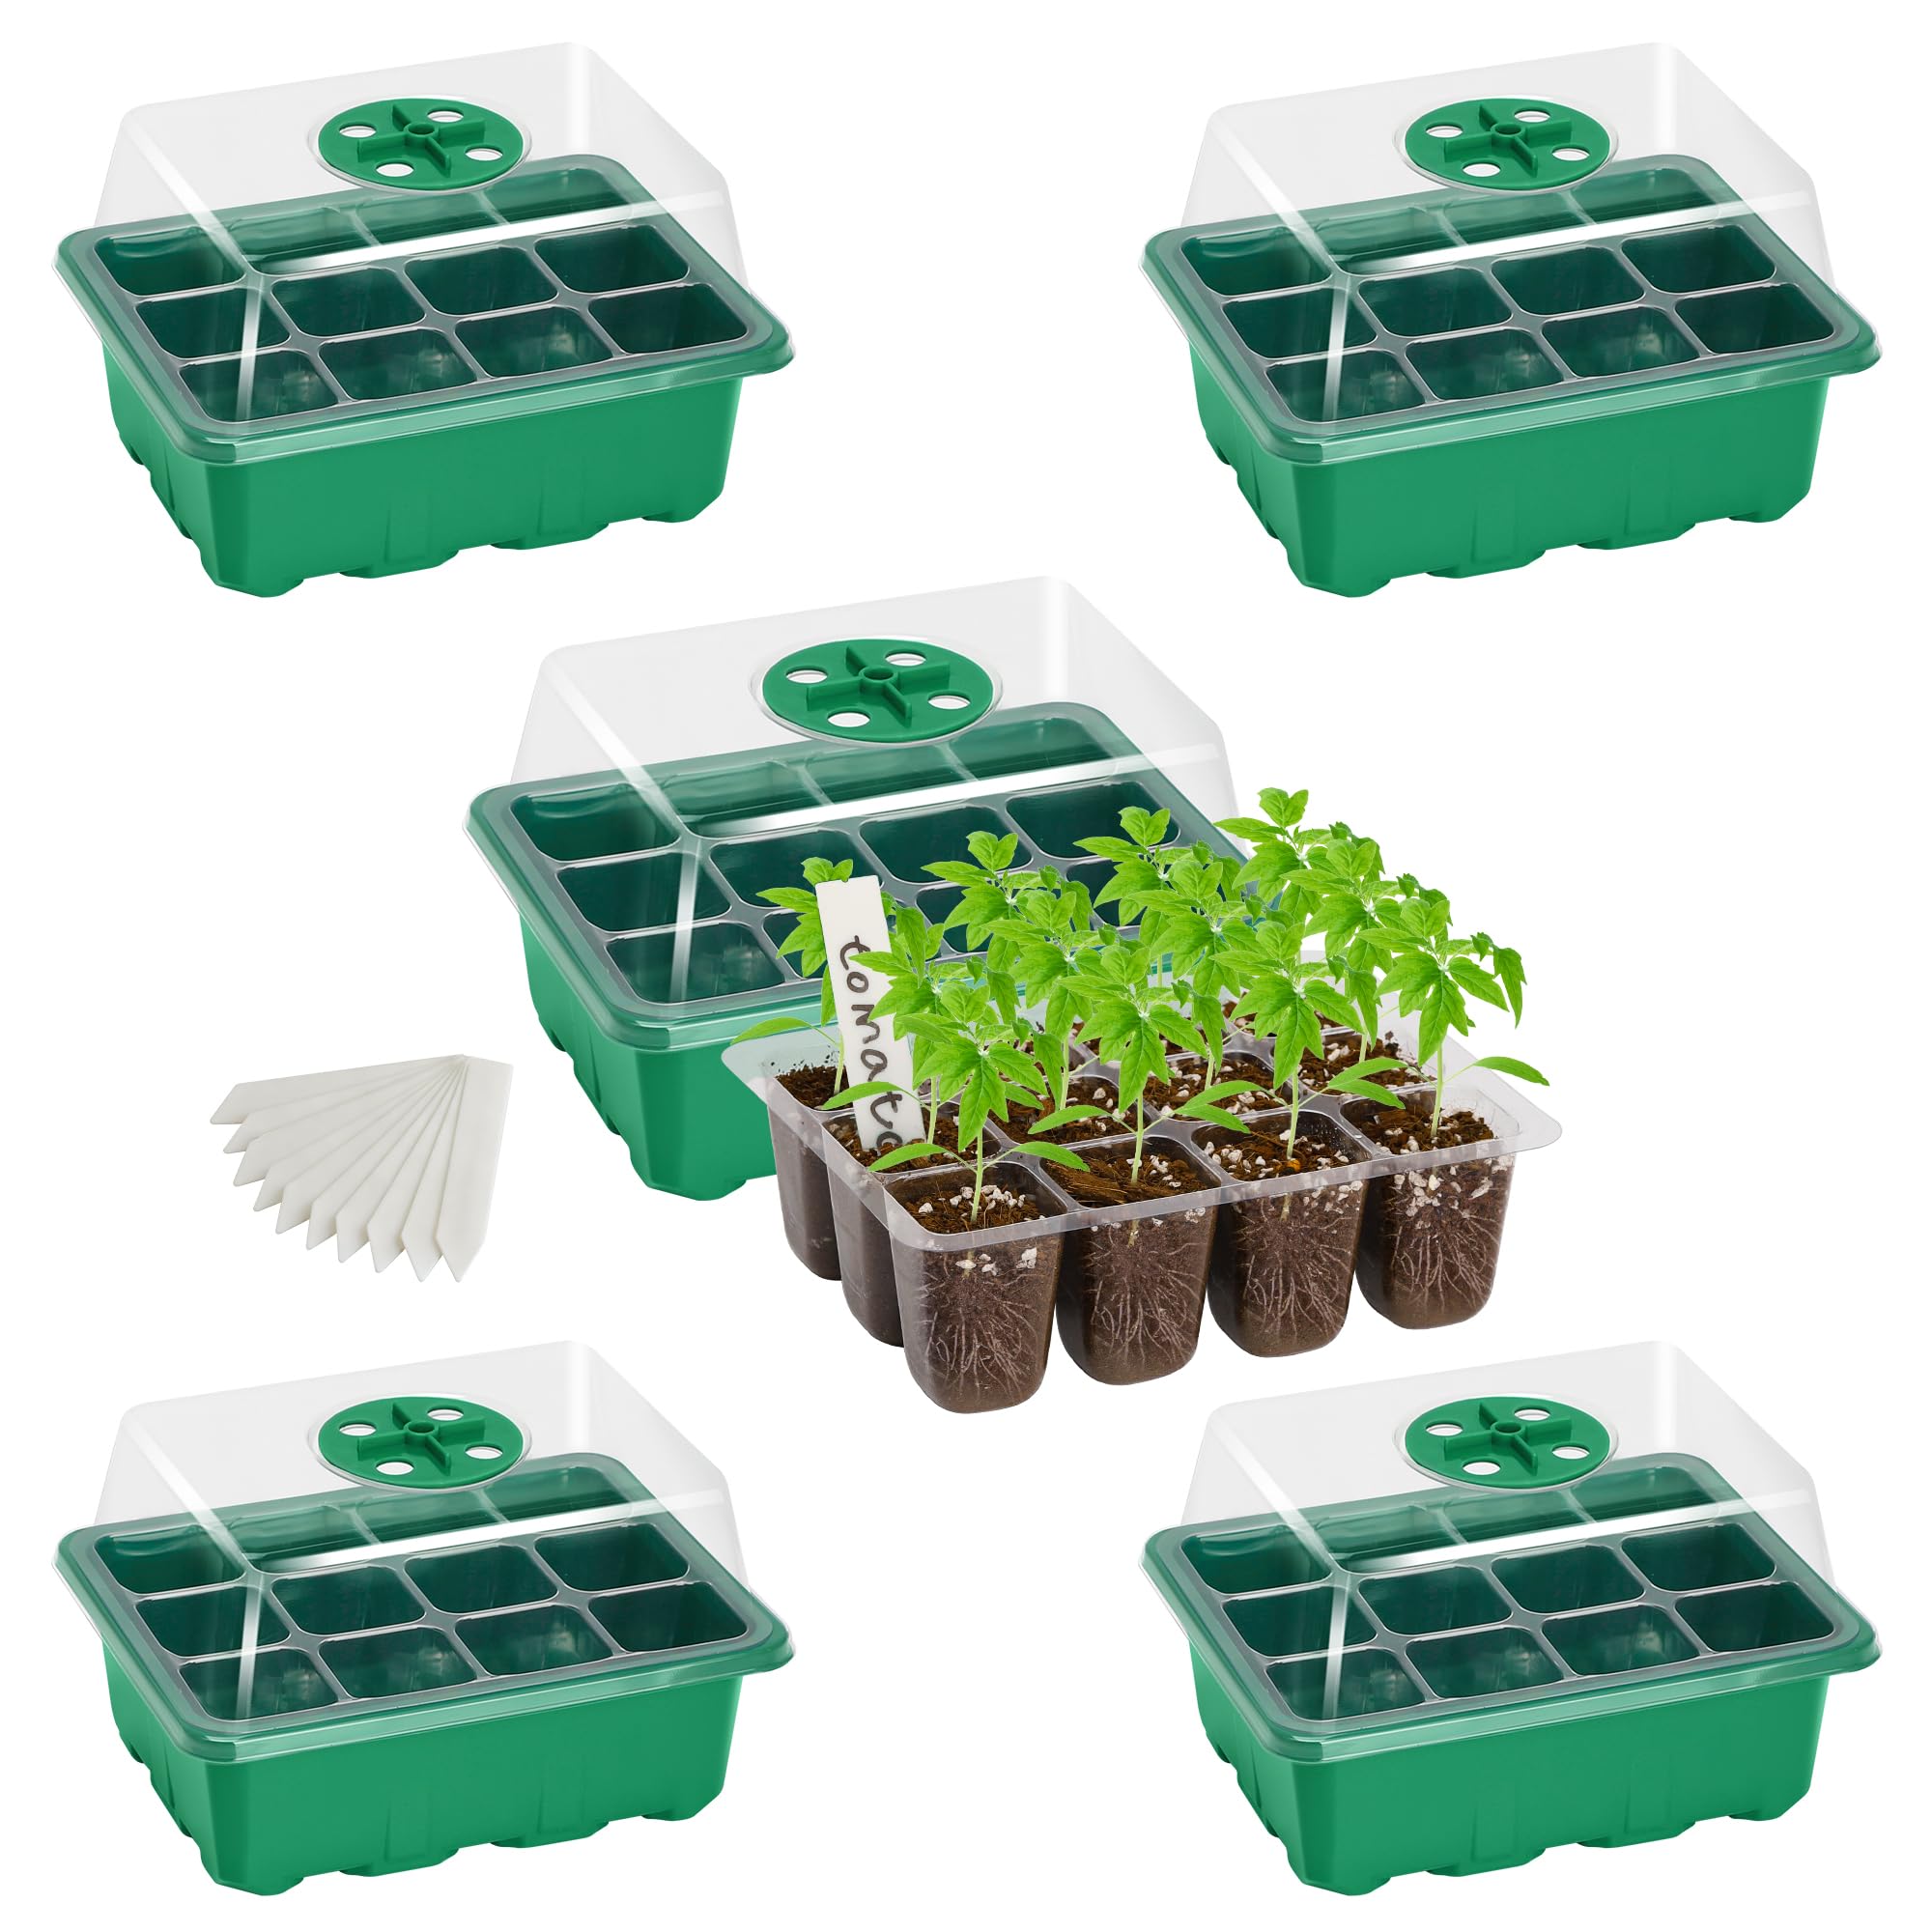
Five 12-cell trays with adjustable vents and watertight bases; each cell is roughly 1.5 inches—ideal for larger seeds and early transplants.
Why I picked it: Cell size fits big-seed crops and withstands heat-mat use.
Best for: Tomatoes, peppers, eggplants, and other large-seed transplants.
Affordable option for growers who prefer fewer, larger cells.
Pros
- Large 1.5-inch square cells
- Heat-mat compatible
- Clear lids for monitoring
- Sturdy, reusable construction
Cons
- Will need potting up relatively soon
- Lids may need securing
My take
I reach for these trays when I’m germinating tomato and pepper seeds because the bigger cells give root systems room to develop before potting on.
The plastic is thicker than bargain trays and the moisture retention has helped my seedlings move through that vulnerable first week.
A small practical tip I use: I'll tape or lightly clip the lids when using a strong heat mat to prevent them from shifting while maintaining venting.
Overall they’re a solid, inexpensive choice when I want to minimize transplant shock for larger seedlings.
6. YAUNGEL Raised-Lid Seed Starter Trays – Best for Taller Seedlings
Ten trays (120 cells total) with heightened lids, thicker 0.8mm material, adjustable window vents, and drain holes—built for durability and extended dome time.
Why I picked it: Higher domes and thicker plastic let seedlings stay covered longer and endure heat-mat setups.
Best for: Plants that quickly outgrow low domes or need longer humidity periods.
Durability-forward option at a mid-range price point.
Pros
- Heightened lids for taller growth
- Thicker 0.8mm material
- Smooth pods for easy cleaning
- Compatible with heat mats and lights
Cons
- Lids sit on top instead of snapping
- May be bulky to store
My take
I prefer these when I’m starting varieties that stretch fast—the extra dome height saves me from repotting too early.
The thicker PVC gives me confidence they’ll last through multiple seasons, and the smooth pod bottoms let me set up capillary mats for unattended watering.
The lids don’t snap closed, so I leave a small vent or weight them lightly; it’s a minor tradeoff for the longevity and build quality.
These trays have become my go-to for longer projects and when I need a reliable base for lights and mats.
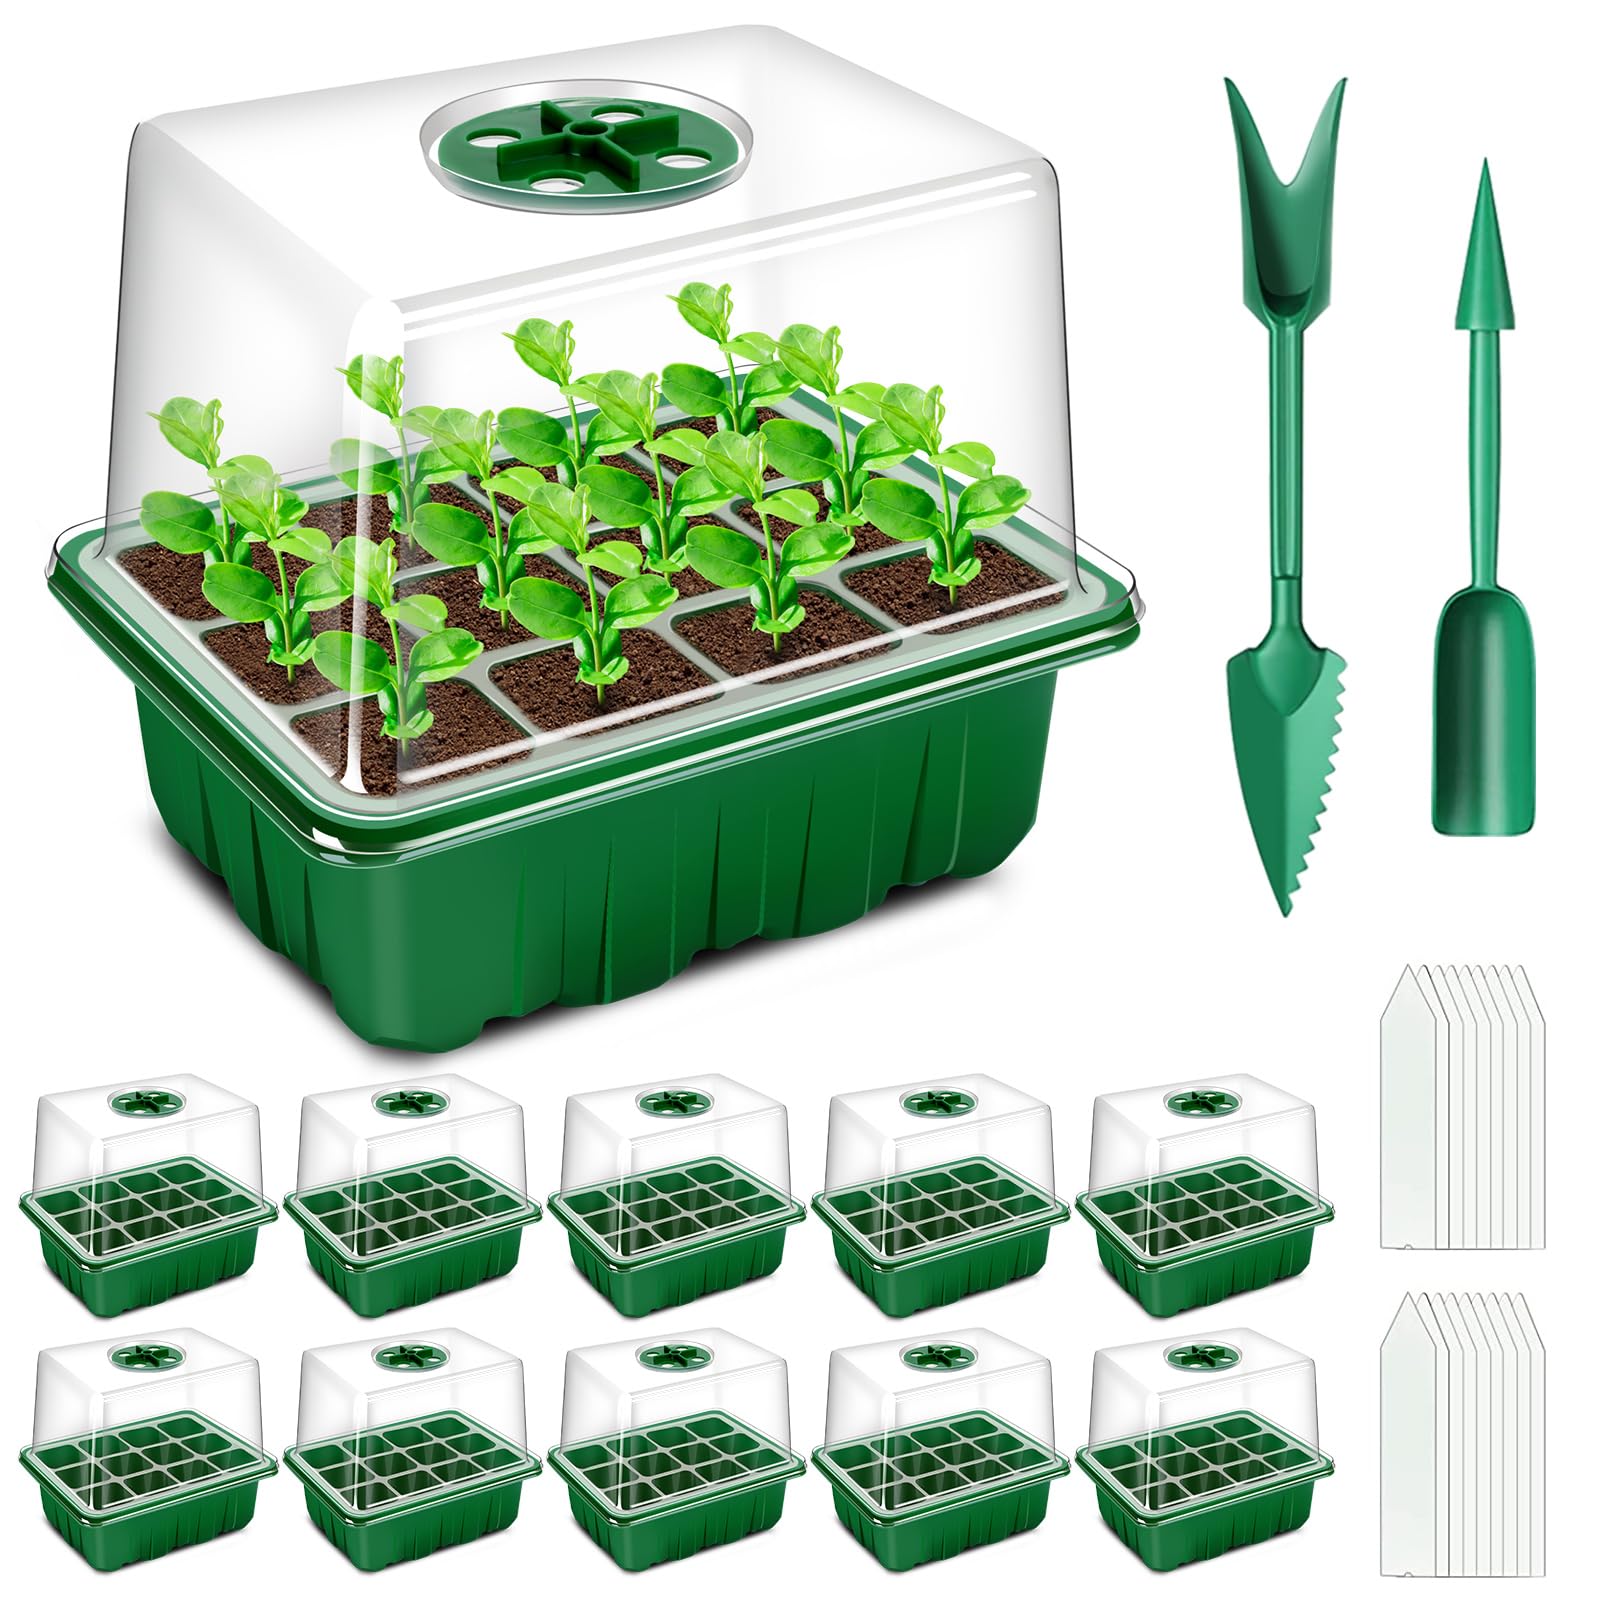
7. MIXC 5-Pack 40-Cell Seedling Trays – Best Compact 40-Cell Set
Five 40-cell trays with vents, clear domes, stackable bottoms, and basic tools; compact size with removable inserts for easy bottom watering.
Why I picked it: Well-balanced compact kit that handles small-seed batches without taking too much space.
Best for: Small indoor setups, hobbyists with limited bench space.
Affordable multi-pack that covers most small to medium seed-starting needs.
Pros
- Clear plastic for monitoring
- Adjustable dome vents
- Removable inserts for bottom watering
- Comes with tools and labels
Cons
- Dome height limits tall seedlings
- Cells best for small seeds
My take
I use this MIXC set when bench space is tight; the trays stack and the domes fit well so I can run multiple varieties side-by-side.
Removable inserts make bottom-watering simple, and the included tools and labels are handy for keeping lots organized.
They’re durable enough for repeated use, and I appreciate the solid lip on the domes—covers sit snugly compared with cheaper alternatives.
For my small-seed runs these are an economical, effective choice.
How I Choose Seed Starter Kits and Lawn Seed
Key features I look for
I prioritize ventilation, drainage, and dome height because they determine how long seedlings can stay under cover and how easily I transition them to ambient conditions.
For lawn seed I focus on coverage per bag, seed coating (uncoated vs coated), and whether starter fertilizer is included—those details change prep and watering routines.
- Ventilation: Adjustable vents prevent mold and let me harden off seedlings.
- Drainage & bases: Watertight bases and drain holes let me bottom-water and avoid soggy soil.
- Dome height: Taller lids buy time before potting up taller seedlings.
- Material thickness: Thicker plastic lasts more seasons and tolerates heat mats.
- Seed coverage: Match bag coverage to your lawn size so you don’t under- or over-buy.
Practical tips from my experience
I always start with a clean tray and fresh, sterile seed-starting mix to reduce disease risk.
I use heat mats and capillary mats for consistent moisture when I’m away; smooth pods make that setup much easier.
- Label everything—those included plant labels save time and confusion.
- Wean seedlings by opening vents gradually to avoid shock.
- If using seed + fertilizer mixes, keep watering consistent during germination.
Frequently Asked Questions
How long can seedlings stay under domes?
I typically keep domes on until true leaves form, then open vents gradually. Taller domes let me keep plants covered longer without potting up early.
Should I use a heat mat with these trays?
I use heat mats for peppers and tomatoes; choose trays rated for heat-mat use and monitor dome humidity so seeds don’t overheat.
When should I choose seed with fertilizer?
I use seed-plus-fertilizer mixes for quick spot repairs or when I want earlier green-up—just be diligent with initial moisture to let the starter feed do its work.
Final Take
I’ve found there’s no one-size-fits-all: choose large-format bags like the Scotts professional mixes for big lawns, and pick trays by cell size and dome height for the plants you grow.
For beginners, a multi-tray kit with adjustable vents and watertight bases is the easiest path. For intensive growers, invest in thicker trays with taller lids and heat-mat compatibility.
Whichever option you pick, focus on good seedbed prep, consistent moisture during germination, and a gradual hardening-off routine—and you’ll have a much higher success rate.
")